


General instrument setup
R&S
®
FSVA3000/ R&S
®
FSV3000
711
User Manual 1178.8520.02 ─ 08
However, you can configure which icons are displayed in the toolbar, and in which
order.
Toolbar configuration is saved when you shut down or preset the R&S
FSV/A. It is not
included in save sets (see
Chapter 9.3, "Storing and recalling instrument settings and
To configure the toolbar
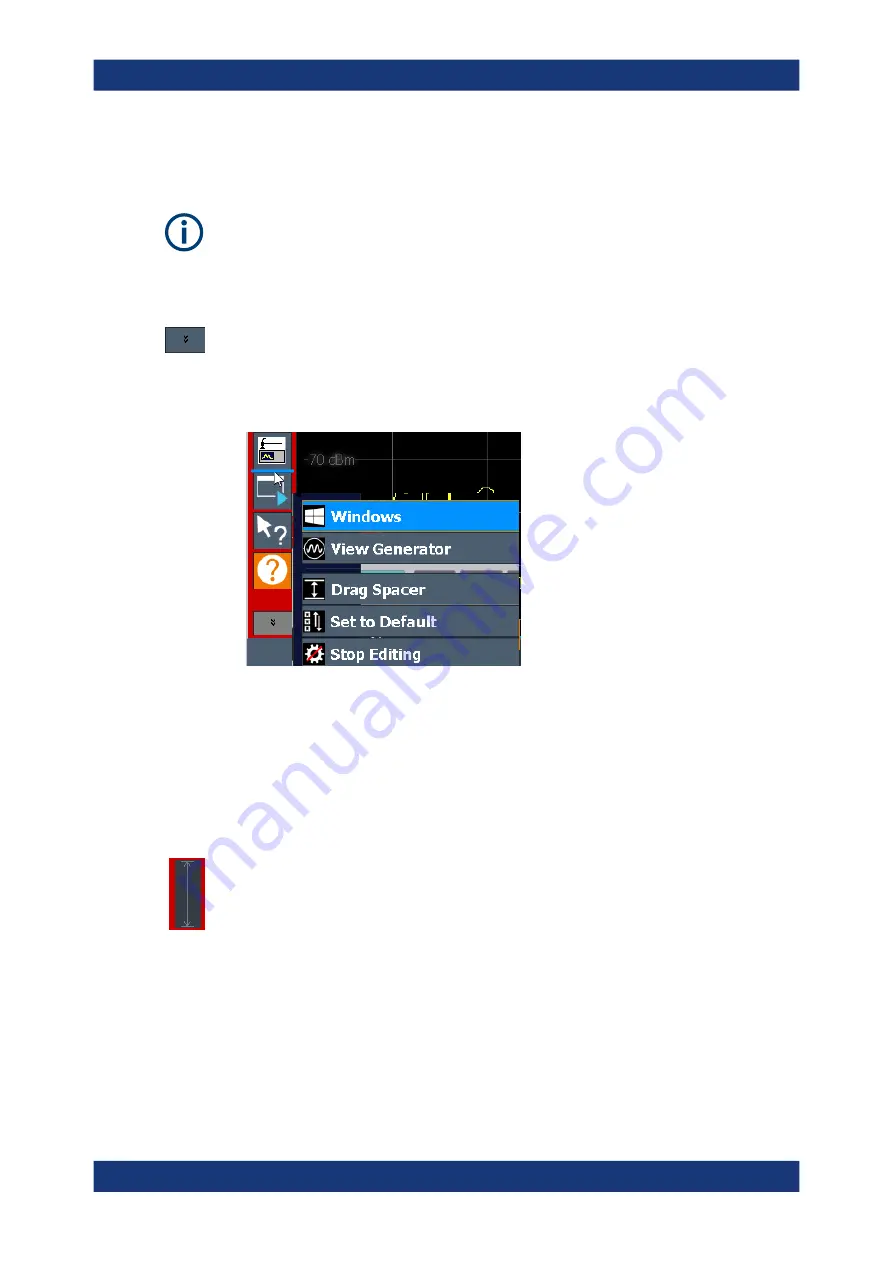
1. From the toolbar, select "More icons" > "Edit Toolbar".
The toolbar is highlighted red to indicate it is in edit mode.
2. Drag and drop the icons in the toolbar to the required position. A blue line indicates
the selected position.
Figure 10-1: Inserting the Windows icon in the toolbar
3. To add an icon that is currently not visible:
a) Select "More icons".
All hidden icons are displayed in a menu.
b) Drag the icon from the menu to the toolbar.
The added icon is displayed. If the toolbar contains too many icons to display,
the icons from the bottom move to the menu.
4. To hide an icon from the toolbar, drag and drop it outside the toolbar.
The icon is moved to the menu of hidden icons ("More icons"). Empty spaces are
indicated by a spacer.
Note:
To remove an icon for an external application permanently, use the
function in the Application Starter. See
5. To insert additional spaces between icons, for example to create groups of icons:
a) Select "More icons" > "Drag Spacer".
b) Drag and drop the "Drag Spacer" at the required position in the toolbar. Multiple
spaces can be inserted.
6. To restore the default R&S
FSV/A toolbar, select "More icons" > "Set to Default".
Toolbar configuration


