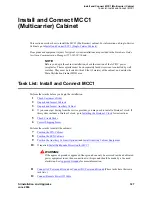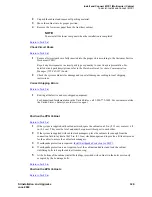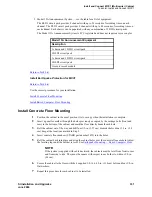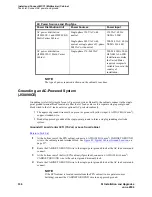
Install and Connect MCC1 (Multicarrier) Cabinet
Task List: Install and Connect MCC1
SI Installation and Upgrades
327
June 2004
Install and Connect MCC1
(Multicarrier) Cabinet
This section describes how to install the MCC1 (Multicarrier) cabinet. For information on Single-Carrier
Cabinets, go to
Install and Connect SCC1 (Single-Carrier Cabinets)
.
Floor plans and equipment layouts for typical system installations are provided in the Hardware Guide
for Avaya Communication Manager (555-245-207) book.
NOTE:
Before you begin the cabinet installation, check the location of the AC/DC power
receptacles. The receptacles must be on separately fused circuits not controlled by wall
switches. They must be located within 10 feet (3 meters) of the cabinet, and outside the
Main Distribution Frame (MDF) area.
Task List: Install and Connect MCC1
Perform these tasks before you begin the installation:
1
Check Customer’s Order
2
Unpack and Inspect Cabinets
3
Unpack and Inspect Auxiliary Cabinet
4
If you cannot get timing from the service provider, you may need to install a Stratum 3 clock. If
this system includes a Stratum 3 clock, go to
Installing the Stratum 3 Clock
for instructions.
5
Check Circuit Packs
6
Correct Shipping Errors
Perform these tasks to install the cabinets:
7
Position the PPN Cabinet
8
Position the EPN Cabinets
9
Position the Auxiliary Cabinet (Optional)
and
Install Auxiliary Cabinet Equipment
10
If required,
Install Earthquake Protection for MCC1
!
WARNING:
If the approved ground or approved floor ground can only be accessed inside a dedicated
power equipment room, then connections to this ground should be made by a licensed
electrician. See
Approved Grounds
for more information.
11
Connect AC Power and Ground
or
Connect DC Power and Ground
(These tasks have their own
task lists.)
12
Connect Remote Power Off Cable
Содержание MCC1
Страница 38: ...Upgrades to Avaya Commnication Manager Made Easy Before you start 38 SI Installation and Upgrades June 2004 ...
Страница 326: ...Installation for MCC1 Multicarrier Cabinets Made Easy 326 SI Installation and Upgrades June 2004 ...
Страница 362: ... Single Carrier Cabinets Made Easy 362 SI Installation and Upgrades June 2004 ...
Страница 498: ...Test the System LED Indicators 498 SI Installation and Upgrades June 2004 ...
Страница 650: ...Add IP Solutions Task list Upgrade a TN802 to a TN802B 650 SI Installation and Upgrades June 2004 ...
Страница 692: ...Install and Administer Trunks Add TN1654 DS1 Converter r only 692 SI Installation and Upgrades June 2004 ...
Страница 770: ...Connecting and Handling Fiber Optic Cables Cleaning Fiber Optic Cables 770 SI Installation and Upgrades June 2004 ...
Страница 784: ...Connector and Cable Diagrams Pinout Charts DS1 Interface Cable H600 307 784 SI Installation and Upgrades June 2004 ...
Страница 792: ...UPS Installation for SCC1 EPN A Carrier Cabinet Task List Install UPS 792 SI Installation and Upgrades June 2004 ...
Страница 874: ...Index Z 874 SI Installation and Upgrades June 2004 ...


