


Chapter 6: Using the Web Interface
221
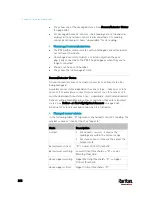
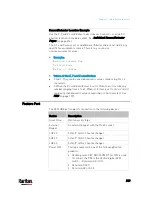
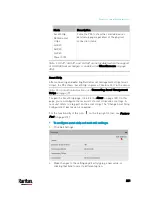
Mode
Description
Asset Strip,
Raritan asset
strips,
LHX 20,
SHX 30,
LHX 40,
Power CIM
Force the PX3 to show the selected device's
data/setup page regardless of the physical
connection status.
Note: 'LHX 20', 'SHX 30', and 'LHX 40' are not available when the support
of LHX/SHX heat exchangers is disabled. See
Miscellaneous
(on page
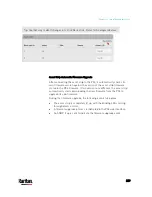
Asset Strip
After connecting and detecting Raritan asset management strips (asset
strips), the PX3 shows 'Asset Strip' in place of 'Feature Port' in the menu.
Note: For connection instructions, see
Connecting Asset Management
Strips
(on page 71).
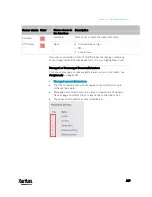
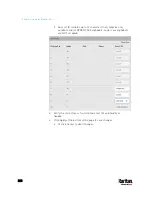
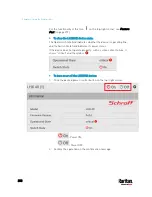
To open the Asset Strip page, click it in the
Menu
(on page 139). On this
page, you can configure the rack units of asset strips and asset tags. A
rack unit refers to a tag port on the asset strips. The "Change Asset Strip
Configuration" permission is required.
For the functionality of this icon
on the top-right corner, see
Feature
Port
(on page 219).
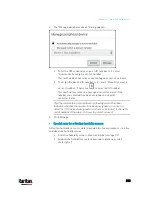
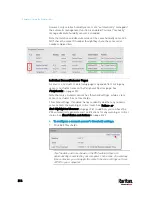
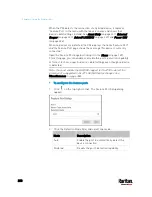
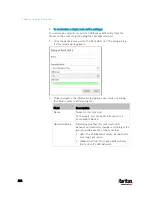
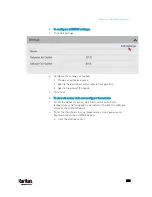
To configure asset strip and rack unit settings:
1.
Click Edit Settings.
2.
Make changes to the settings by directly typing a new value, or
clicking that field to select a different option.
Содержание PX3-3000 series
Страница 5: ......
Страница 18: ...Contents xviii Index 841...
Страница 66: ...Chapter 3 Initial Installation and Configuration 42 Number Device role Master device Slave 1 Slave 2 Slave 3...
Страница 93: ...Chapter 4 Connecting External Equipment Optional 69...
Страница 787: ...Appendix J RADIUS Configuration Illustration 763 Note If your PX3 uses PAP then select PAP...
Страница 788: ...Appendix J RADIUS Configuration Illustration 764 10 Select Standard to the left of the dialog and then click Add...
Страница 789: ...Appendix J RADIUS Configuration Illustration 765 11 Select Filter Id from the list of attributes and click Add...
Страница 792: ...Appendix J RADIUS Configuration Illustration 768 14 The new attribute is added Click OK...
Страница 793: ...Appendix J RADIUS Configuration Illustration 769 15 Click Next to continue...
Страница 823: ...Appendix K Additional PX3 Information 799...
Страница 853: ...Appendix L Integration 829 3 Click OK...


