Chapter 6: Using the Web Interface
195
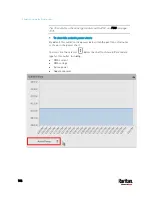
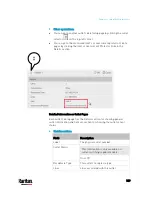
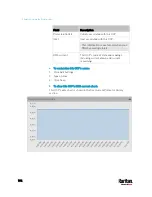
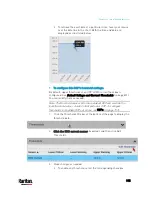
To retrieve the exact data at a particular time, hover your mouse
over the data line in the chart. Both the time and data are
displayed as illustrated below.
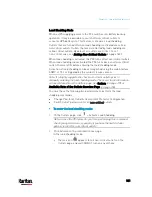
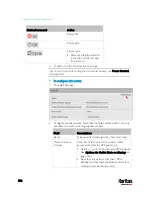
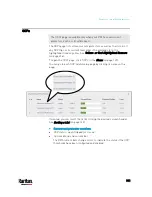
To configure this OCP's threshold settings:
By default, upper thresholds of an OCP's RMS current have been
configured. See
Default Voltage and Current Thresholds
(on page 801).
You can modify them as needed.
Note: The threshold values set for an individual OCP will override the
bulk threshold values stored on that particular OCP. To configure
thresholds for multiple OCPs at a time, see
OCPs
(on page 191).
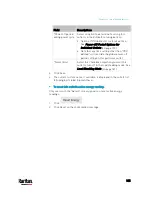
1.
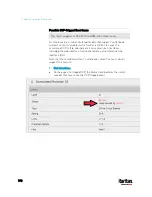
Click the Thresholds title bar at the bottom of the page to display the
threshold data.
2.
Click the RMS current sensor (required), and then click Edit
Thresholds.
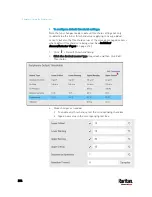
3.
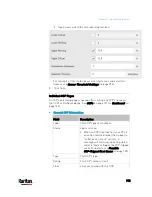
Make changes as needed.
To enable any threshold, select the corresponding checkbox.
Содержание PX3-3000 series
Страница 5: ......
Страница 18: ...Contents xviii Index 841...
Страница 66: ...Chapter 3 Initial Installation and Configuration 42 Number Device role Master device Slave 1 Slave 2 Slave 3...
Страница 93: ...Chapter 4 Connecting External Equipment Optional 69...
Страница 787: ...Appendix J RADIUS Configuration Illustration 763 Note If your PX3 uses PAP then select PAP...
Страница 788: ...Appendix J RADIUS Configuration Illustration 764 10 Select Standard to the left of the dialog and then click Add...
Страница 789: ...Appendix J RADIUS Configuration Illustration 765 11 Select Filter Id from the list of attributes and click Add...
Страница 792: ...Appendix J RADIUS Configuration Illustration 768 14 The new attribute is added Click OK...
Страница 793: ...Appendix J RADIUS Configuration Illustration 769 15 Click Next to continue...
Страница 823: ...Appendix K Additional PX3 Information 799...
Страница 853: ...Appendix L Integration 829 3 Click OK...

