Chapter 5: Introduction to PDU Components
107
3.
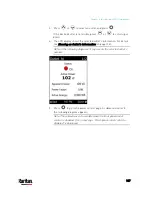
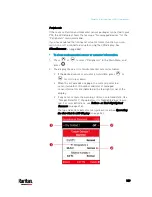
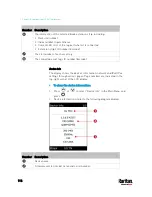
Press
or
to select an outlet, and press
.
If the desired outlet is not visible, press
or
to scroll up or
down.
4.
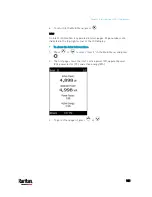
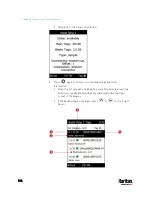
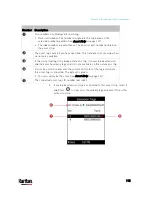
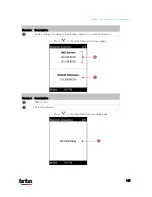
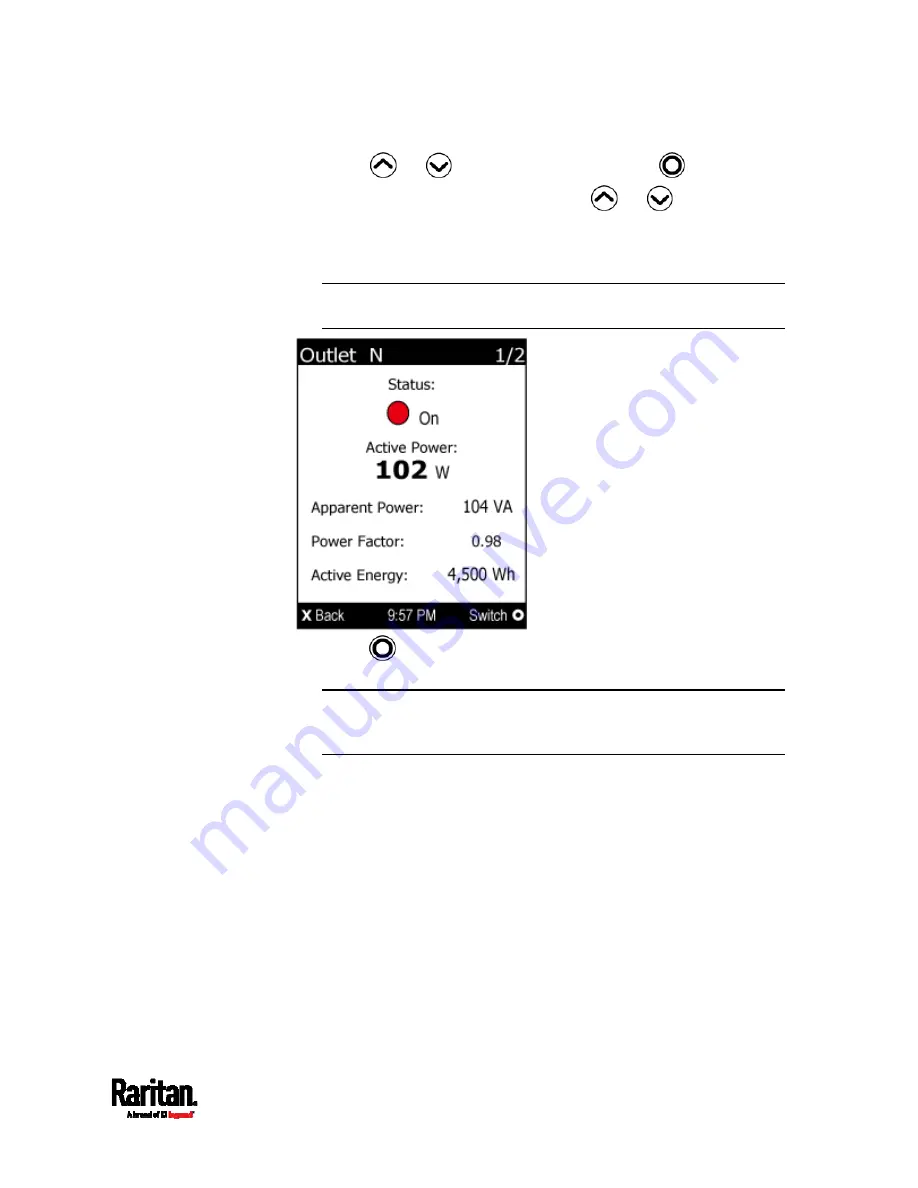
The LCD display shows the selected outlet's information. For details,
see
Showing an Outlet's Information
(on page 104).
Note: In the following diagrams, N represents the selected outlet's
number.
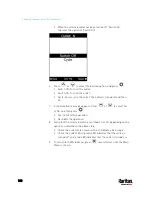
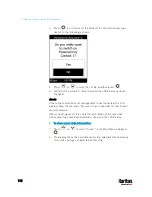
5.
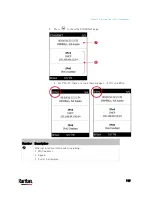
Press
to go to the power control page. A submenu similar to
the following diagram appears.
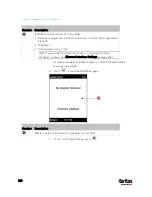
Note: The submenu is not available when the front panel outlet
control is disabled. If so, a message "Front-panel outlet control is
disabled" is displayed.
Содержание PX3-3000 series
Страница 5: ......
Страница 18: ...Contents xviii Index 841...
Страница 66: ...Chapter 3 Initial Installation and Configuration 42 Number Device role Master device Slave 1 Slave 2 Slave 3...
Страница 93: ...Chapter 4 Connecting External Equipment Optional 69...
Страница 787: ...Appendix J RADIUS Configuration Illustration 763 Note If your PX3 uses PAP then select PAP...
Страница 788: ...Appendix J RADIUS Configuration Illustration 764 10 Select Standard to the left of the dialog and then click Add...
Страница 789: ...Appendix J RADIUS Configuration Illustration 765 11 Select Filter Id from the list of attributes and click Add...
Страница 792: ...Appendix J RADIUS Configuration Illustration 768 14 The new attribute is added Click OK...
Страница 793: ...Appendix J RADIUS Configuration Illustration 769 15 Click Next to continue...
Страница 823: ...Appendix K Additional PX3 Information 799...
Страница 853: ...Appendix L Integration 829 3 Click OK...


