


Chapter 6: Using the Web Interface
417
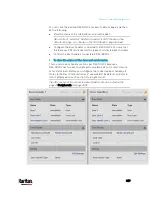
Settings:
1.
By default the Settings section is open. If not, click the Settings title
bar.
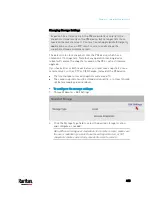
2.
Click Edit Settings.
3.
Enter a name for the webcam. Up to 64 ASCII printable characters
are supported.
If configured to store snapshots on a
remote server, the
webcam's name determines the name of the folder where
snapshots are stored. See
Changing Storage Settings
(on page
Identifying Snapshots Folders on Remote Servers
(on
page 425).
It is suggested to customize a webcam's name prior to saving
snapshots on the remote server. In case you change the
webcam's name after saving any snapshots, PX3 will create a
new folder with the new webcam name while keeping the old
folder with the old name.
4.
Type the location information in each location field as needed. Up to
63 ASCII printable characters are supported.
Note that the location data you enter is not available in those
snapshots stored on remote servers.
Tip: If the webcam's location is important, you can customize the
webcam's name based on its location when configuring PX3 to save
snapshots onto a remote server.
5.
Select a resolution for the webcam.
If you connect two webcams to one USB-A port using a powered
USB hub, set the resolution to 352x288 or lower for optimal
performance.
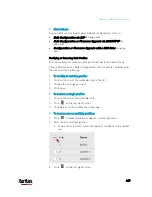
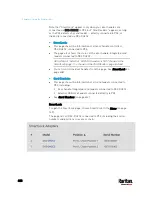
6.
Select the webcam mode.
Mode
Description
Video
The webcam enters the video mode.
Set the 'Framerate' (frames per second) as
needed.
Snapshot
The webcam shows static images captured by the
webcam at a regular interval.
To determine the interval, set the 'Time Between
Snapshots' (seconds) as needed.
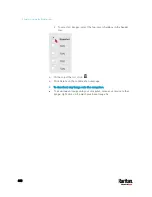
7.
Click Save. The changes made to the settings are applied to the live
session in the above
Live Preview section immediately.
Содержание PX3-3000 series
Страница 5: ......
Страница 18: ...Contents xviii Index 841...
Страница 66: ...Chapter 3 Initial Installation and Configuration 42 Number Device role Master device Slave 1 Slave 2 Slave 3...
Страница 93: ...Chapter 4 Connecting External Equipment Optional 69...
Страница 787: ...Appendix J RADIUS Configuration Illustration 763 Note If your PX3 uses PAP then select PAP...
Страница 788: ...Appendix J RADIUS Configuration Illustration 764 10 Select Standard to the left of the dialog and then click Add...
Страница 789: ...Appendix J RADIUS Configuration Illustration 765 11 Select Filter Id from the list of attributes and click Add...
Страница 792: ...Appendix J RADIUS Configuration Illustration 768 14 The new attribute is added Click OK...
Страница 793: ...Appendix J RADIUS Configuration Illustration 769 15 Click Next to continue...
Страница 823: ...Appendix K Additional PX3 Information 799...
Страница 853: ...Appendix L Integration 829 3 Click OK...


