Chapter 6: Using the Web Interface
193
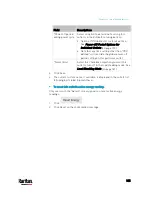
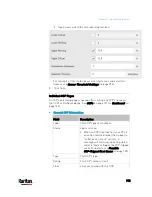
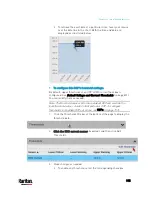
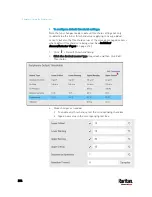
Type a new value in the accompanying text box.
For concepts of thresholds, deassertion hysteresis and assertion
timeout, see
Sensor Threshold Settings
(on page 793).
5.
Click Save.
Individual OCP Pages
An OCP's data/setup page is opened after clicking any OCP's name on
the OCPs or Dashboard page. See
OCPs
(on page 191) or
Dashboard
(on
page 144).
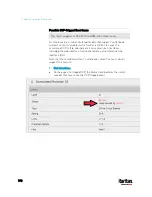
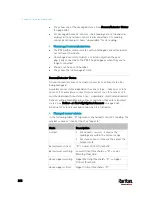
General OCP information:
Field
Description
Label
This OCP's physical number.
Status
open or closed.
When an OCP trips (open), if your PX3 is
an outlet-metered model that supports
"outlet peak current" sensors, a
message will show up, indicating which
outlet is likely to trigger the OCP-tripped
event. For details, see
Possible
OCP-Tripped Root Cause
(on page 198).
Type
This OCP's type.
Rating
This OCP's rated current.
Lines
Lines associated with this OCP.
Содержание PX3-3000 series
Страница 5: ......
Страница 18: ...Contents xviii Index 841...
Страница 66: ...Chapter 3 Initial Installation and Configuration 42 Number Device role Master device Slave 1 Slave 2 Slave 3...
Страница 93: ...Chapter 4 Connecting External Equipment Optional 69...
Страница 787: ...Appendix J RADIUS Configuration Illustration 763 Note If your PX3 uses PAP then select PAP...
Страница 788: ...Appendix J RADIUS Configuration Illustration 764 10 Select Standard to the left of the dialog and then click Add...
Страница 789: ...Appendix J RADIUS Configuration Illustration 765 11 Select Filter Id from the list of attributes and click Add...
Страница 792: ...Appendix J RADIUS Configuration Illustration 768 14 The new attribute is added Click OK...
Страница 793: ...Appendix J RADIUS Configuration Illustration 769 15 Click Next to continue...
Страница 823: ...Appendix K Additional PX3 Information 799...
Страница 853: ...Appendix L Integration 829 3 Click OK...


