Chapter 6: Using the Web Interface
394
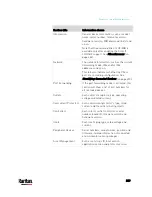
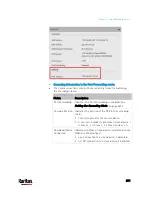
Column
Description
User name
The login name of each connected user.
IP Address
The IP address of each user's host.
For the login via a local connection (serial RS-232 or
USB), <local> is displayed instead of an IP address.
Client Type
The interface through which the user is being
connected to the PX3.
Web GUI: Refers to the web interface.
CLI: Refers to the command line interface (CLI).
The information in parentheses following "CLI"
indicates how this user is connected to the CLI.
- Serial: The local connection, such as the serial
RS-232 or USB connection.
- SSH: The SSH connection.
- Telnet: The Telnet connection.
Webcam Live Preview: Refers to the live webcam
image sessions. See below.
Idle Time
The length of time for which a user remains idle.
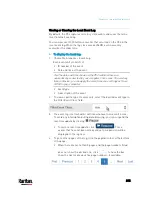
2.
To disconnect any user, click the corresponding
.
a.
Click Disconnect on the confirmation message.
b.
The disconnected user is forced to log out.
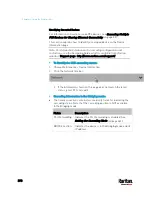
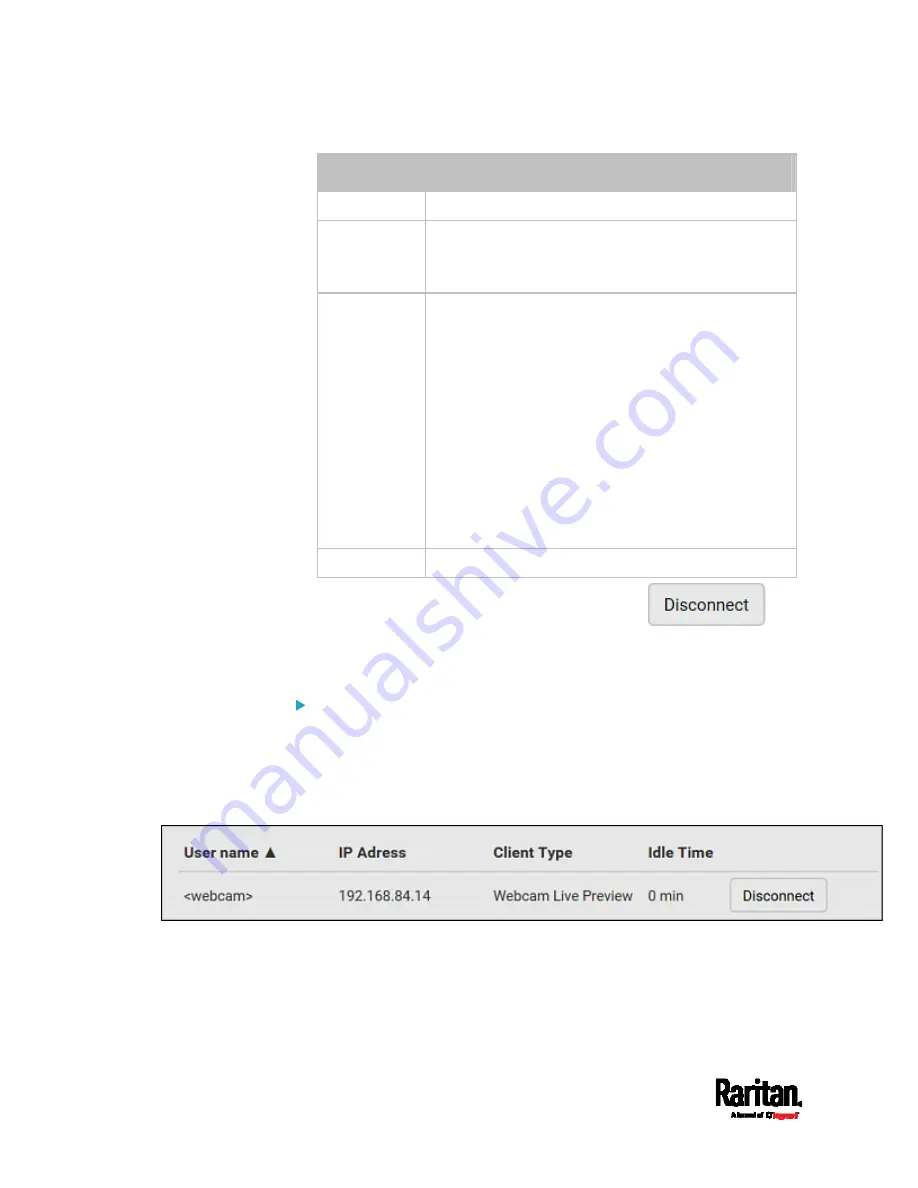
If there are live webcam sessions:
All Live Preview window sessions sharing the same URL, including one
Primary Standalone Live Preview window and multiple Secondary
Standalone Live Preview windows, are identified as one single
"<webcam>" user in the Connected Users list. You can disconnect a
"<webcam>" user to terminate all sessions sharing the same URL.
The IP address refers to the IP address of the host where the Primary
Standalone Live Preview window exists, NOT the IP address of the other
two associated sessions.
For more webcam information, see
Webcam Management
(on page
Содержание PX3-3000 series
Страница 5: ......
Страница 18: ...Contents xviii Index 841...
Страница 66: ...Chapter 3 Initial Installation and Configuration 42 Number Device role Master device Slave 1 Slave 2 Slave 3...
Страница 93: ...Chapter 4 Connecting External Equipment Optional 69...
Страница 787: ...Appendix J RADIUS Configuration Illustration 763 Note If your PX3 uses PAP then select PAP...
Страница 788: ...Appendix J RADIUS Configuration Illustration 764 10 Select Standard to the left of the dialog and then click Add...
Страница 789: ...Appendix J RADIUS Configuration Illustration 765 11 Select Filter Id from the list of attributes and click Add...
Страница 792: ...Appendix J RADIUS Configuration Illustration 768 14 The new attribute is added Click OK...
Страница 793: ...Appendix J RADIUS Configuration Illustration 769 15 Click Next to continue...
Страница 823: ...Appendix K Additional PX3 Information 799...
Страница 853: ...Appendix L Integration 829 3 Click OK...

