Chapter 6: Using the Web Interface
160
3.
Click Save.
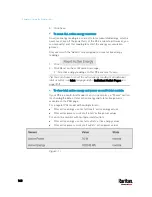
To reset ALL active energy counters:
An active energy reading is a value of total accumulated energy, which is
never reset, even if the power fails or the PX3 is rebooted. However, you
can manually reset this reading to restart the energy accumulation
process.
Only users with the "Admin" role assigned can reset active energy
readings.
1.
Click
.
2.
Click Reset on the confirmation message.
All active energy readings on this PX3 are reset to zero.
Tip: You can choose to reset the active energy reading of an individual
inlet or outlet. See
Inlet
(on page 168) or
Individual Outlet Pages
(on
page 183).
To view total active energy and power on multi-inlet models:
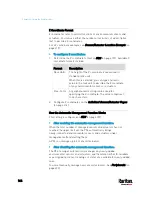
If your PX3 is a multi-inlet model or an in-line monitor, a "Power" section
for showing the data of total active energy and total active power is
available on the PDU page.
For a regular PX3 model with multiple inlets:
Total active energy = sum of all inlets' active energy values
Total active power = sum of all inlets' active power values
For an in-line monitor with multiple inlets/outlets:
Total active energy = sum of all outlets' active energy values
Total active power = sum of all outlets' active power values
Figure 1: i
Содержание PX3-3000 series
Страница 5: ......
Страница 18: ...Contents xviii Index 841...
Страница 66: ...Chapter 3 Initial Installation and Configuration 42 Number Device role Master device Slave 1 Slave 2 Slave 3...
Страница 93: ...Chapter 4 Connecting External Equipment Optional 69...
Страница 787: ...Appendix J RADIUS Configuration Illustration 763 Note If your PX3 uses PAP then select PAP...
Страница 788: ...Appendix J RADIUS Configuration Illustration 764 10 Select Standard to the left of the dialog and then click Add...
Страница 789: ...Appendix J RADIUS Configuration Illustration 765 11 Select Filter Id from the list of attributes and click Add...
Страница 792: ...Appendix J RADIUS Configuration Illustration 768 14 The new attribute is added Click OK...
Страница 793: ...Appendix J RADIUS Configuration Illustration 769 15 Click Next to continue...
Страница 823: ...Appendix K Additional PX3 Information 799...
Страница 853: ...Appendix L Integration 829 3 Click OK...


