Chapter 8: Using the Command Line Interface
551
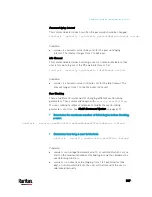
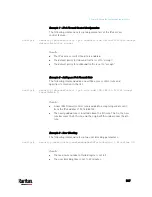
Changing the Inlet Name
This command syntax names an inlet.
config:#
inlet <n> name "<name>"
Variables:
<n> is the number of the inlet that you want to configure. For a
single-inlet PDU, <n> is always the number 1. The value is an integer
between 1 and 50.
<name> is a string comprising up to 64 ASCII printable characters.
The <name> variable must be enclosed in quotes when it contains
spaces.
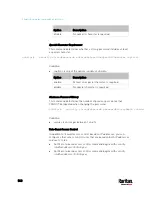
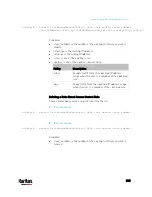
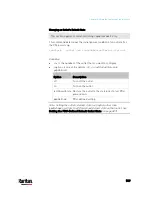
Enabling or Disabling an Inlet (for Multi-Inlet PDUs)
Enabling or disabling an inlet takes effect on a multi-inlet PDU only.
This command enables or disables an inlet.
config:#
inlet <n> enabled <option>
Variables:
<n> is the number of the inlet that you want to configure. For a
single-inlet PDU, <n> is always the number 1. The value is an integer
between 1 and 50.
<option> is one of the options:
true or false.
Option
Description
true
The specified inlet is enabled.
false
The specified inlet is disabled.
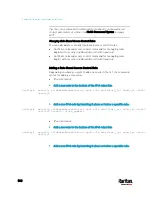
Note: If performing this command causes all inlets to be disabled, a
warning message appears, prompting you to confirm. When this occurs,
press y to confirm or n to cancel the operation.
Содержание PX3-3000 series
Страница 5: ......
Страница 18: ...Contents xviii Index 841...
Страница 66: ...Chapter 3 Initial Installation and Configuration 42 Number Device role Master device Slave 1 Slave 2 Slave 3...
Страница 93: ...Chapter 4 Connecting External Equipment Optional 69...
Страница 787: ...Appendix J RADIUS Configuration Illustration 763 Note If your PX3 uses PAP then select PAP...
Страница 788: ...Appendix J RADIUS Configuration Illustration 764 10 Select Standard to the left of the dialog and then click Add...
Страница 789: ...Appendix J RADIUS Configuration Illustration 765 11 Select Filter Id from the list of attributes and click Add...
Страница 792: ...Appendix J RADIUS Configuration Illustration 768 14 The new attribute is added Click OK...
Страница 793: ...Appendix J RADIUS Configuration Illustration 769 15 Click Next to continue...
Страница 823: ...Appendix K Additional PX3 Information 799...
Страница 853: ...Appendix L Integration 829 3 Click OK...

