


Chapter 6: Using the Web Interface
374
Field
Data entered
Wait time after successful ping
5
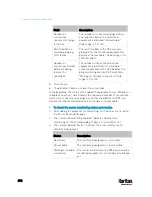
To make the PX3 declare the inaccessibility of the monitored PDU
when that PDU becomes inaccessible for around 12 seconds (4
seconds * 3 pings), enter the following data.
Field
Data entered
Wait time after unsuccessful ping
4
Number of consecutive unsuccessful pings for
failure
3
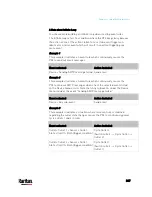
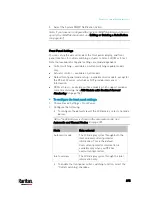
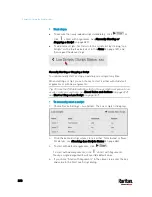
To make the PX3 stop pinging the target PDU for 60 seconds (1
minute) after the PDU inaccessibility is declared. After 60
seconds, the PX3 will re-ping the target PDU, enter the following
data.
Field
Data entered
Wait time before resuming pinging after
failure
60
The "Number of consecutive failures before disabling feature (0 =
unlimited)" can be set to any value you want.
5.
Click Create.
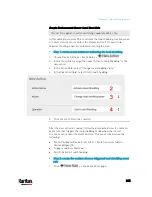
Step 2: Create an event rule to send SNMP notifications for the
target PDU
1.
Choose Device Settings > Event Rules.
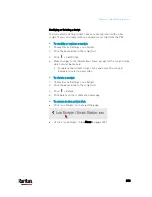
2.
Click
.
3.
Select the Enabled checkbox to enable this new rule.
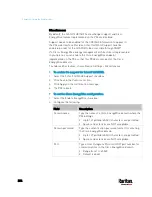
4.
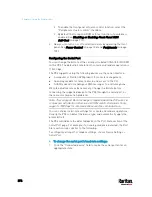
Configure the following.
Field/setting
Data specified
Rule name
Send SNMP notifications for PDU
(192.168.84.95) inaccessibility
Event
Choose Server Monitoring > 192.168.84.95
> Unreachable
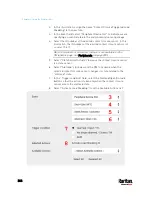
Trigger condition
Select the Unreachable radio button
This will make the PX3 react only when the target PDU becomes
inaccessible.
Содержание PX3-3000 series
Страница 5: ......
Страница 18: ...Contents xviii Index 841...
Страница 66: ...Chapter 3 Initial Installation and Configuration 42 Number Device role Master device Slave 1 Slave 2 Slave 3...
Страница 93: ...Chapter 4 Connecting External Equipment Optional 69...
Страница 787: ...Appendix J RADIUS Configuration Illustration 763 Note If your PX3 uses PAP then select PAP...
Страница 788: ...Appendix J RADIUS Configuration Illustration 764 10 Select Standard to the left of the dialog and then click Add...
Страница 789: ...Appendix J RADIUS Configuration Illustration 765 11 Select Filter Id from the list of attributes and click Add...
Страница 792: ...Appendix J RADIUS Configuration Illustration 768 14 The new attribute is added Click OK...
Страница 793: ...Appendix J RADIUS Configuration Illustration 769 15 Click Next to continue...
Страница 823: ...Appendix K Additional PX3 Information 799...
Страница 853: ...Appendix L Integration 829 3 Click OK...


