


Chapter 6: Using the Web Interface
372
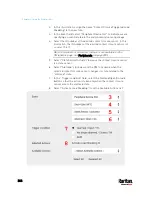
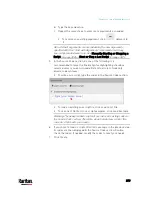
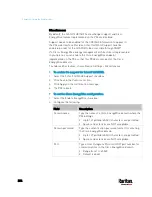
Field
Description
Number of
consecutive
unsuccessful pings
for failure
The number of consecutive pings without
any response before the monitored
equipment is declared "Unreachable."
Valid range is 1 to 100.
Wait time before
resuming pinging
after failure
The wait time before the PX3 resumes
pinging after the monitored equipment is
declared "Unreachable." Valid range is 1 to
1200 (seconds).
Number of
consecutive failures
before disabling
feature (0 =
unlimited)
The number of times the monitored
equipment is declared "Unreachable"
consecutively before the PX3 disables the
ping monitoring feature for it and shows
"Waiting for reliable connection." Valid
range is 0 to 100.
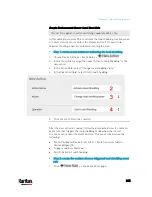
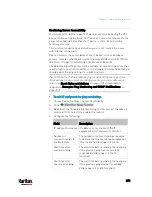
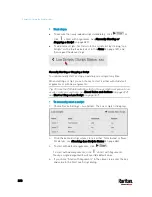
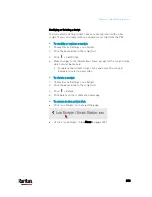
5.
Click Create.
6.
To add more IT devices, repeat the same steps.
In the beginning, the status of the added IT equipment shows "Waiting for
reliable connection," which means the requested number of consecutive
successful or unsuccessful pings has not reached before the PX3 can
declare that the monitored device is reachable or unreachable.
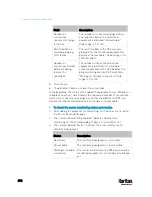
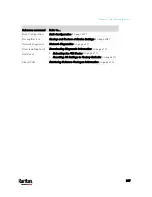
To check the server monitoring states and results:
1.
After adding IT equipment for monitoring, all IT devices are listed on
the Server Reachability page.
2.
The column labeled "Ping Enabled" indicates whether the
monitoring for the corresponding IT device is activated or not.
3.
The column labeled "Status" indicates the accessibility of each
monitored equipment.
Status
Description
Reachable
The monitored equipment is accessible.
Unreachable
The monitored equipment is inaccessible.
Waiting for reliable
connection
The connection between the PX3 device and the
monitored equipment is not reliably established
yet.
Содержание PX3-3000 series
Страница 5: ......
Страница 18: ...Contents xviii Index 841...
Страница 66: ...Chapter 3 Initial Installation and Configuration 42 Number Device role Master device Slave 1 Slave 2 Slave 3...
Страница 93: ...Chapter 4 Connecting External Equipment Optional 69...
Страница 787: ...Appendix J RADIUS Configuration Illustration 763 Note If your PX3 uses PAP then select PAP...
Страница 788: ...Appendix J RADIUS Configuration Illustration 764 10 Select Standard to the left of the dialog and then click Add...
Страница 789: ...Appendix J RADIUS Configuration Illustration 765 11 Select Filter Id from the list of attributes and click Add...
Страница 792: ...Appendix J RADIUS Configuration Illustration 768 14 The new attribute is added Click OK...
Страница 793: ...Appendix J RADIUS Configuration Illustration 769 15 Click Next to continue...
Страница 823: ...Appendix K Additional PX3 Information 799...
Страница 853: ...Appendix L Integration 829 3 Click OK...


