


Chapter 6: Using the Web Interface
133
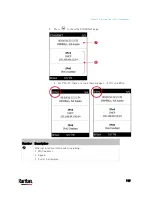
To select the agreement checkbox using the keyboard, first press
Tab to go to the checkbox and then Enter.
Note: To configure the security agreement, see
Enabling the
Restricted Service Agreement
(on page 306).
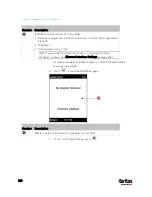
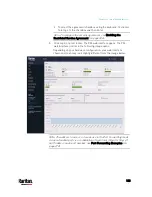
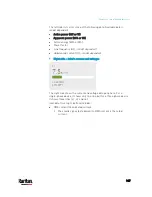
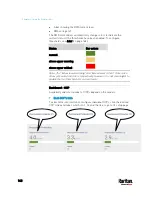
5.
Click Login or press Enter. The PX3 web interface opens. The PX3
web interface similar to the following image opens.
Depending on your hardware configuration, your web interface
shown onscreen may look slightly different from the image below.
Note: The address to access a slave device in the Port Forwarding mode
via non-standard ports is a combination of a protocol (http:// or https://),
an IP address and a port number. See
Port Forwarding Examples
(on
page 270).
Содержание PX3-3000 series
Страница 5: ......
Страница 18: ...Contents xviii Index 841...
Страница 66: ...Chapter 3 Initial Installation and Configuration 42 Number Device role Master device Slave 1 Slave 2 Slave 3...
Страница 93: ...Chapter 4 Connecting External Equipment Optional 69...
Страница 787: ...Appendix J RADIUS Configuration Illustration 763 Note If your PX3 uses PAP then select PAP...
Страница 788: ...Appendix J RADIUS Configuration Illustration 764 10 Select Standard to the left of the dialog and then click Add...
Страница 789: ...Appendix J RADIUS Configuration Illustration 765 11 Select Filter Id from the list of attributes and click Add...
Страница 792: ...Appendix J RADIUS Configuration Illustration 768 14 The new attribute is added Click OK...
Страница 793: ...Appendix J RADIUS Configuration Illustration 769 15 Click Next to continue...
Страница 823: ...Appendix K Additional PX3 Information 799...
Страница 853: ...Appendix L Integration 829 3 Click OK...


