Chapter 5: Introduction to PDU Components
100
b.
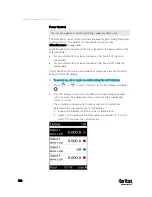
Press
or
to select an option.
c.
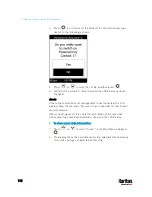
Press
to confirm the selection, or
to cancel.
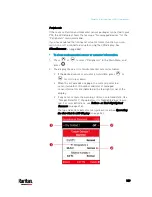
Note: All outlet LEDs on the PX3 turn OFF after enabling the energy
pulsing. You still can turn on or off outlets during the pulsing period
though outlet LEDs do not change their status.
4.
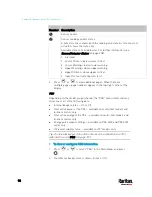
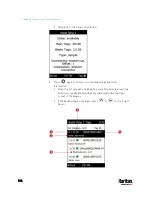
If your PX3 is an iX7
™
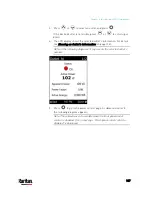
device, press
to show the status of the 12V
power supply to the controller. For details on this sensor, see
+12V
Power Supply Sensor (for iX7
™
Only)
(on page 167).
5.
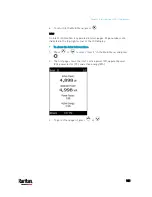
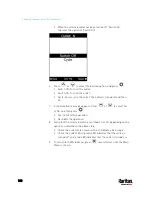
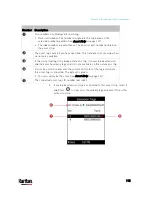
If your PX3 has more than one inlet, press
to show the
information of total active power (W) and total active energy (Wh).
Содержание PX3-3000 series
Страница 5: ......
Страница 18: ...Contents xviii Index 841...
Страница 66: ...Chapter 3 Initial Installation and Configuration 42 Number Device role Master device Slave 1 Slave 2 Slave 3...
Страница 93: ...Chapter 4 Connecting External Equipment Optional 69...
Страница 787: ...Appendix J RADIUS Configuration Illustration 763 Note If your PX3 uses PAP then select PAP...
Страница 788: ...Appendix J RADIUS Configuration Illustration 764 10 Select Standard to the left of the dialog and then click Add...
Страница 789: ...Appendix J RADIUS Configuration Illustration 765 11 Select Filter Id from the list of attributes and click Add...
Страница 792: ...Appendix J RADIUS Configuration Illustration 768 14 The new attribute is added Click OK...
Страница 793: ...Appendix J RADIUS Configuration Illustration 769 15 Click Next to continue...
Страница 823: ...Appendix K Additional PX3 Information 799...
Страница 853: ...Appendix L Integration 829 3 Click OK...


