


Chapter 8: Using the Command Line Interface
584
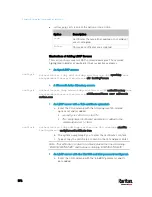
Specifying the CC Sensor Type
Raritan's contact closure sensor (DPX-CC2-TR) supports the connection
of diverse third-party or Raritan's detectors/switches. You must specify
the type of connected detector/switch for proper operation. Use this
command when you need to specify the sensor type.
config:#
externalsensor <n> sensorSubType <sensor_type>
Variables:
<n> is the ID number of the environmental sensor that you want to
configure. The ID number is available in the PX3 web interface or
using the command "
show externalsensors <n>
" in the CLI. It is
an integer between 1 and 32.
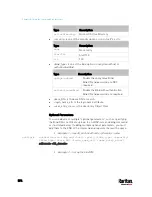
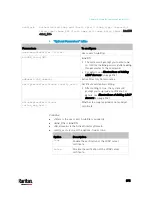
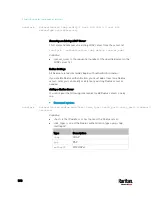
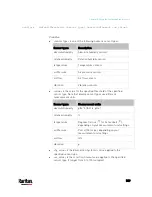
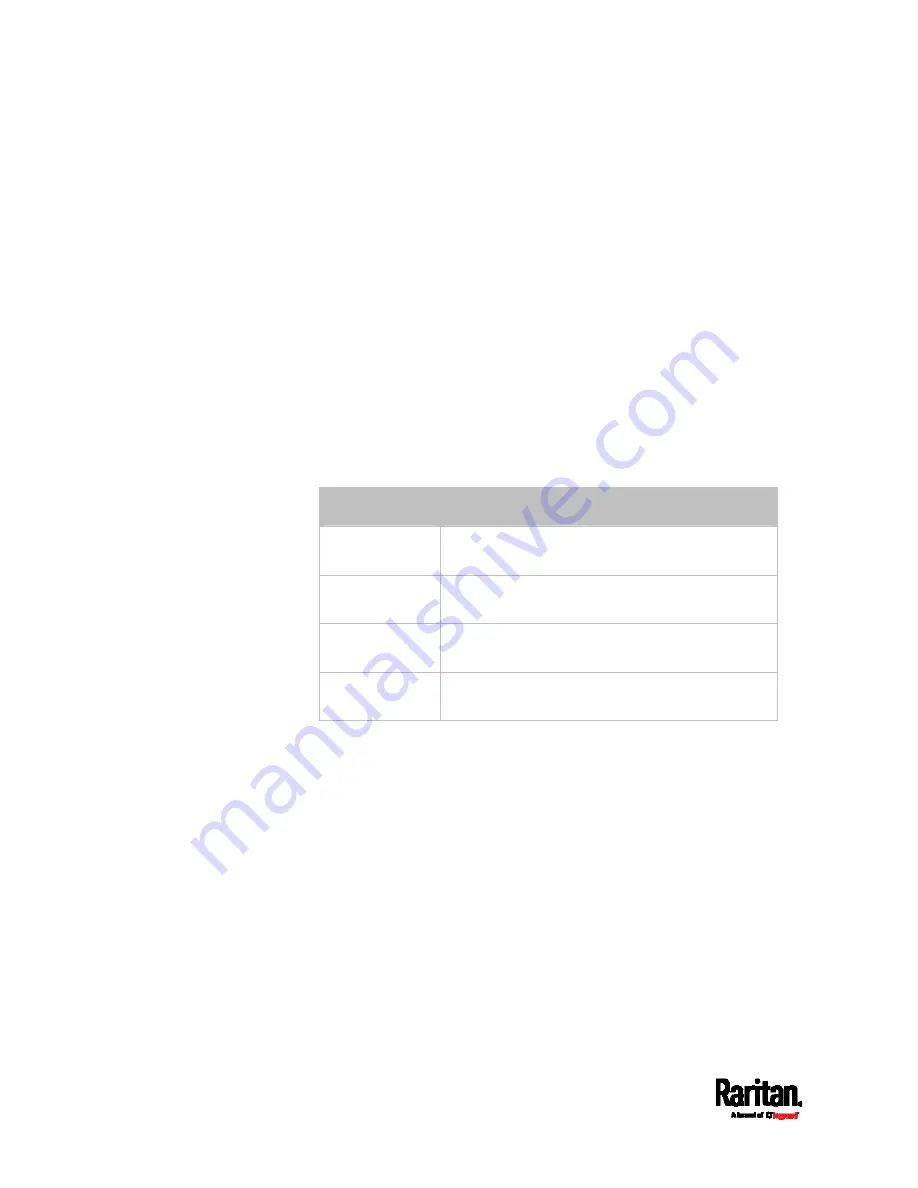
<sensor_type> is one of these types:
contact, smokeDetection,
waterDetection or vibration.
Type
Description
contact
The connected detector/switch is for detection of
door lock or door closed/open status.
smokeDetection The connected detector/switch is for detection of
the smoke presence.
waterDetection
The connected detector/switch is for detection of
the water presence.
vibration The
connected
detector/switch is for detection of
the vibration.
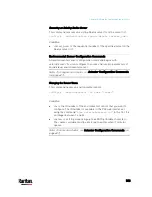
Setting the X Coordinate
This command specifies the X coordinate of an environmental sensor.
config:#
externalsensor <n> xlabel "<coordinate>"
Variables:
<n> is the ID number of the environmental sensor that you want to
configure. The ID number is available in the PX3 web interface or
using the command "
show externalsensors <n>
" in the CLI. It is
an integer between 1 and 32.
<coordinate> is a string comprising up to 24 ASCII printable
characters, and it must be enclosed in quotes.
Содержание PX3-3000 series
Страница 5: ......
Страница 18: ...Contents xviii Index 841...
Страница 66: ...Chapter 3 Initial Installation and Configuration 42 Number Device role Master device Slave 1 Slave 2 Slave 3...
Страница 93: ...Chapter 4 Connecting External Equipment Optional 69...
Страница 787: ...Appendix J RADIUS Configuration Illustration 763 Note If your PX3 uses PAP then select PAP...
Страница 788: ...Appendix J RADIUS Configuration Illustration 764 10 Select Standard to the left of the dialog and then click Add...
Страница 789: ...Appendix J RADIUS Configuration Illustration 765 11 Select Filter Id from the list of attributes and click Add...
Страница 792: ...Appendix J RADIUS Configuration Illustration 768 14 The new attribute is added Click OK...
Страница 793: ...Appendix J RADIUS Configuration Illustration 769 15 Click Next to continue...
Страница 823: ...Appendix K Additional PX3 Information 799...
Страница 853: ...Appendix L Integration 829 3 Click OK...


