Appendix J: RADIUS Configuration Illustration
774
3.
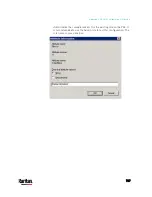
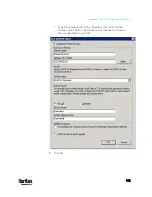
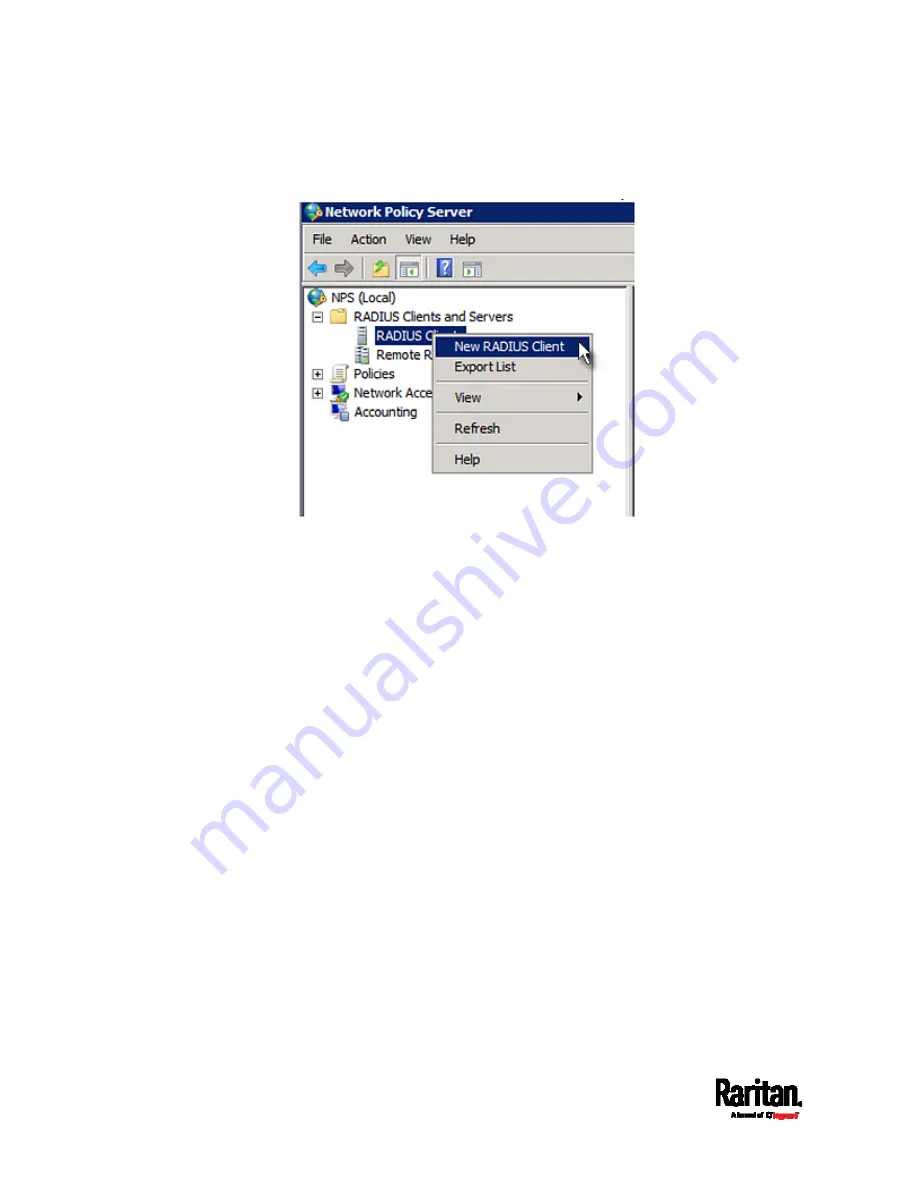
Under "RADIUS Clients and Servers," right-click RADIUS Client and
select New RADIUS Client. The New RADIUS Client dialog appears.
4.
Do the following to add your PX3 to NPS:
a.
Verify the "Enable this RADIUS client" checkbox is selected.
b.
Type a name for identifying your PX3 in the "Friendly name" field.
c.
Type
192.168.56.29 in the "Address (IP or DNS)" field.
d.
Select
RADIUS Standard in the "Vendor name" field.
e.
Select the
Manual radio button.
Содержание PX3-3000 series
Страница 5: ......
Страница 18: ...Contents xviii Index 841...
Страница 66: ...Chapter 3 Initial Installation and Configuration 42 Number Device role Master device Slave 1 Slave 2 Slave 3...
Страница 93: ...Chapter 4 Connecting External Equipment Optional 69...
Страница 787: ...Appendix J RADIUS Configuration Illustration 763 Note If your PX3 uses PAP then select PAP...
Страница 788: ...Appendix J RADIUS Configuration Illustration 764 10 Select Standard to the left of the dialog and then click Add...
Страница 789: ...Appendix J RADIUS Configuration Illustration 765 11 Select Filter Id from the list of attributes and click Add...
Страница 792: ...Appendix J RADIUS Configuration Illustration 768 14 The new attribute is added Click OK...
Страница 793: ...Appendix J RADIUS Configuration Illustration 769 15 Click Next to continue...
Страница 823: ...Appendix K Additional PX3 Information 799...
Страница 853: ...Appendix L Integration 829 3 Click OK...


