Chapter 6: Using the Web Interface
407
Alternatives:
To use a different method to perform bulk configuration, refer to:
Bulk Configuration via SCP
(on page 633)
Bulk Configuration or Firmware Upgrade via DHCP/TFTP
(on
page 678)
Configuration or Firmware Upgrade with a USB Drive
(on page
Modifying or Removing Bulk Profiles
You can modify or remove any bulk profile except for the built-in one.
Choose Maintenance > Bulk Configuration. A list of profiles displays and
then do one of the following.
To modify an existing profile:
1.
Click on the row of the wanted profile in the list.
2.
Change the settings you want.
3.
Click Save.
To remove a single profile:
1.
Click on the row of the wanted profile.
2.
Click
on the top-right corner.
3.
Click Delete on the confirmation message.
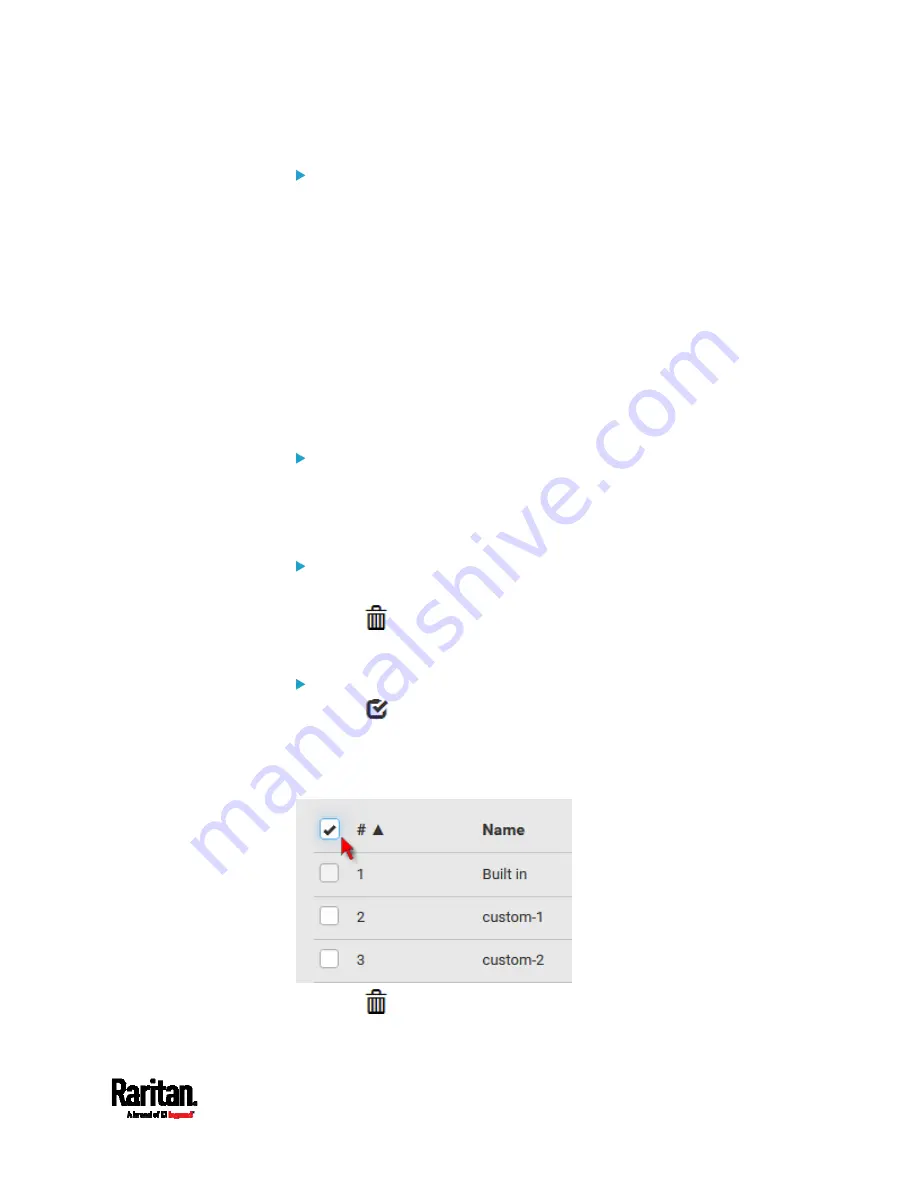
To remove one or multiple profiles:
1.
Click
to make checkboxes appear in front of profiles.
2.
Select one or multiple profiles.
To select ALL profiles, select the topmost checkbox in the header
row.
3.
Click
on the top-right corner.
Содержание PX3-3000 series
Страница 5: ......
Страница 18: ...Contents xviii Index 841...
Страница 66: ...Chapter 3 Initial Installation and Configuration 42 Number Device role Master device Slave 1 Slave 2 Slave 3...
Страница 93: ...Chapter 4 Connecting External Equipment Optional 69...
Страница 787: ...Appendix J RADIUS Configuration Illustration 763 Note If your PX3 uses PAP then select PAP...
Страница 788: ...Appendix J RADIUS Configuration Illustration 764 10 Select Standard to the left of the dialog and then click Add...
Страница 789: ...Appendix J RADIUS Configuration Illustration 765 11 Select Filter Id from the list of attributes and click Add...
Страница 792: ...Appendix J RADIUS Configuration Illustration 768 14 The new attribute is added Click OK...
Страница 793: ...Appendix J RADIUS Configuration Illustration 769 15 Click Next to continue...
Страница 823: ...Appendix K Additional PX3 Information 799...
Страница 853: ...Appendix L Integration 829 3 Click OK...


