Appendix C: Configuration or Firmware Upgrade with a USB Drive
670
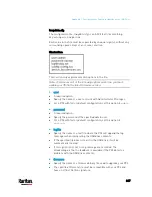
If all outlets will share the same "on" or "off" setting, replace the
outlet numbers with the word "all".
Examples:
Turn on outlets 1 to 3, and 10, and turn off outlets 4 to 9.
switch_outlets=1,2,3:on;4-9:off;10:on
Turn on all outlets.
switch_outlets=all:on
tls_cert_file
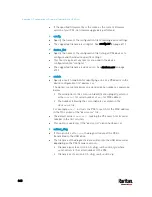
Specify the filename of the wanted TLS server certificate. The
filename can contain a single placeholder ${SERIAL} that is replaced
with the serial number of the PX3.
This option should be used with tls_key_file listed below.
This option is NOT supported by bulk configuration or
backup/restore via DHCP/TFTP.
tls_key_file
Specify the filename of the wanted TLS server key. The filename can
contain a single placeholder ${SERIAL} that is replaced with the
serial number of the PX3.
This option should be used with tls_cert_file listed above.
This option is NOT supported by bulk configuration or
backup/restore via DHCP/TFTP.
execute_lua_script
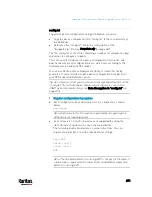
Specify a Lua script file. For example:
execute_lua_script=my_script.lua
Script output will be recorded to a log file --
<BASENAME_OF_SCRIPT>.<SERIAL_NUMBER>.log. Note this log
file's size is limited on DHCP/TFTP.
A DHCP/TFTP-located script has a timeout of 60 seconds. After that
duration the script will be removed.
This feature can be used to manage LuaService, such as upload,
start, get output, and so on.
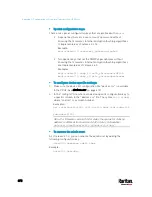
If you unplug the USB drive while the Lua script is still running, the
script will be removed.
An exit handler can be used but the execution time is limited to three
seconds. Note that this is not implemented on DHCP/TFTP yet.
Содержание PX3-3000 series
Страница 5: ......
Страница 18: ...Contents xviii Index 841...
Страница 66: ...Chapter 3 Initial Installation and Configuration 42 Number Device role Master device Slave 1 Slave 2 Slave 3...
Страница 93: ...Chapter 4 Connecting External Equipment Optional 69...
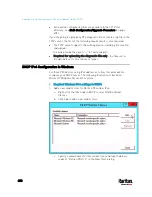
Страница 787: ...Appendix J RADIUS Configuration Illustration 763 Note If your PX3 uses PAP then select PAP...
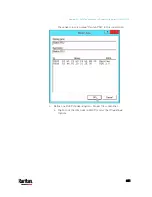
Страница 788: ...Appendix J RADIUS Configuration Illustration 764 10 Select Standard to the left of the dialog and then click Add...
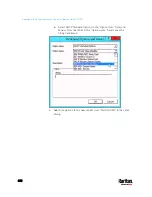
Страница 789: ...Appendix J RADIUS Configuration Illustration 765 11 Select Filter Id from the list of attributes and click Add...
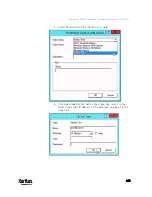
Страница 792: ...Appendix J RADIUS Configuration Illustration 768 14 The new attribute is added Click OK...
Страница 793: ...Appendix J RADIUS Configuration Illustration 769 15 Click Next to continue...
Страница 823: ...Appendix K Additional PX3 Information 799...
Страница 853: ...Appendix L Integration 829 3 Click OK...

