Chapter 6: Using the Web Interface
301
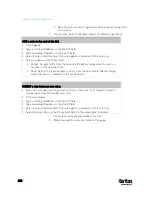
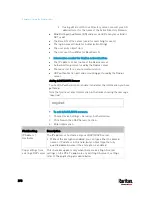
5.
Click Add Server. The new LDAP server is listed on the
Authentication page.
6.
To add more servers, repeat the same steps.
7.
In the Authentication Type field, select LDAP. Otherwise, the LDAP
authentication does not work.
8.
Click Save. The LDAP authentication is now in place.
To duplicate LDAP/LDAPS server settings:
If you have added any LDAP/LDAPS server to the PX3, and the server you
will add shares identical settings with an existing one, the most
convenient way is to duplicate that LDAP/LDAPS server's data and then
revise the IP address/host name.
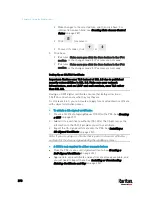
1.
Repeat Steps 1 to 2 in the above procedure.
2.
Select the "Copy settings from existing LDAP server" checkbox.
3.
Click the "Select LDAP Server" field to select the LDAP/LDAPS
server whose settings you want to copy.
4.
Modify the IP Address/Hostname field.
5.
Click Add Server.
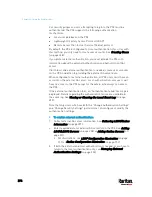
Note: If the PX3 clock and the LDAP server clock are out of sync, the
installed TLS certificates, if any, may be considered expired. To ensure
proper synchronization, administrators should configure the PX3 and the
LDAP server to use the same NTP server(s).
Adding Radius Servers
To use Radius authentication, enable it and enter the information you
have gathered.
Note that you must enter information in the fields showing the message
'required.'
To add Radius servers:
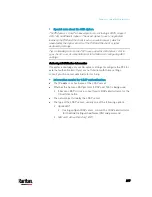
1.
Choose Device Settings > Security > Authentication.
2.
Click New in the Radius section.
3.
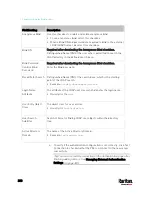
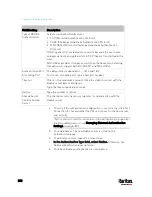
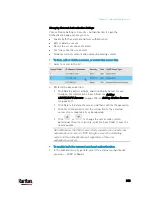
Enter information.
Field/setting
Description
IP Address /
Hostname
The IP address or hostname of your Radius server.
Содержание PX3-3000 series
Страница 5: ......
Страница 18: ...Contents xviii Index 841...
Страница 66: ...Chapter 3 Initial Installation and Configuration 42 Number Device role Master device Slave 1 Slave 2 Slave 3...
Страница 93: ...Chapter 4 Connecting External Equipment Optional 69...
Страница 787: ...Appendix J RADIUS Configuration Illustration 763 Note If your PX3 uses PAP then select PAP...
Страница 788: ...Appendix J RADIUS Configuration Illustration 764 10 Select Standard to the left of the dialog and then click Add...
Страница 789: ...Appendix J RADIUS Configuration Illustration 765 11 Select Filter Id from the list of attributes and click Add...
Страница 792: ...Appendix J RADIUS Configuration Illustration 768 14 The new attribute is added Click OK...
Страница 793: ...Appendix J RADIUS Configuration Illustration 769 15 Click Next to continue...
Страница 823: ...Appendix K Additional PX3 Information 799...
Страница 853: ...Appendix L Integration 829 3 Click OK...


