Chapter 5: Introduction to PDU Components
128
5.
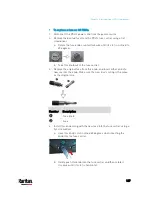
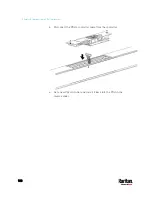
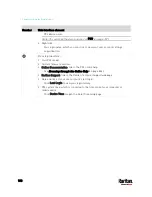
Verify whether this knob's head is aligned with the fuse carrier. If its
head is higher or lower than the fuse carrier, re-install it.
Number
Description
INAPPROPRIATE installations
Appropriate installation
6.
Connect the PDU's power cord to the power source and verify that
the corresponding fuse LED is lit, indicating that the fuse works
properly.
Beeper
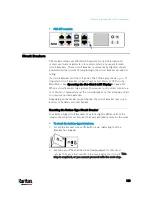
The PX3 includes an internal beeper to issue an audible alarm for an
overcurrent protector which is open.
The beeper sounds an alarm within 3 seconds of a circuit breaker
trip.
The beeper stops as soon as all circuit breakers have been reset.
You can also set the internal beeper to sound for specific events. See
Event Rules and Actions
(on page 312).
Tip: To remotely check this beeper's state via the web interface, see
PDU
(on page 157).
Содержание PX3-3000 series
Страница 5: ......
Страница 18: ...Contents xviii Index 841...
Страница 66: ...Chapter 3 Initial Installation and Configuration 42 Number Device role Master device Slave 1 Slave 2 Slave 3...
Страница 93: ...Chapter 4 Connecting External Equipment Optional 69...
Страница 787: ...Appendix J RADIUS Configuration Illustration 763 Note If your PX3 uses PAP then select PAP...
Страница 788: ...Appendix J RADIUS Configuration Illustration 764 10 Select Standard to the left of the dialog and then click Add...
Страница 789: ...Appendix J RADIUS Configuration Illustration 765 11 Select Filter Id from the list of attributes and click Add...
Страница 792: ...Appendix J RADIUS Configuration Illustration 768 14 The new attribute is added Click OK...
Страница 793: ...Appendix J RADIUS Configuration Illustration 769 15 Click Next to continue...
Страница 823: ...Appendix K Additional PX3 Information 799...
Страница 853: ...Appendix L Integration 829 3 Click OK...

