Chapter 8: Using the Command Line Interface
610
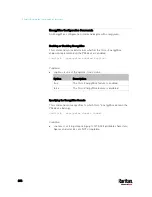
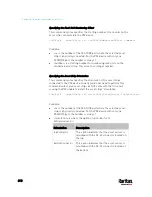
Specifying the Rack Unit Numbering Offset
This command syntax specifies the starting number of rack units on the
asset strips connected to the PX3 device.
config:#
assetStrip <n> rackUnitNumberingOffset <number>
Variables:
<n> is the number of the FEATURE port where the selected asset
strip is physically connected. For the PX3 device with only one
FEATURE port, the number is always 1.
<number> is a starting number for numbering rack units on the
connected asset strip. This value is an integer number.
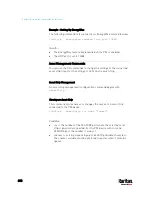
Specifying the Asset Strip Orientation
This command syntax specifies the orientation of the asset strips
connected to the PX3 device. Usually you do not need to perform this
command unless your asset strips do NOT come with the tilt sensor,
causing the PX3 unable to detect the asset strips' orientation.
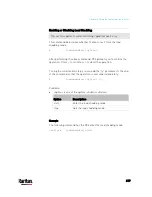
config:#
assetStrip <n> assetStripOrientation <orientation>
Variables:
<n> is the number of the FEATURE port where the selected asset
strip is physically connected. For the PX3 device with only one
FEATURE port, the number is always 1.
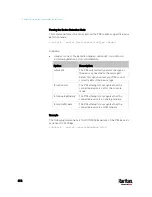
<orientation> is one of the options:
topConnector or
bottomConnector.
Orientation
Description
topConnector
This option indicates that the asset sensor is
mounted with the RJ-45 connector located on
the top.
bottomConnector
This option indicates that the asset sensor is
mounted with the RJ-45 connector located at
the bottom.
Содержание PX3-3000 series
Страница 5: ......
Страница 18: ...Contents xviii Index 841...
Страница 66: ...Chapter 3 Initial Installation and Configuration 42 Number Device role Master device Slave 1 Slave 2 Slave 3...
Страница 93: ...Chapter 4 Connecting External Equipment Optional 69...
Страница 787: ...Appendix J RADIUS Configuration Illustration 763 Note If your PX3 uses PAP then select PAP...
Страница 788: ...Appendix J RADIUS Configuration Illustration 764 10 Select Standard to the left of the dialog and then click Add...
Страница 789: ...Appendix J RADIUS Configuration Illustration 765 11 Select Filter Id from the list of attributes and click Add...
Страница 792: ...Appendix J RADIUS Configuration Illustration 768 14 The new attribute is added Click OK...
Страница 793: ...Appendix J RADIUS Configuration Illustration 769 15 Click Next to continue...
Страница 823: ...Appendix K Additional PX3 Information 799...
Страница 853: ...Appendix L Integration 829 3 Click OK...


