Chapter 6: Using the Web Interface
203
To select ALL sensors/actuators, select the topmost checkbox in
the header row.
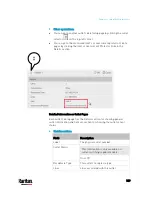
Figure 2: Select all checkboxes
3.
To release selected ones, click
> Release.
To manage them, click
> Manage.
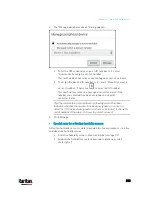
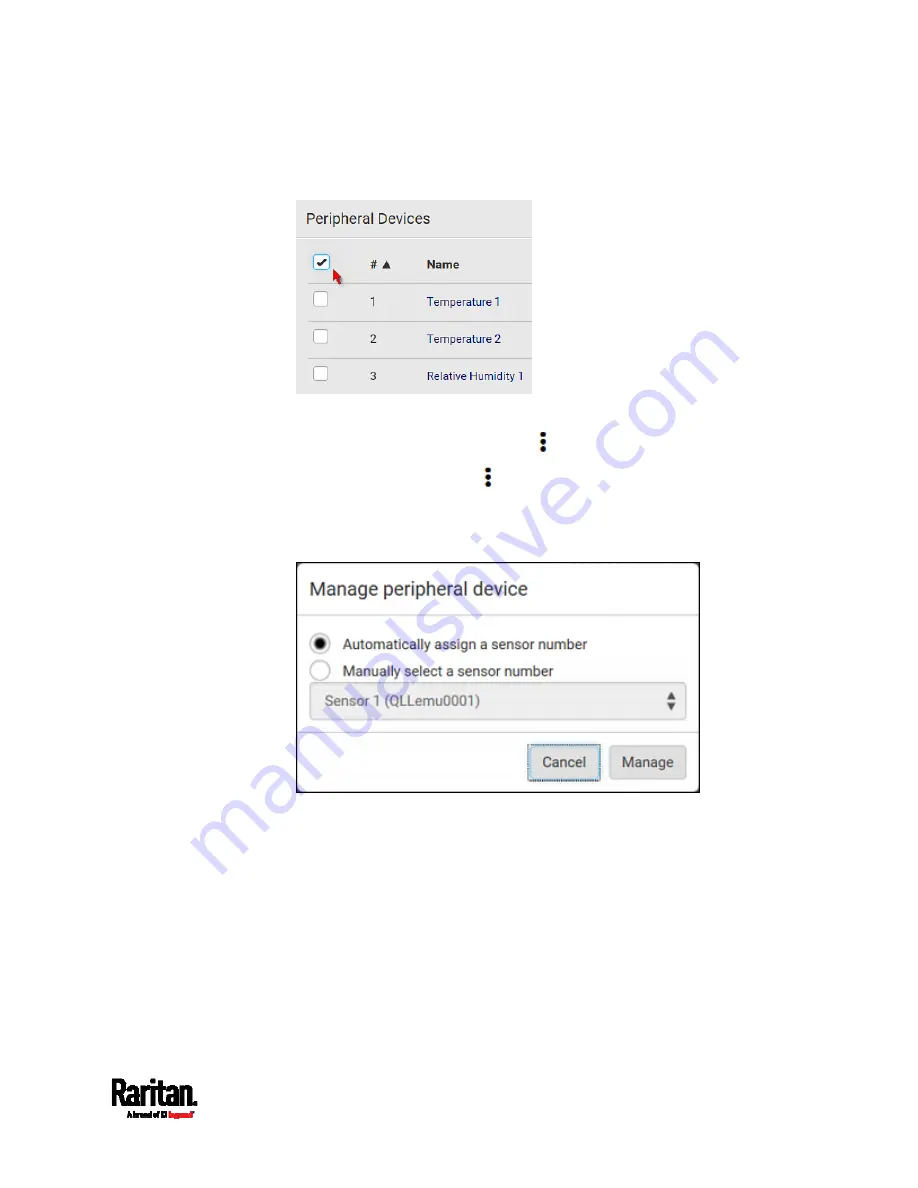
The management action triggers a "Manage peripheral device"
dialog. Simply click Manage if you are managing
multiple
sensors/actuators.
If you are managing only
one sensor/actuator, you can choose to
assign an ID number by selecting "Manually select a sensor
number." See
Managing One Sensor or Actuator
(on page 212).
4.
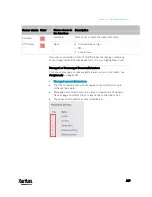
Now released sensors/actuators become "unmanaged."
Managed ones show one of the managed states.
Содержание PX3-3000 series
Страница 5: ......
Страница 18: ...Contents xviii Index 841...
Страница 66: ...Chapter 3 Initial Installation and Configuration 42 Number Device role Master device Slave 1 Slave 2 Slave 3...
Страница 93: ...Chapter 4 Connecting External Equipment Optional 69...
Страница 787: ...Appendix J RADIUS Configuration Illustration 763 Note If your PX3 uses PAP then select PAP...
Страница 788: ...Appendix J RADIUS Configuration Illustration 764 10 Select Standard to the left of the dialog and then click Add...
Страница 789: ...Appendix J RADIUS Configuration Illustration 765 11 Select Filter Id from the list of attributes and click Add...
Страница 792: ...Appendix J RADIUS Configuration Illustration 768 14 The new attribute is added Click OK...
Страница 793: ...Appendix J RADIUS Configuration Illustration 769 15 Click Next to continue...
Страница 823: ...Appendix K Additional PX3 Information 799...
Страница 853: ...Appendix L Integration 829 3 Click OK...

