Chapter 8: Using the Command Line Interface
563
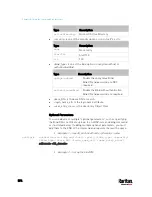
config:#
password
3.
Type the existing password and press Enter when the following
prompt appears.
Current password:
4.
Type the new password and press Enter when the following prompt
appears.
Enter new password:
5.
Re-type the new password for confirmation and press Enter when
the following prompt appears.
Re-type new password:
Setting Default Measurement Units
Default measurement units, including temperature, length, and pressure
units, apply to the PX3 user interfaces across all users except for those
whose preferred measurement units are set differently by themselves or
the administrator. Diverse measurement unit commands can be
combined so that you can set all default measurement units at a time. To
combine all commands, see
Multi-Command Syntax
(on page 617).
Note: The measurement unit change only applies to the web interface
and command line interface.
Tip: To change the preferred measurement units displayed in the PX3
user interfaces for a specific user via CLI, see
Changing Measurement
Units
(on page 560).
Set the default temperature unit:
config:#
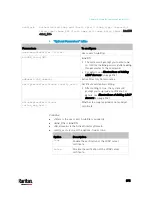
user defaultpreferences preferredTemperatureUnit <option1>
Variables:
<option1> is one of the options:
C or F.
Option
Description
C
This option displays the temperature in Celsius.
F
This option displays the temperature in
Fahrenheit.
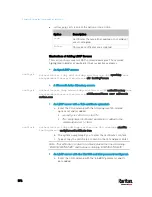
Set the default length unit:
Содержание PX3-3000 series
Страница 5: ......
Страница 18: ...Contents xviii Index 841...
Страница 66: ...Chapter 3 Initial Installation and Configuration 42 Number Device role Master device Slave 1 Slave 2 Slave 3...
Страница 93: ...Chapter 4 Connecting External Equipment Optional 69...
Страница 787: ...Appendix J RADIUS Configuration Illustration 763 Note If your PX3 uses PAP then select PAP...
Страница 788: ...Appendix J RADIUS Configuration Illustration 764 10 Select Standard to the left of the dialog and then click Add...
Страница 789: ...Appendix J RADIUS Configuration Illustration 765 11 Select Filter Id from the list of attributes and click Add...
Страница 792: ...Appendix J RADIUS Configuration Illustration 768 14 The new attribute is added Click OK...
Страница 793: ...Appendix J RADIUS Configuration Illustration 769 15 Click Next to continue...
Страница 823: ...Appendix K Additional PX3 Information 799...
Страница 853: ...Appendix L Integration 829 3 Click OK...

