Chapter 6: Using the Web Interface
340
For a list and definition of available variables, see
Placeholders for
Custom Messages
(on page 357).
Operation:
1.
Choose Device Settings > Event Rules >
.
2.
Select "Send email" from the Action list.
3.
In the "Recipient Email Addresses" field, specify the email
address(es) of the recipient(s). Use a comma to separate multiple
email addresses.
4.
To use the SMTP server specified on the SMTP Server page, select
the "Use default settings" radio button.
To use a different SMTP server, select the "Use custom settings"
radio button. The fields for customized SMTP settings appear. For
information on each field, see
Configuring SMTP Settings
(on page
Default messages are sent based on the event. For a list of default
log messages and events that trigger them, see
Default Log
Messages
(on page 319).
5.
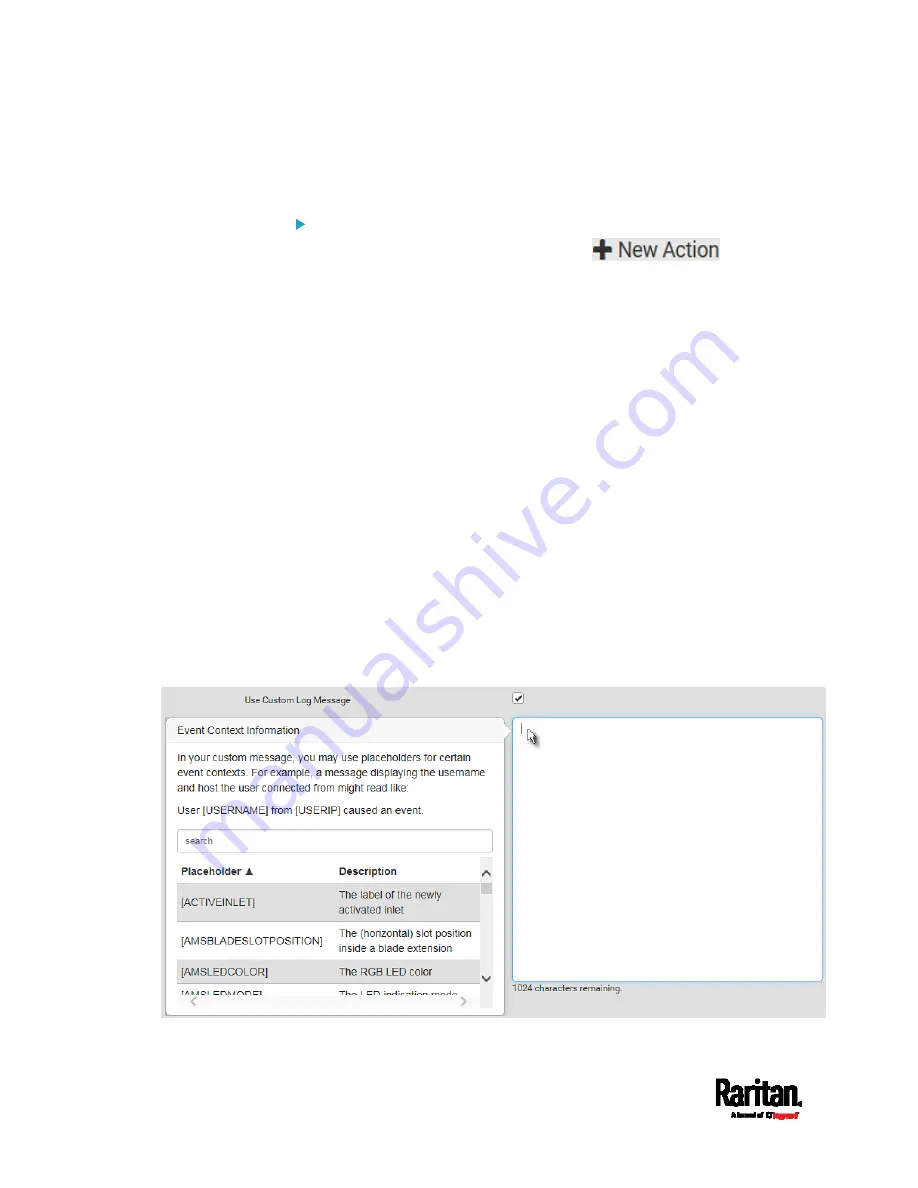
If needed, select the Use Custom Log Message checkbox, and then
create a custom message up to 1024 characters in the provided field.
When clicking anywhere inside the text box, the Event Context
Information displays, showing a list of placeholders and their
definitions. Just scroll down to select the desired placeholder.
For details, see
Placeholders for Custom Messages
(on page
Содержание PX3-3000 series
Страница 5: ......
Страница 18: ...Contents xviii Index 841...
Страница 66: ...Chapter 3 Initial Installation and Configuration 42 Number Device role Master device Slave 1 Slave 2 Slave 3...
Страница 93: ...Chapter 4 Connecting External Equipment Optional 69...
Страница 787: ...Appendix J RADIUS Configuration Illustration 763 Note If your PX3 uses PAP then select PAP...
Страница 788: ...Appendix J RADIUS Configuration Illustration 764 10 Select Standard to the left of the dialog and then click Add...
Страница 789: ...Appendix J RADIUS Configuration Illustration 765 11 Select Filter Id from the list of attributes and click Add...
Страница 792: ...Appendix J RADIUS Configuration Illustration 768 14 The new attribute is added Click OK...
Страница 793: ...Appendix J RADIUS Configuration Illustration 769 15 Click Next to continue...
Страница 823: ...Appendix K Additional PX3 Information 799...
Страница 853: ...Appendix L Integration 829 3 Click OK...


