Chapter 8: Using the Command Line Interface
579
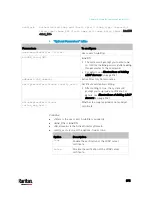
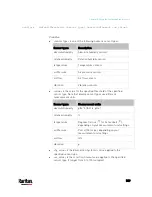
Parameters
Description
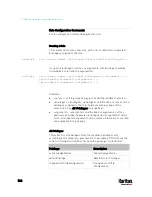
certificate
Re-upload a different certificate.
a.
First add the "certificate" parameter to the command, and
press Enter.
b.
The system prompts you for the input of the certificate.
c.
Type or copy the content of the certificate in the CLI and
press Enter.
allowExpiredCertificate
<allow_exp_cert>
Determine whether to accept a certificate which is expired or
not valid yet.
<allow_exp_cert> determines whether to accept an expired
or not valid yet certificate
<allow_exp_cert> values include:
true
, and
false
bindDN <bind_DN>
Change the bind DN.
<bind_DN> is the new bind DN.
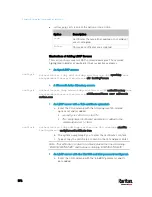
bindPassword
Change the bind DN password.
a.
First add the "bindPassword" parameter to the command,
and press Enter.
b.
The system prompts you for the input of the password.
c.
Type the password and press Enter.
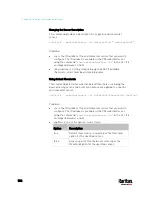
sortPosition <position>
Change the priority of the server (that is, resorting).
<position> is the new sequential number of the server in
the LDAP server list.
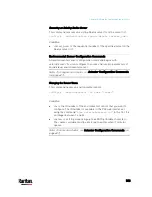
Note: For details of the above variables' values, see
Adding an LDAP
Server
(on page 573).
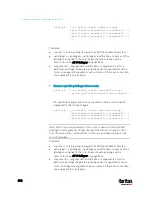
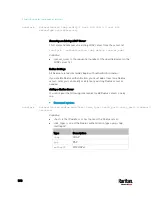
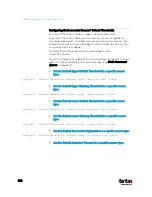
Examples:
Change the IP address of the 1st LDAP server
config:#
authentication ldap modify 1 host 192.168.3.3
Change both the IP address and TCP port of the 1st LDAP server
config:#
authentication ldap modify 1 host 192.168.3.3 port 633
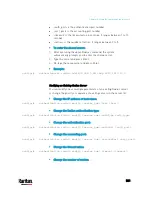
Change the IP address, TCP port and the type of the L1st DAP
server
Содержание PX3-3000 series
Страница 5: ......
Страница 18: ...Contents xviii Index 841...
Страница 66: ...Chapter 3 Initial Installation and Configuration 42 Number Device role Master device Slave 1 Slave 2 Slave 3...
Страница 93: ...Chapter 4 Connecting External Equipment Optional 69...
Страница 787: ...Appendix J RADIUS Configuration Illustration 763 Note If your PX3 uses PAP then select PAP...
Страница 788: ...Appendix J RADIUS Configuration Illustration 764 10 Select Standard to the left of the dialog and then click Add...
Страница 789: ...Appendix J RADIUS Configuration Illustration 765 11 Select Filter Id from the list of attributes and click Add...
Страница 792: ...Appendix J RADIUS Configuration Illustration 768 14 The new attribute is added Click OK...
Страница 793: ...Appendix J RADIUS Configuration Illustration 769 15 Click Next to continue...
Страница 823: ...Appendix K Additional PX3 Information 799...
Страница 853: ...Appendix L Integration 829 3 Click OK...


