


GE Healthcare
Senographe DS
Revision 1
Service Information and Procedures Class A 2385072-16-8EN
Job Card PM A255 - Collimator and Tube Head Cleaning
Page no. 1789
Chapter 11
JC-PM-A-255.fm
6-2
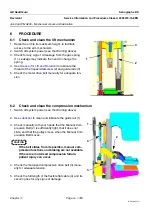
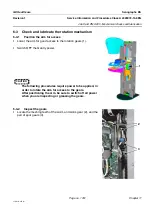
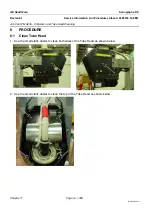
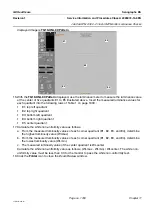
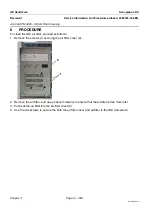
Clean Collimator
Note:
It is not necessary to remove the Collimator when cleaning the Collimator.
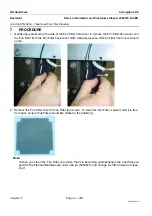
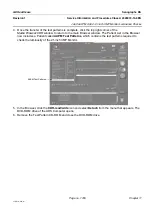
1. Remove the two screws (5, one each side) securing the rear plate (6) which supports the FOV button
(4 mm allen wrench).
2. Using an antistatic bag as protection, place the plate and FOV button on the X-ray head support arm.
! Notice:
Do not attempt to disconnect the FOV button.
Do not allow the plate to hang down; the FOV connection is fragile.
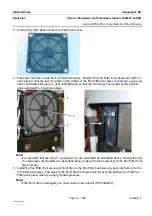
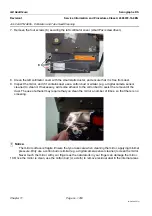
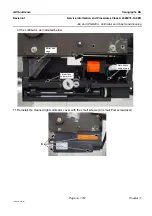
3. Remove the four screws (3, two each side) which secure the X-ray containment box (2).
4. Remove the X-ray containment box. If necessary, first remove the two screws (4) which secure the
fan protection box.
5. Remove the four screws (7) securing the right collimator cover (small Pozi screwdriver).
6. Clean the right collimator cover with the small static duster, and ensure that it is free from dust.
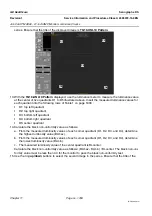
4
3
2
5
6
7


