Chapter 9
Page no. 1300
JC-DR-A-245.fm
GE Healthcare
Senographe DS
Revision 1
Service Information and Procedures Class A 2385072-16-8EN
Job Card D/R A245 - Manual Compression Belt
6
PROCEDURE
6-1
Disassembly of the Manual Compression Belt
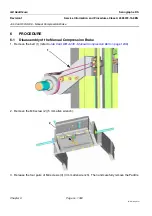
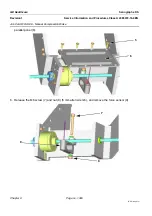
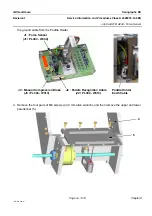
1. Release the two tension screws (2) (5 mm allen wrench).
2. Remove the spring clip (4) which secures the pulley (5) from the shaft (3).
3. Remove the pully from the shaft.
Note:
When removing the pulley (5) take great care not to lose the anti-rotation key (6), which
locks it to the shaft.
4. Disengage and remove the Manual Compression Belt.
6-2
Reassembly of the Manual Compression Belt
Reverse the disassembly procedure.
•
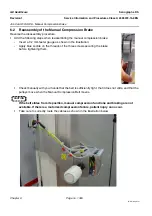
Check manually with your hands that the belt is sufficiently tight, that it does not slide, and that the
pulleys move when the Manual Compression Belt moves.
CAUTION
During reassembly of the small pulley (5), double check that its anti-rotation key (6) and
securing clip (4) are correctly set in place.
If the key is absent or the belt slides from its position, manual compression functions and
braking are not available. If there is a motorized compression failure patient injury is pos-
sible.
7
COMPLETION
Check that the maximum applicable manual compression is between 27 daN and 30 daN. To do this,
carry out the procedures described in
Job Card ELE A017 - Manual Compression Check and Calibration
.
2
3
5
6
4


