


GE Healthcare
Senographe DS
Revision 1
Service Information and Procedures Class A 2385072-16-8EN
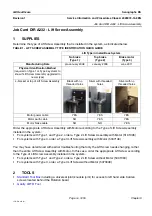
Job Card D/R A232 - Lift Screw Assembly
Page no. 1259
Chapter 9
JC-DR-A-232.fm
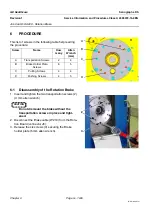
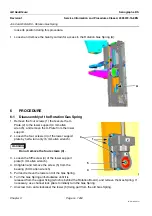
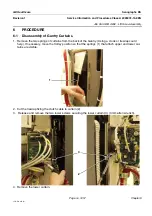
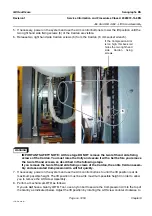
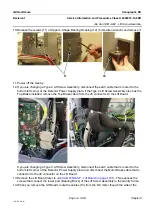
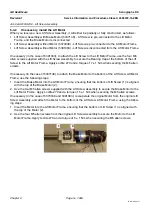
5. If necessary, power on the system and use the Arm control buttons to lower the lift position until the
two right hand side fixing screws (6) of the Cardan are visible.
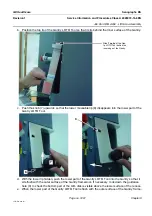
6. Release two right hand side Cardan screws (6) from the Cardan. (6 mm socket wrench).
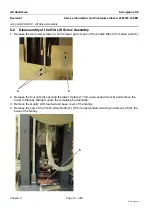
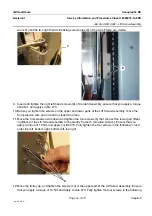
WARNING
IMPORTANT SAFETY NOTE: At this stage DO NOT remove the two left hand side fixing
screws of the Cardan. You must raise the trolly and secure it with a belt before you remove
the two left hand screws, as described in the following steps.
If you remove the two left hand side fixing screws of the Cardan, the entire Cardan assem-
bly and associated Compression Arm will fall quickly.
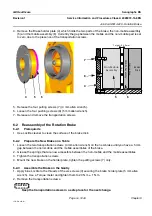
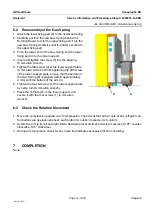
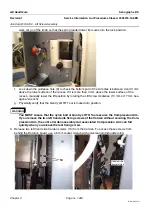
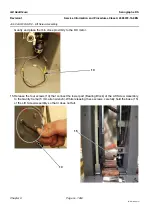
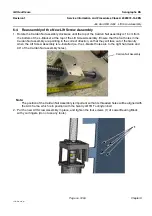
7. If necessary, power on the system and use the Arm control buttons to until the lift position is at its
maximum possible height. The lift position must be at its maximum possible height in order to allow
you to remove the Lift Screw Assembly.
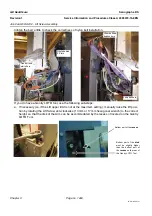
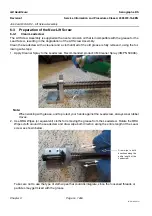
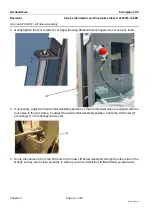
8. Perfom a mechanical LOTO as follows:
If you do
not
have a Gantry LOTO Tool, use a nylon belt to secure the Compression Arm to the top of
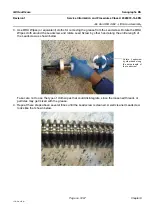
the Gantry as indicated below. Adjust the lift position by rotating the Lift Screw counter clockwise to
6
If the Compression Arm
is too high, this back rail
hides the two right hand
side Cardan fixing
screws.


