GE Healthcare
Senographe DS
Revision 1
Service Information and Procedures Class A 2385072-16-8EN
Job Card D/R A232 - Lift Screw Assembly
Page no. 1269
Chapter 9
JC-DR-A-232.fm
6-4
Reassembly of the New Lift Screw Assembly
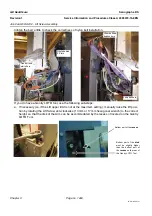
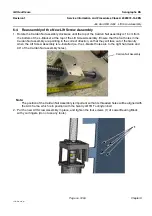
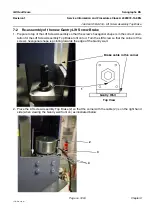
1. Rotate the Cardan Nut assembly clockwise until the top of the Cardan Nut assembly is 16 cm from
the bottom of the L-Bracket at the top of the Lift Screw Assembly. Ensure that the four holes in the
Cardan Nut assembly are pointing in the correct direction, so that they will face out of the Gantry
when the Lift Screw Assembly is re-installed (i.e. the L-bracket holes are to the right hand side and
90° of the Cardan Nut assembly holes).
Note:
The position of the Cardan Nut Assembly is important so that its threaded holes will be aligned with
the Arm frame, which is in position with the Gantry LOTO Tool/nylon belt.
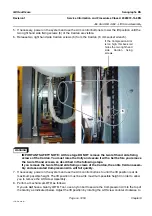
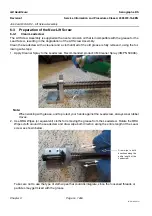
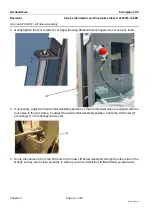
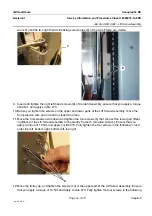
2. Put the new Lift Screw Assembly in place, and tighten the four screws (1) of Lower Bearing Block
with your fingers (do not use any tools).
Cardan Nut Assembly
1

