


GE Healthcare
Senographe DS
Revision 1
Service Information and Procedures Class A 2385072-16-8EN
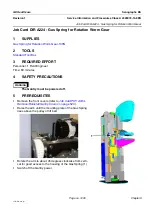
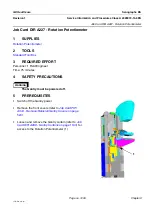
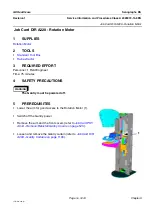
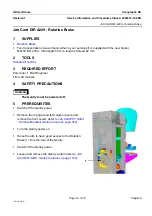
Job Card D/R A223 - Rotation Optical Fork
Page no. 1233
Chapter 9
JC-DR-A-223.fm
6-2
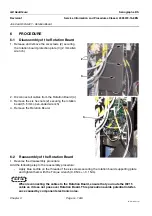
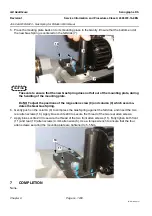
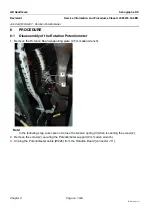
Reassembly of the Optical Fork
•
Reverse the disassembly procedure.
Add the following step to the reassembly procedure:
•
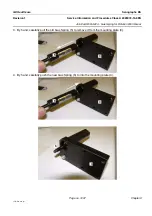
Apply blue Loctite on the threads of the four screws securing the rotation board supporting plate
and on the threads of the two screws securing the Optical Fork before tightening them.
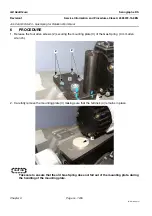
CAUTION
When connecting the new Optical Fork to the Rotation Board, ensure that you route the
W215 cable so it does not pass over Rotation Board. This precaution avoids potential
interference caused by component electronic noise.
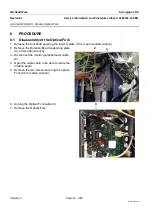
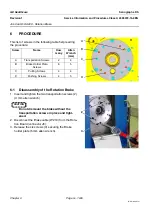
6-3
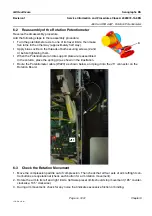
Check the Rotation Movement
1. Move the compression paddle out of compression. Then check that all four sets of arm left/right con-
trol buttons are operational (check each button for rotation movement of column).
2. Move column to its left and right limits. Software preset limits should stop movement (185° counter-
clockwise, 165° clockwise).
7
COMPLETION
None


