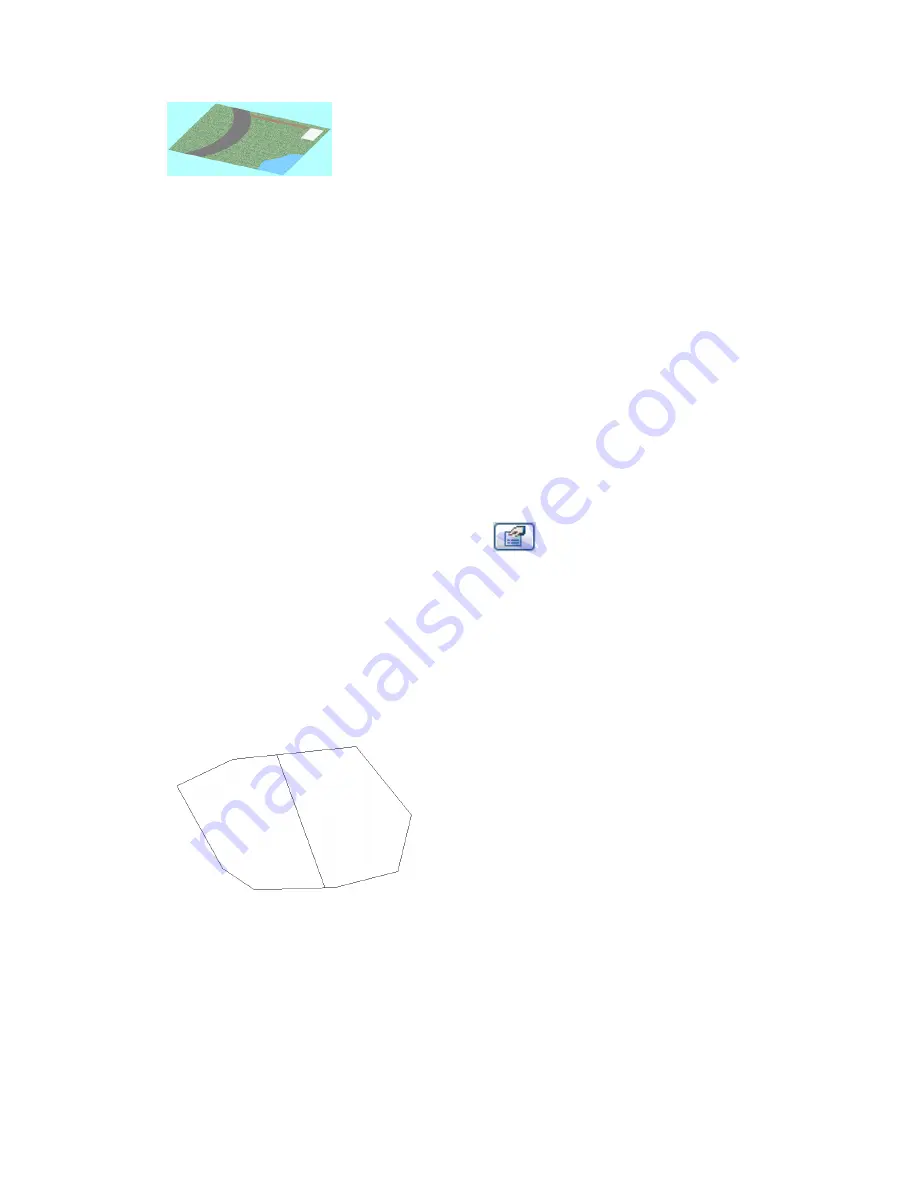
Sample split surface
To split a toposurface:
1
Open a site plan or 3D view.
2
Click Site menu
➤
Split Surface, or on the Site tab of the Design Bar, click Split Surface.
3
In the drawing area, select the toposurface to split.
Revit Architecture enters Sketch mode.
4
On the Options Bar, select Draw or Pick Lines.
You cannot pick toposurface lines with the Pick tool. You can pick other valid lines, such as
walls. See
Sketching
on page 251.
5
To sketch the split surface, use one of the following methods:
■
Sketch a single closed loop that does not touch boundaries of the surface.
■
Sketch any number of open loops. Both ends of an open loop must lie on the boundary of
the surface. No part of the open loop can intersect or be coincident with the boundary of
the surface.
6
Click Finish Sketch.
If desired, you can select a newly split surface, click
(Element Properties), and apply a new material
(such as Site-Grass or Site-Asphalt).
Merging Toposurfaces
You can merge 2 separate toposurfaces into one surface. This command is useful after previously splitting
the surface. See
Splitting a Toposurface
on page 896.
The surfaces to be merged must share a common edge or overlap.
Valid split surfaces for merging
Merging Toposurfaces | 897
Summary of Contents for 24000-000000-9860 - Revit Architecture - PC
Page 1: ...Revit Architecture 2009 User s Guide April 2008 240A1 050000 PM02A ...
Page 4: ......
Page 56: ...18 ...
Page 116: ...78 Chapter 3 Revit Essentials ...
Page 172: ...134 Chapter 4 ProjectViews ...
Page 178: ...Schedule with Grid Lines Schedule with Grid Lines and an Outline 140 Chapter 4 ProjectViews ...
Page 554: ...516 ...
Page 739: ...Curtain wall Curtain Grid Curtain Walls Curtain Grids and Mullions 701 ...
Page 1004: ...966 ...
Page 1136: ...1098 ...
Page 1226: ...1188 ...
Page 1250: ...1212 ...
Page 1276: ...1238 Chapter 20 Design Options ...
Page 1310: ...1272 ...
Page 1366: ...1328 ...
Page 1406: ...1368 ...


