Then do this...
If you want to...
select the element, and use the drag controls (blue dots) and shape handles to
change its shape or size.
For more information, see
Resizing Elements
on page 312 and
Controls and Shape
Handles
on page 279.
change the shape or size of an element
select the element, and press the SPACEBAR or click the flip control
(when
available).
For example, you can flip the swing of a door, rotate a desk, or change the orient-
ation of a window or compound wall.
flip an element
select the elements, and use the standard Windows shortcuts: CTRL+X to cut,
CTRL+C to copy, and DEL to delete.
cut, copy, or delete elements
press CTRL+Z.
undo the most recent action
press ESC twice, or on the Design Bar, click Modify.
exit a command
Getting Hints About What to Do Next
If you start a command (such as Rotate) and are not sure what to do next, check the status bar. It often
displays tips or hints about what to do next for the current command. In addition, a tool tip appears next
to the cursor, displaying the same information.
To cancel or exit the current command, do either of the following:
■
Press
ESC
twice.
■
On the Design Bar, click Modify.
Entering Dimensions
As you draw a line in the drawing area, you can draw the line until the desired dimension displays, or you
can specify an exact value for its dimension, as follows:
1
Click in the drawing area to indicate the starting point for the line.
2
Start drawing in the desired direction.
3
Type the exact dimension desired.
For example, to indicate 300 mm, type
300
. To indicate 8 feet, 6 inches, type
8 6
. To indicate 5 inches,
type
0 5
(indicating zero feet, five inches).
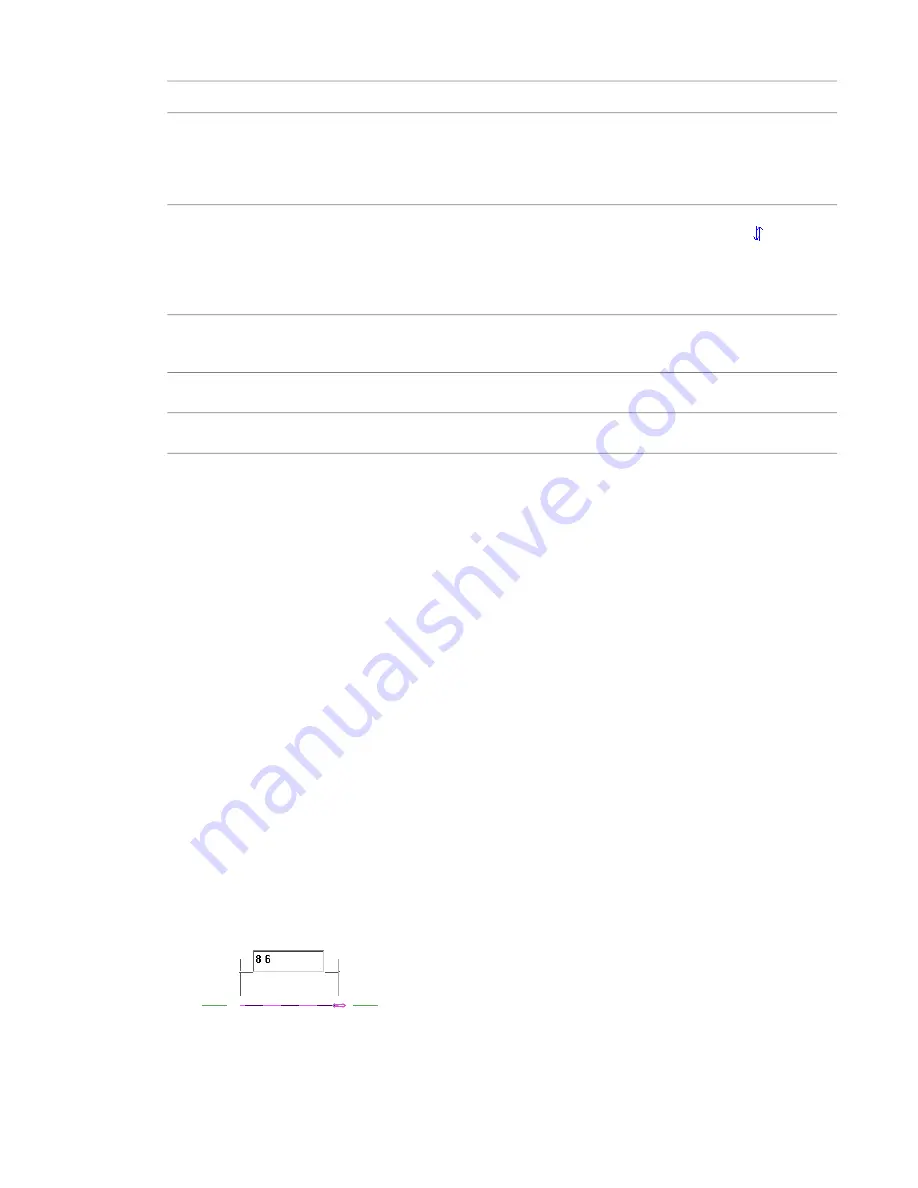
When you start typing, Revit Architecture displays a text box, similar to the following:
4
Press
ENTER
.
66 | Chapter 3 Revit Essentials
Summary of Contents for 24000-000000-9860 - Revit Architecture - PC
Page 1: ...Revit Architecture 2009 User s Guide April 2008 240A1 050000 PM02A ...
Page 4: ......
Page 56: ...18 ...
Page 116: ...78 Chapter 3 Revit Essentials ...
Page 172: ...134 Chapter 4 ProjectViews ...
Page 178: ...Schedule with Grid Lines Schedule with Grid Lines and an Outline 140 Chapter 4 ProjectViews ...
Page 554: ...516 ...
Page 739: ...Curtain wall Curtain Grid Curtain Walls Curtain Grids and Mullions 701 ...
Page 1004: ...966 ...
Page 1136: ...1098 ...
Page 1226: ...1188 ...
Page 1250: ...1212 ...
Page 1276: ...1238 Chapter 20 Design Options ...
Page 1310: ...1272 ...
Page 1366: ...1328 ...
Page 1406: ...1368 ...


