9
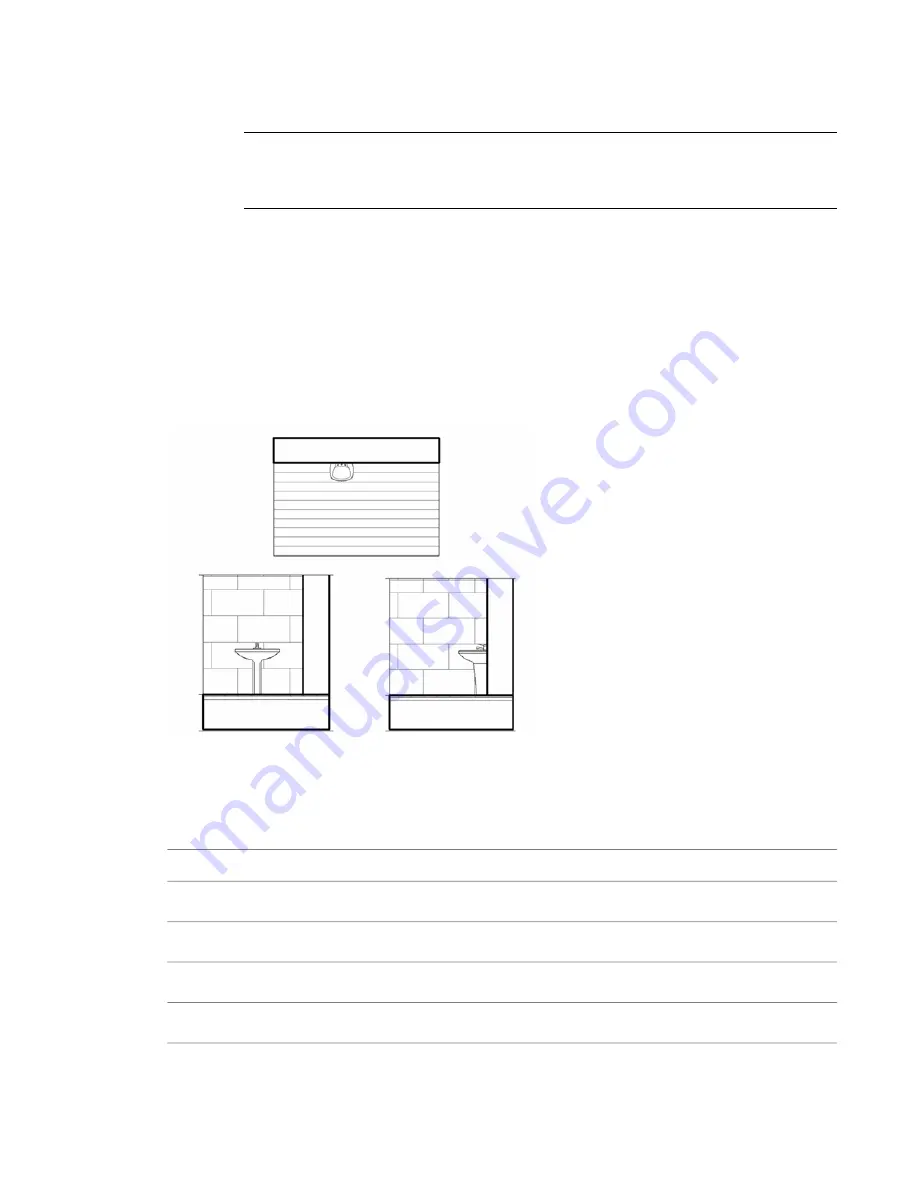
On the Design Bar, click Masking Region.
10
Sketch the masking region.
IMPORTANT
When a model family only contains 2D elements and you are adding a masking region
to a 2D element, you must include an invisible line to represent the Z dimension, which is where the
masking region is drawn. The invisible line must be drawn above the level and must be a minimal
length (such as 1/8”) so that the masking region does not obscure any other elements in the view.
11
Add any other 2D view representations (for example, front elevation and side elevation) and
masking regions, as necessary.
12
When finished, click File menu
➤
Save to save the family.
13
If you need to load the family into a project, on the Design Bar, click Load into Projects.
If you have only one project open, the family loads into that project. If you have multiple
projects open, the Load into Projects dialog opens where you can select the projects to load the
family into.
When you load the family into a project and place it in the drawing area, it obscures surface patterns in
orthogonal views.
Masking Region Properties
Properties for Masking Regions in Projects
Description
Name
Dimensions
The area of the masking region. This is a read-only value.
Area
Identity Data
Comments for the masking region.
Comments
1092 | Chapter 16 Annotating and Detailing
Summary of Contents for 24000-000000-9860 - Revit Architecture - PC
Page 1: ...Revit Architecture 2009 User s Guide April 2008 240A1 050000 PM02A ...
Page 4: ......
Page 56: ...18 ...
Page 116: ...78 Chapter 3 Revit Essentials ...
Page 172: ...134 Chapter 4 ProjectViews ...
Page 178: ...Schedule with Grid Lines Schedule with Grid Lines and an Outline 140 Chapter 4 ProjectViews ...
Page 554: ...516 ...
Page 739: ...Curtain wall Curtain Grid Curtain Walls Curtain Grids and Mullions 701 ...
Page 1004: ...966 ...
Page 1136: ...1098 ...
Page 1226: ...1188 ...
Page 1250: ...1212 ...
Page 1276: ...1238 Chapter 20 Design Options ...
Page 1310: ...1272 ...
Page 1366: ...1328 ...
Page 1406: ...1368 ...


