For information about how to open the Family Editor, see
Creating a New Family
on page 349.
2
Specify the path for the swept blend. Do one of the following on the Sketch tab of the Design
Bar:
■
Click Sketch 2D Path to sketch a new path for the swept blend.
■
Click Pick Path to pick an existing line for the swept blend.
NOTE
If necessary, set the work plane before you sketch or pick the path for the swept blend. Click
Tools menu
➤
Set Work Plane, or on the Design Bar, click Set Work Plane. See
Sketching and Work
Planes
on page 265.
3
Sketch or pick the path, and then click Finish Path. See
Sketching
on page 251.
NOTE
A swept blend path can only have one segment.
4
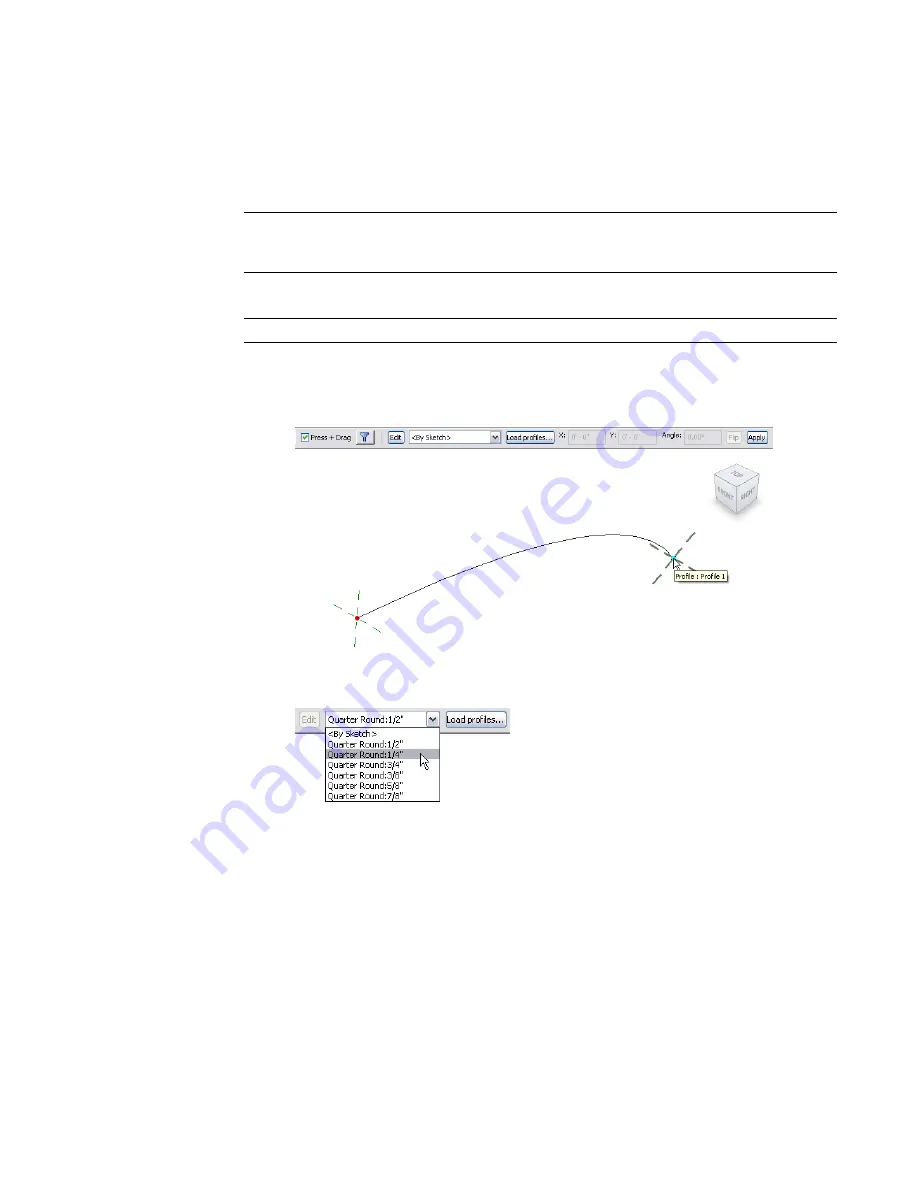
Load or sketch Profile 1.
■
To load a profile:
a
In the drawing area click the end point for Profile 1 on the swept blend path.
b
On the Options Bar, select a profile from the list.
If the profile you need is not already loaded in the project, click Load profiles to load
the profile.
c
Zoom in to see the profile.
388 | Chapter 8 Creating Your Own Components (Families)
Summary of Contents for 24000-000000-9860 - Revit Architecture - PC
Page 1: ...Revit Architecture 2009 User s Guide April 2008 240A1 050000 PM02A ...
Page 4: ......
Page 56: ...18 ...
Page 116: ...78 Chapter 3 Revit Essentials ...
Page 172: ...134 Chapter 4 ProjectViews ...
Page 178: ...Schedule with Grid Lines Schedule with Grid Lines and an Outline 140 Chapter 4 ProjectViews ...
Page 554: ...516 ...
Page 739: ...Curtain wall Curtain Grid Curtain Walls Curtain Grids and Mullions 701 ...
Page 1004: ...966 ...
Page 1136: ...1098 ...
Page 1226: ...1188 ...
Page 1250: ...1212 ...
Page 1276: ...1238 Chapter 20 Design Options ...
Page 1310: ...1272 ...
Page 1366: ...1328 ...
Page 1406: ...1368 ...


