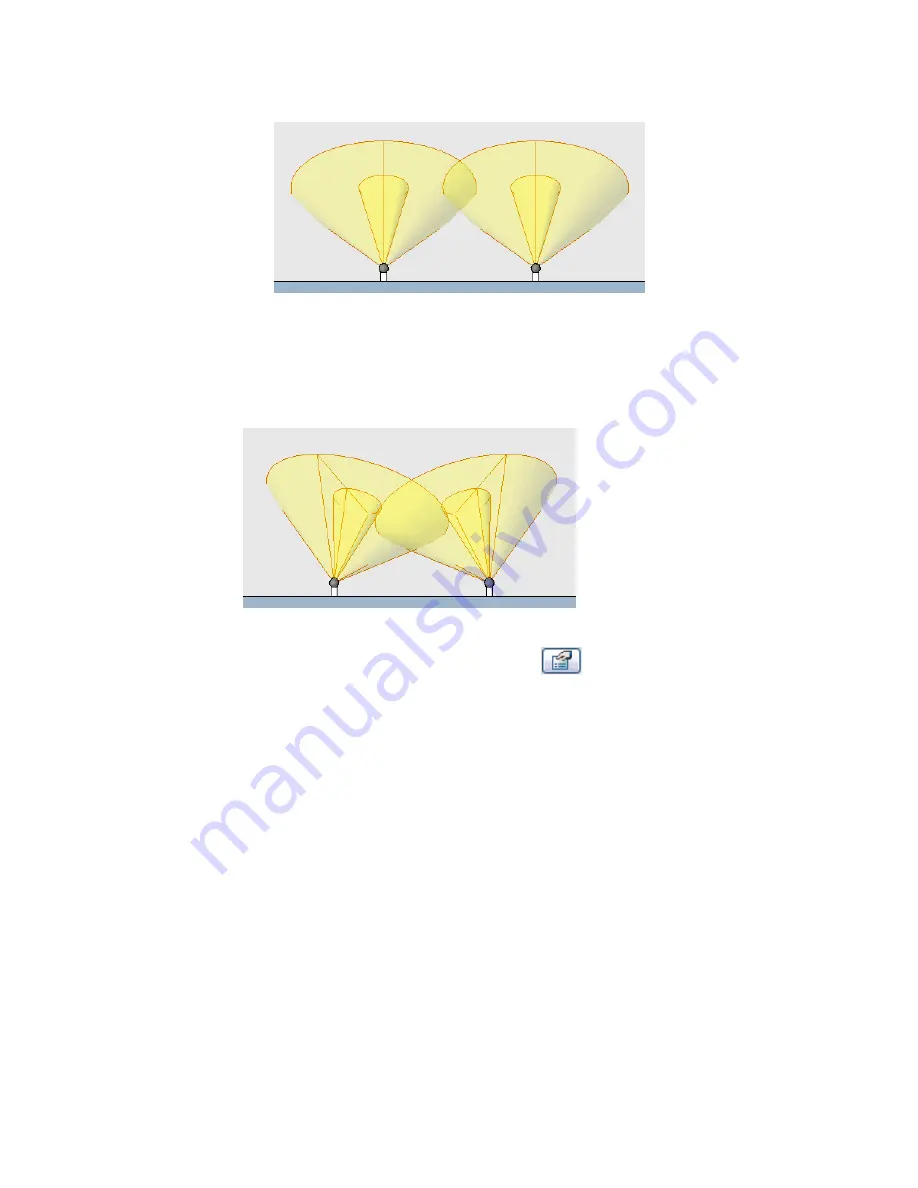
Spotlights in an elevation view with light sources displayed and
Shading with Edges turned on
d
Type
wt
to tile the windows, so you can see both views at the same time.
3
In the placement view, rotate the spotlights to aim their light in the desired direction.
Use the Rotate tool. See
Rotating Elements
on page 308.
Spotlights rotated 30 degrees toward center
4
To tilt a spotlight and control the size of its beam, do the following:
a
In either view, select a spotlight, and click
(Element Properties).
b
In the Element Properties dialog, click Edit/New.
c
Click Duplicate to create a new type.
d
Enter a name for the type, and click OK.
e
In the Type Properties dialog, scroll down to locate the Spot Tilt Angle, Spot Field Angle,
and Spot Beam Angle parameters.
f
Enter the desired values for each parameter.
See
Angles for Spotlights
on page 1132.
g
Click OK twice.
h
Check the results in the lighting view.
For example, in the following image, the left spotlight has a smaller beam angle and field
angle. For the right spotlight, the tilt angle was changed from 60 degrees to 45 degrees.
Using Lighting Fixtures in a Building Model | 1131
Summary of Contents for 24000-000000-9860 - Revit Architecture - PC
Page 1: ...Revit Architecture 2009 User s Guide April 2008 240A1 050000 PM02A ...
Page 4: ......
Page 56: ...18 ...
Page 116: ...78 Chapter 3 Revit Essentials ...
Page 172: ...134 Chapter 4 ProjectViews ...
Page 178: ...Schedule with Grid Lines Schedule with Grid Lines and an Outline 140 Chapter 4 ProjectViews ...
Page 554: ...516 ...
Page 739: ...Curtain wall Curtain Grid Curtain Walls Curtain Grids and Mullions 701 ...
Page 1004: ...966 ...
Page 1136: ...1098 ...
Page 1226: ...1188 ...
Page 1250: ...1212 ...
Page 1276: ...1238 Chapter 20 Design Options ...
Page 1310: ...1272 ...
Page 1366: ...1328 ...
Page 1406: ...1368 ...


