2
Select it and click
(Element Properties).
3
In the Element Properties dialog, click Edit/New.
4
Specify a value for the Elevation Origin parameter. For more information about the values, see
Spot Elevation Type Properties
on page 241.
5
If you set the elevation to Relative, click OK, and set the value for the Relative Base instance
parameter.
Changing Spot Elevation Arrowhead Style
1
Click Settings menu
➤
Annotations
➤
Arrowheads.
2
For Type, select Filled Elevation Target.
3
For Arrow Style, select Elevation Target.
4
If desired, select Fill Tick. If you select this option, the arrowhead looks like the filled elevation
symbol:
. If you do not select this option, the arrowhead is a crosshairs symbol:
.
5
Click OK.
6
Place a spot elevation.
7
Select the spot elevation, click
(Element Properties), and click Edit/New.
8
For Type, select Target Leader.
9
For Leader Arrowhead, select Filled Elevation Target.
NOTE
The Filled Elevation Target type is available for other annotations, such as text note leaders.
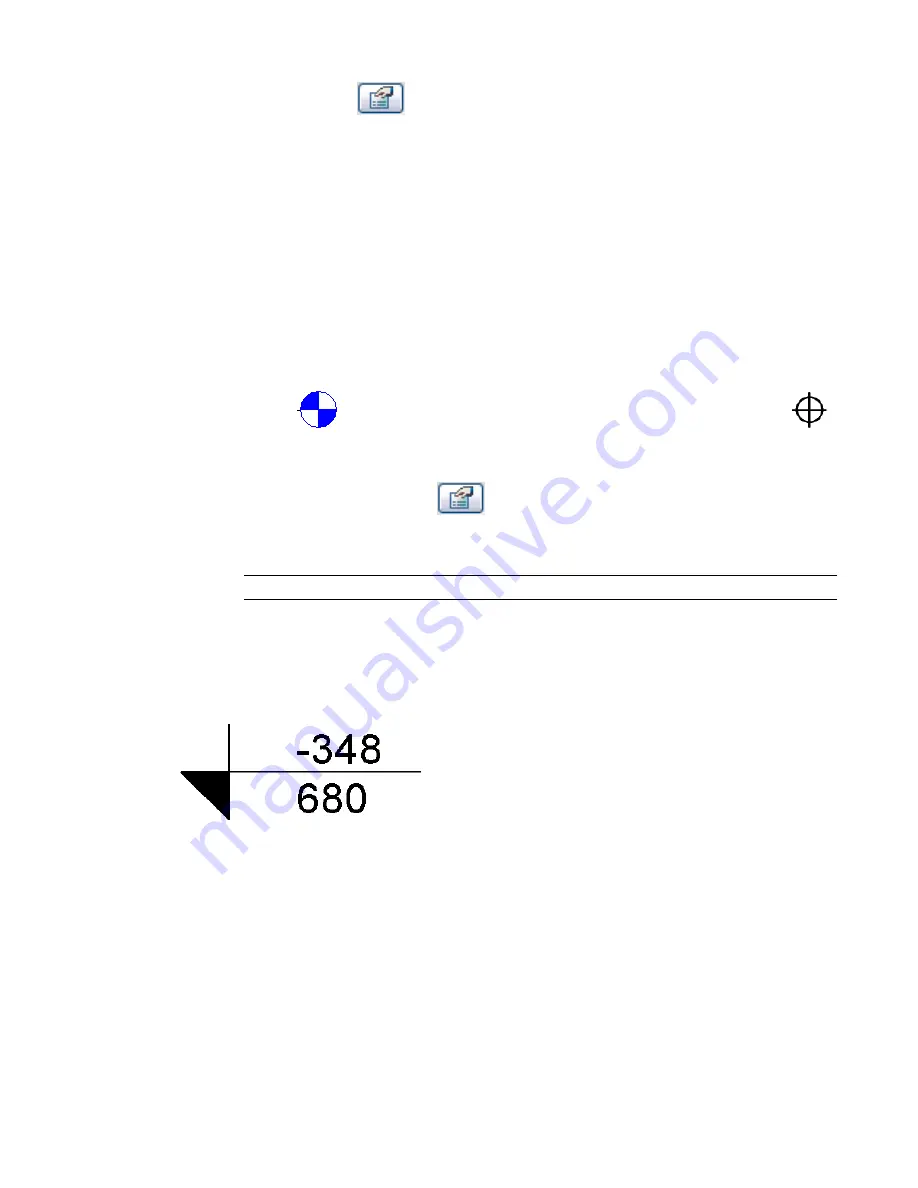
Reporting North, South, East, and West Spot Coordinates
Spot coordinates report the North/South and East/West coordinates of points in a project.
You can also display the elevation of the selected point and indicator text in addition to the coordinates.
230 | Chapter 5 Using Dimensions and Constraints
Summary of Contents for 24000-000000-9860 - Revit Architecture - PC
Page 1: ...Revit Architecture 2009 User s Guide April 2008 240A1 050000 PM02A ...
Page 4: ......
Page 56: ...18 ...
Page 116: ...78 Chapter 3 Revit Essentials ...
Page 172: ...134 Chapter 4 ProjectViews ...
Page 178: ...Schedule with Grid Lines Schedule with Grid Lines and an Outline 140 Chapter 4 ProjectViews ...
Page 554: ...516 ...
Page 739: ...Curtain wall Curtain Grid Curtain Walls Curtain Grids and Mullions 701 ...
Page 1004: ...966 ...
Page 1136: ...1098 ...
Page 1226: ...1188 ...
Page 1250: ...1212 ...
Page 1276: ...1238 Chapter 20 Design Options ...
Page 1310: ...1272 ...
Page 1366: ...1328 ...
Page 1406: ...1368 ...


