3
On the Structural tab of the Design Bar, click Brace.
4
From the Type Selector, select the appropriate brace. Click
to edit the properties of the
brace before adding the brace to your model.
5
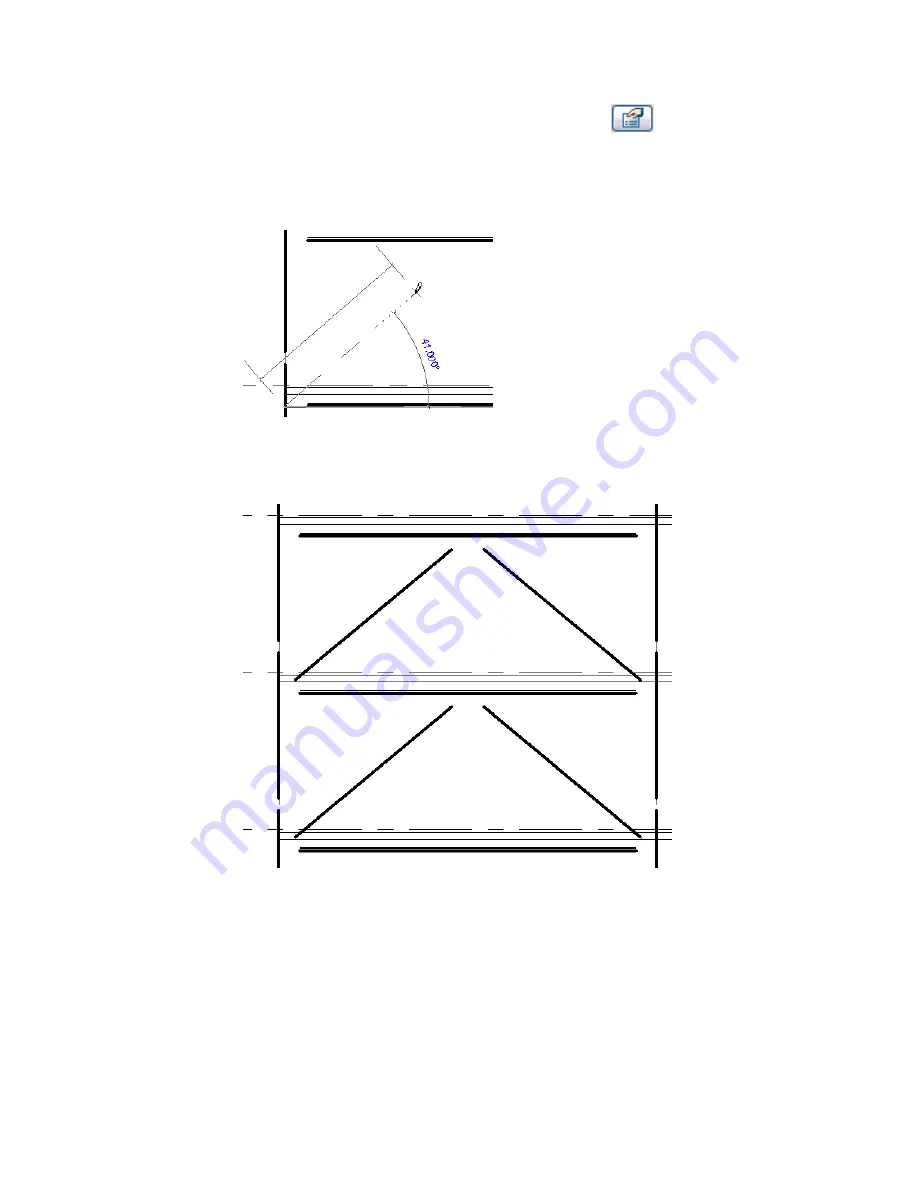
Place the cursor in the drawing area, and highlight the snapping point where you want to begin
the brace, such as on a structural column. Click to place a start point.
Snap to begin brace
6
Move the pointer in a diagonal direction to sketch the brace and place the cursor near another
structural element to snap it. Click to place the end point.
Sample braces in a framing elevation view
To add a brace in a plan view:
1
Open a plan view.
2
On the Structural tab of the Design Bar, click Brace.
3
On the Options Bar, specify both the Start Level and offset distance and the End Level and offset
distance.
4
Click the start point and the end point of the brace in the project.
830 | Chapter 12 Working with Structural Components
Summary of Contents for 24000-000000-9860 - Revit Architecture - PC
Page 1: ...Revit Architecture 2009 User s Guide April 2008 240A1 050000 PM02A ...
Page 4: ......
Page 56: ...18 ...
Page 116: ...78 Chapter 3 Revit Essentials ...
Page 172: ...134 Chapter 4 ProjectViews ...
Page 178: ...Schedule with Grid Lines Schedule with Grid Lines and an Outline 140 Chapter 4 ProjectViews ...
Page 554: ...516 ...
Page 739: ...Curtain wall Curtain Grid Curtain Walls Curtain Grids and Mullions 701 ...
Page 1004: ...966 ...
Page 1136: ...1098 ...
Page 1226: ...1188 ...
Page 1250: ...1212 ...
Page 1276: ...1238 Chapter 20 Design Options ...
Page 1310: ...1272 ...
Page 1366: ...1328 ...
Page 1406: ...1368 ...


