OPERATION GUIDE - CHECKING THE IMAGE BEFORE PRINTING
file:///G|/Documents/Products/MX2610_3110_3610N/Operation%20Manual/MX3610OP_0122A1/mx3610_ex_ope/contents/04-056b.htm[24/03/2011 3:00:23 PM]
MX-2610N / MX-3110N / MX-3610N
CHECKING THE IMAGE BEFORE PRINTING
FAX
<
3
steps in all >
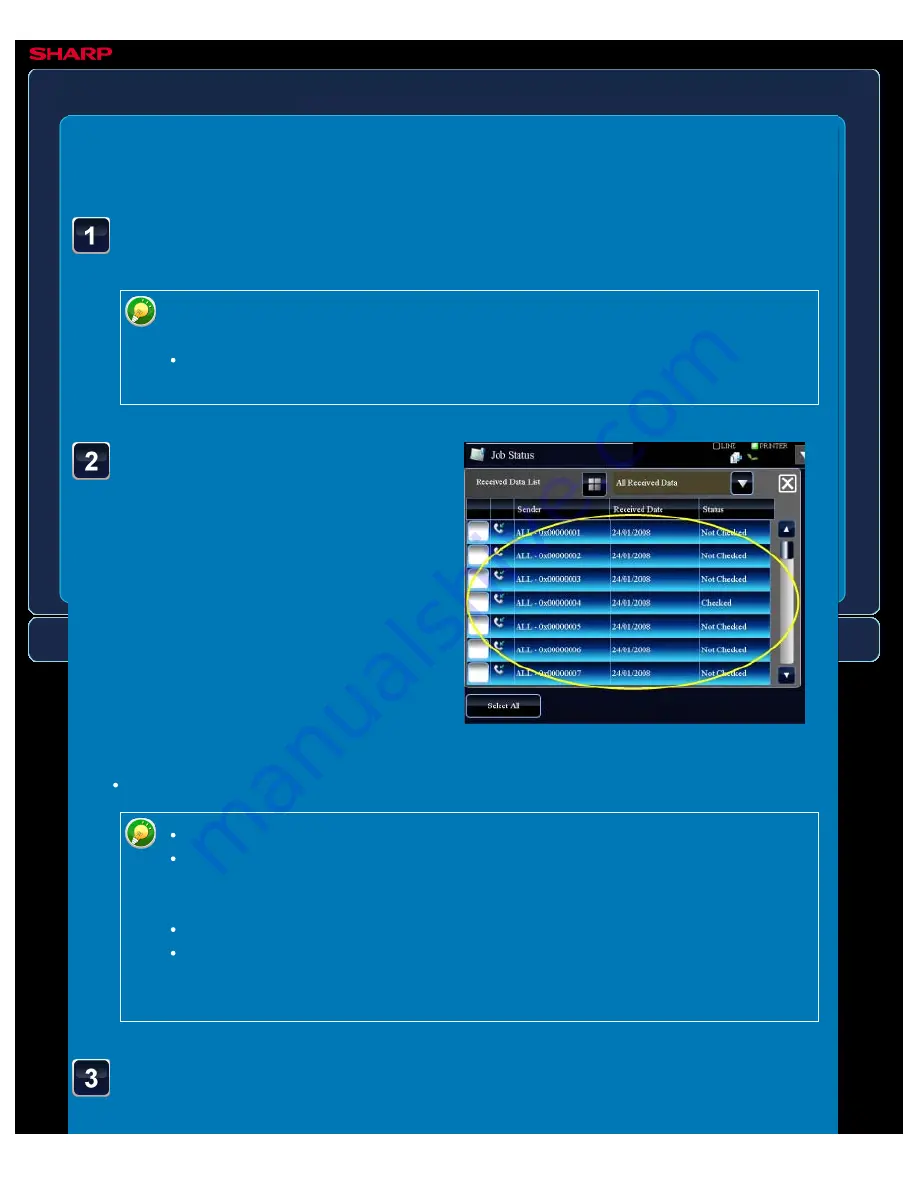
Tap the key of the received
data you wish to check,
and tap the [Check Image]
key on the action panel.
If you wish to forward or save data after
selecting the image, also tap the [Check
Image] key.
Tap the image you wish to
print to select, and tap the
When data is received, the [Received Data] icon appears at
the top of the screen. Tap the icon.
If the next message appears while you are configuring settings of any type and you
tap the [Received Data] icon, the settings that you are configuring will be cancelled.
Tapping the [Received Data] icon while [Received Data Image Check Setting] is
disabled displays the confidential reception data file.
To show thumbnails of the received images, tap the [Thumbnail] key.
To delete a received image, tap the [Delete] key on the action panel.
To forward the selected received image, tap the [Forward to Other Address] key.
Specify the destination in the displayed address book screen, and forward the
image.
To save the selected received image, tap the [Save Data to Folder] key.
To store the sender fax number as a number for "Allow/Reject Number Setting",
tap the [Store to Unwanted Fax] key and, in the confirmation message screen,
tap the [Store] key.


