


OPERATION GUIDE - ERASING PERIPHERAL SHADOWS FOR COPYING
file:///G|/Documents/Products/MX2610_3110_3610N/Operation%20Manual/MX3610OP_0122A1/mx3610_ex_ope/contents/02-024b.htm[24/03/2011 2:57:30 PM]
MX-2610N / MX-3110N / MX-3610N
ERASING PERIPHERAL SHADOWS FOR
COPYING
Erase
COPYING
<
6
steps in all >
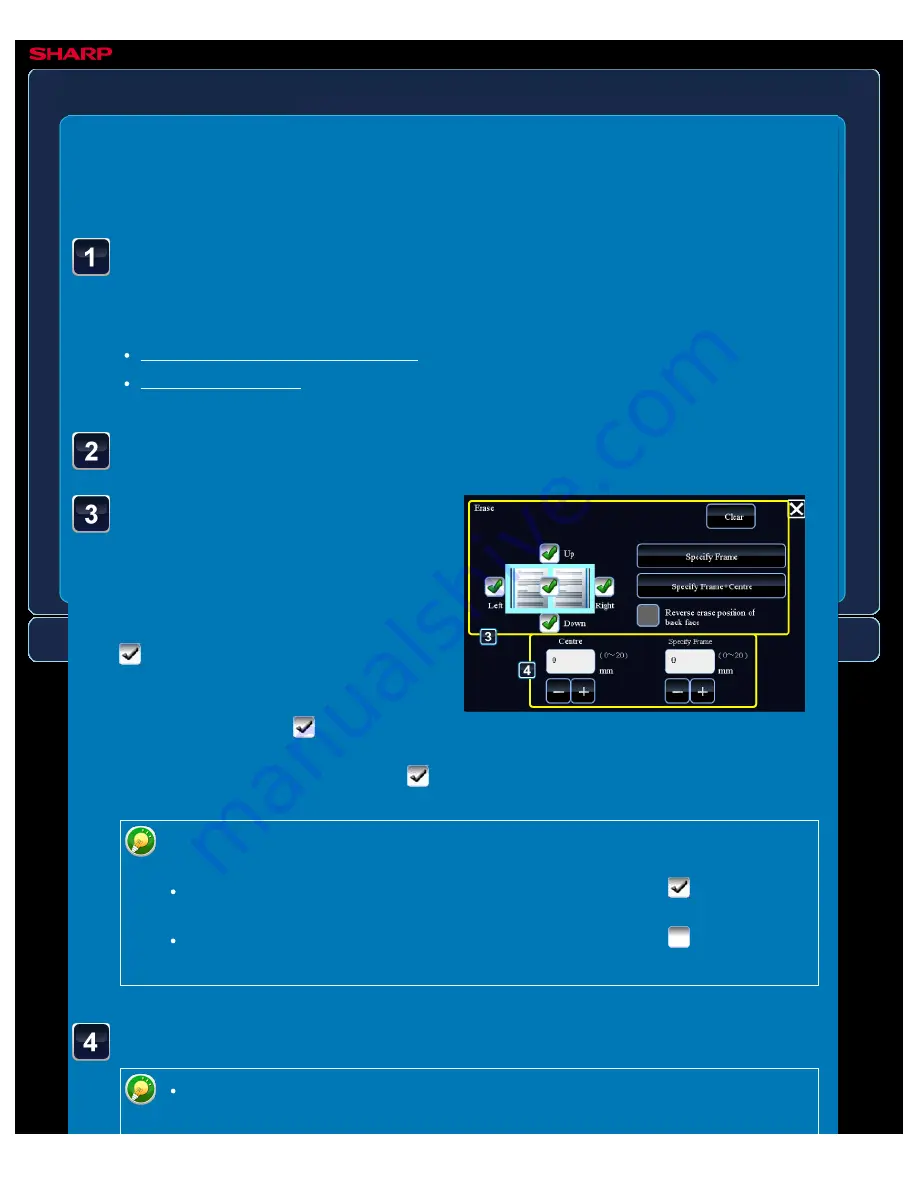
Tap the checkbox of the
edge that you wish to
erase, and specify the
erase position.
Check that he tapped checkbox is set to
.
If the [Specify Frame] key is tapped, the
[Up], [Down], [Left], and [Right]
checkboxes are set to
.
If the [Specify Frame+Centre] key is
tapped, all the checkboxes are set to
.
Place the original and tap the [Preview] key.
Place the original in the document feeder tray of the automatic document feeder, or on the
document glass.
Tap the [Others>>] key, and tap the [Erase] key.
Specify the erase edge on the reverse side when erasing edges of one to three
sides of Up, Down, Left, and Right on the front side to scan a 2-sided original.
If the [Reverse erase position of back face.] checkbox is set to
, the edge in
the position opposite to the erased edge on the front side will be erased.
If the [Reverse erase position of back face.] checkbox is set to
, the edge in
the same position as on the front side will be erased.
Specify the erase width.
Tap the numeric value display indicating the margin shift area on the front side
or reverse side, and enter the area using the numeric keys.