


OPERATION GUIDE - ADDING A REGISTERED IMAGE TO AN ORIGINAL
file:///G|/Documents/Products/MX2610_3110_3610N/Operation%20Manual/MX3610OP_0122A1/mx3610_ex_ope/contents/02-061b.htm[24/03/2011 2:58:11 PM]
Print Colour
Specify the image watermark colour. Black, R (red), G
(green), B (blue), Cyan, Magenta, or Yellow
Print Pattern
Specify the image watermark print pattern.
Transparent: Makes an original image transparent for stamp
copy.
Overlap: Hides a watermark added to an original image for
stamp copy.
Exposure
Select the exposure of a watermark from nine levels.
Print Page
Specify a page(s) for stamp copy.
First Page or All Pages
Print Position
Specify a position for stamp copy.
Originals
ORIGINAL
PLACEMENT
ORIENTATION
Specify the original orientation.
2-Sided Original
Type
Specify the binding edge for 2-sided original. Book or Tablet
Angle
Specify the corner of the image. 0 degrees, -90 degrees, 90
degrees, or 180 degrees
After the settings are completed, tap
and [<<Back] keys in sequence.
To cancel the Custom Image setting:
Tap the [Off] key.
Check the preview image in the preview screen.
Check whether or not settings produce the required results.
To cancel all settings:
Tap the [CA] key.
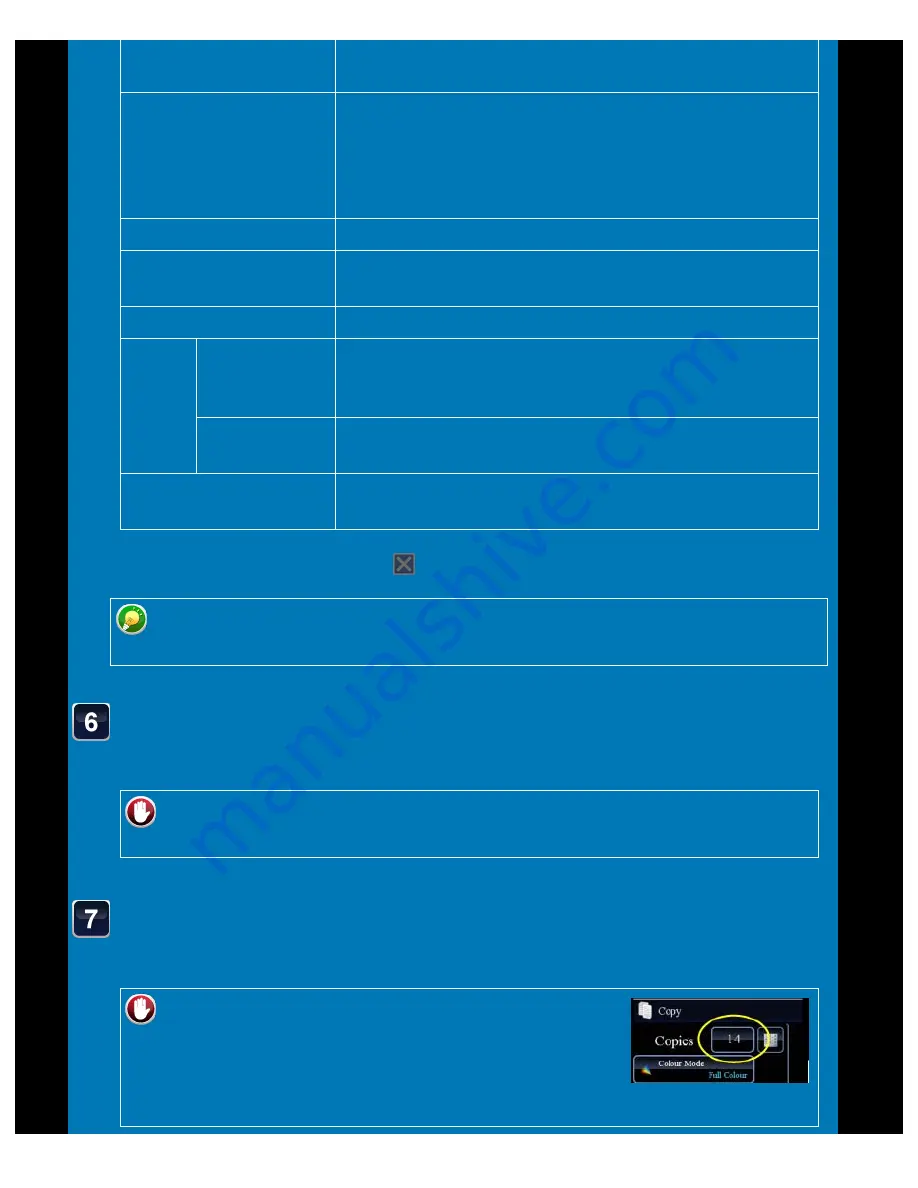
Tap the [Colour Start] or [B/W Start] key to start copying.
When making only one set of copies, you do not need to specify the number of copies.
To make two or more sets of copies:
Tap the copies display key to specify the number of
copies.