


OPERATION GUIDE - OVERLAY A FIXED FORM ON THE PRINT DATA
file:///G|/Documents/Products/MX2610_3110_3610N/Operation%20Manual/MX3610OP_0122A1/mx3610_ex_ope/contents/03-034b.htm[24/03/2011 2:59:10 PM]
MX-2610N / MX-3110N / MX-3610N
OVERLAY A FIXED FORM ON THE PRINT DATA
Overlay
PRINTER
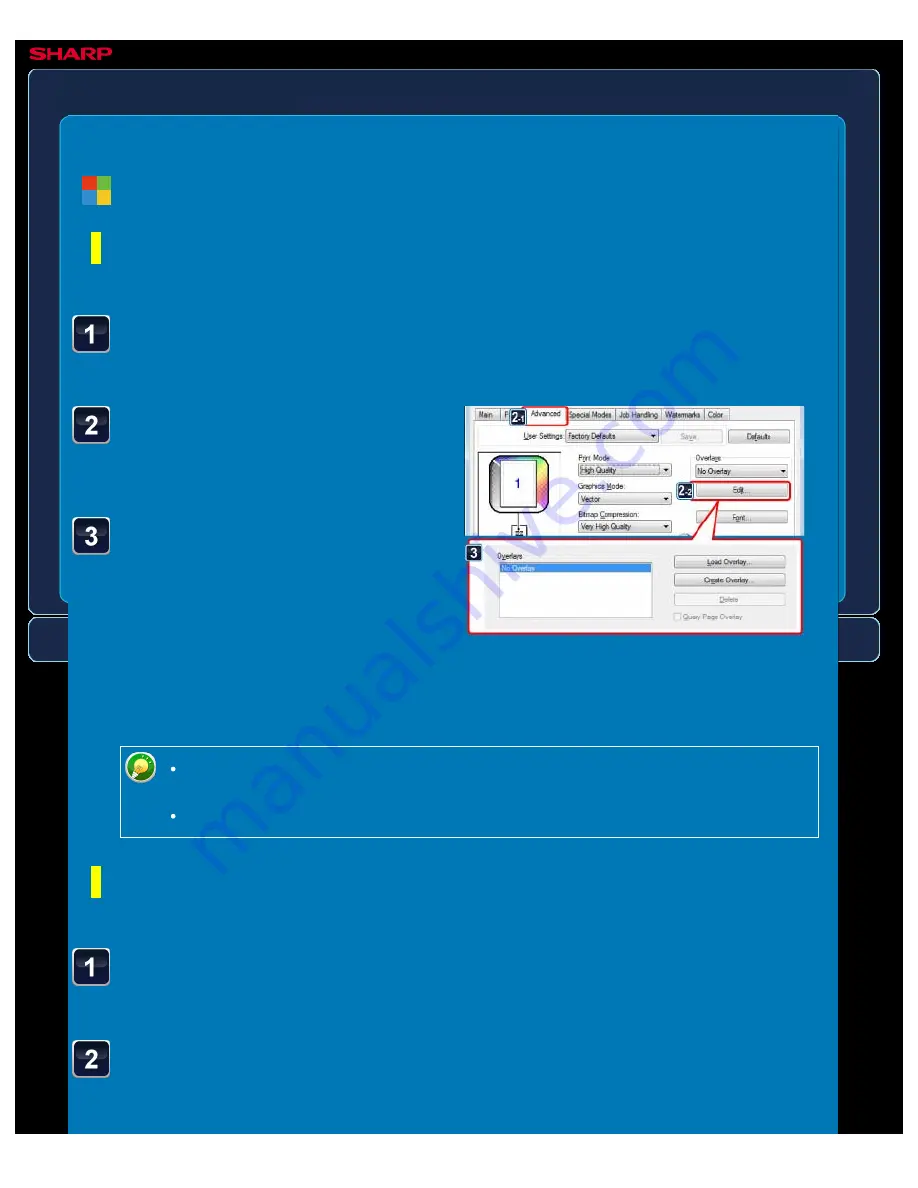
Click the [Advanced] tab
and click the [Edit] button
in [Overlays].
Click the [Create Overlay]
button and specify the
name and folder to be used
for the overlay file that you
wish to create.
The file will be created when the settings
are completed and printing is started.
Click the [Advanced] tab
and select [Overlays].
A previously created or stored overlay
Windows
Creating an overlay file
< 3 steps in all >
Open the driver properties window from the application that
is used for creating overlay data.
When printing is started, a confirmation message will appear. The overlay file will
not be created until the [Yes] button is clicked.
When you click the [Store] button, the existing overlay file is registered.
Printing with an overlay file
< 2 steps in all >
Open the driver properties window from the application that
is used for printing with an overlay file.