


OPERATION GUIDE - ADDING A REGISTERED IMAGE TO AN ORIGINAL
file:///G|/Documents/Products/MX2610_3110_3610N/Operation%20Manual/MX3610OP_0122A1/mx3610_ex_ope/contents/02-061b.htm[24/03/2011 2:58:11 PM]
MX-2610N / MX-3110N / MX-3610N
ADDING A REGISTERED IMAGE TO AN
ORIGINAL
Custom image
COPYING
<
7
steps in all >
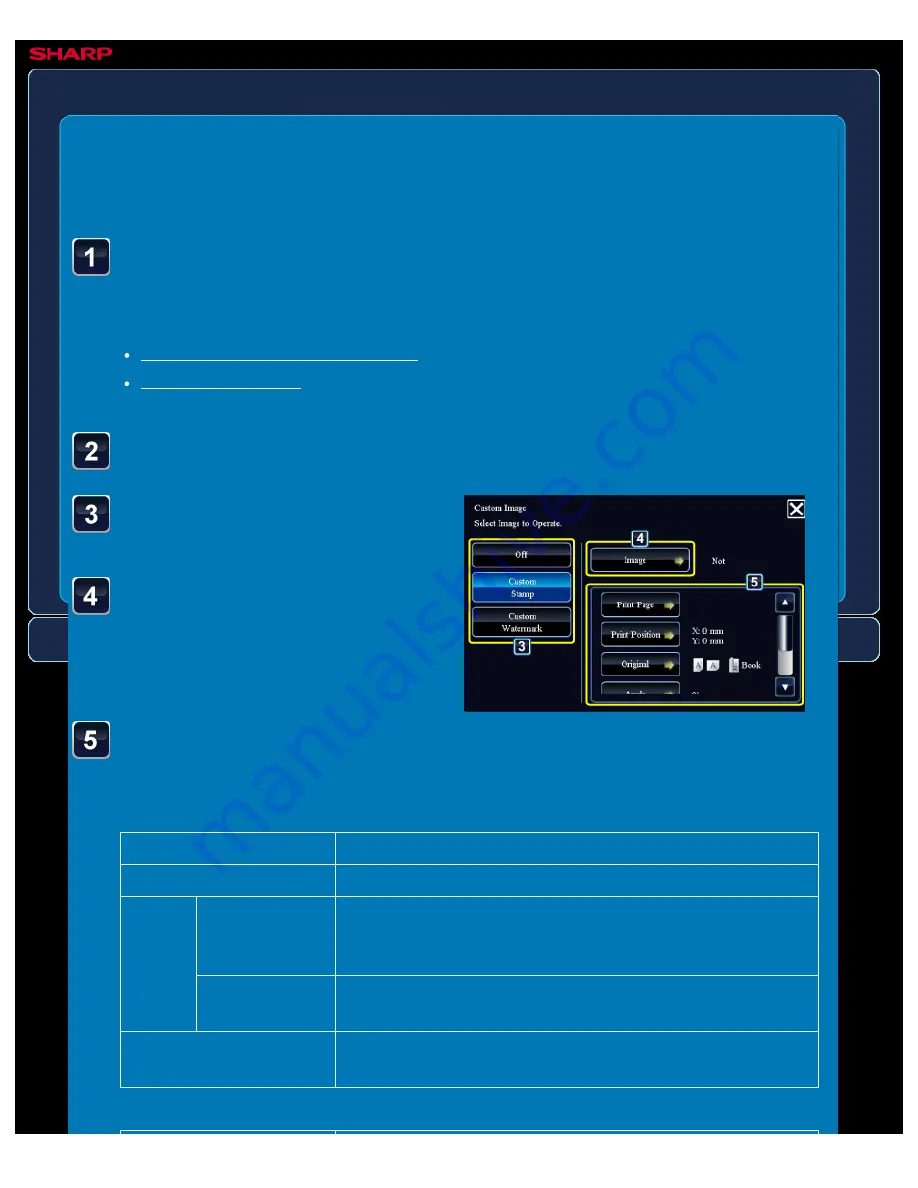
Tap the [Custom Stamp] or
[Custom Watermark] key.
Tap the [Image] key to
select an image.
Select the required thumbnail image(s)
from the available selection.
Set [Print Page] or
[Original].
Place the original and tap the [Preview] key.
Place the original in the document feeder tray of the automatic document feeder, or on the
document glass.
Tap the [Others>>] key, and tap the [Custom Image] key.
For custom stamp
Print Page
Specify a page(s) for stamp copy. First Page or All Pages
Print Position
Specify a position for stamp copy.
Originals
ORIGINAL
PLACEMENT
ORIENTATION
Specify the original orientation.
2-Sided Original
Type
Specify the binding edge for 2-sided original. Book or Tablet
Angle
Specify the corner of the image. 0 degrees, -90 degrees, 90
degrees, or 180 degrees
For custom watermark