2
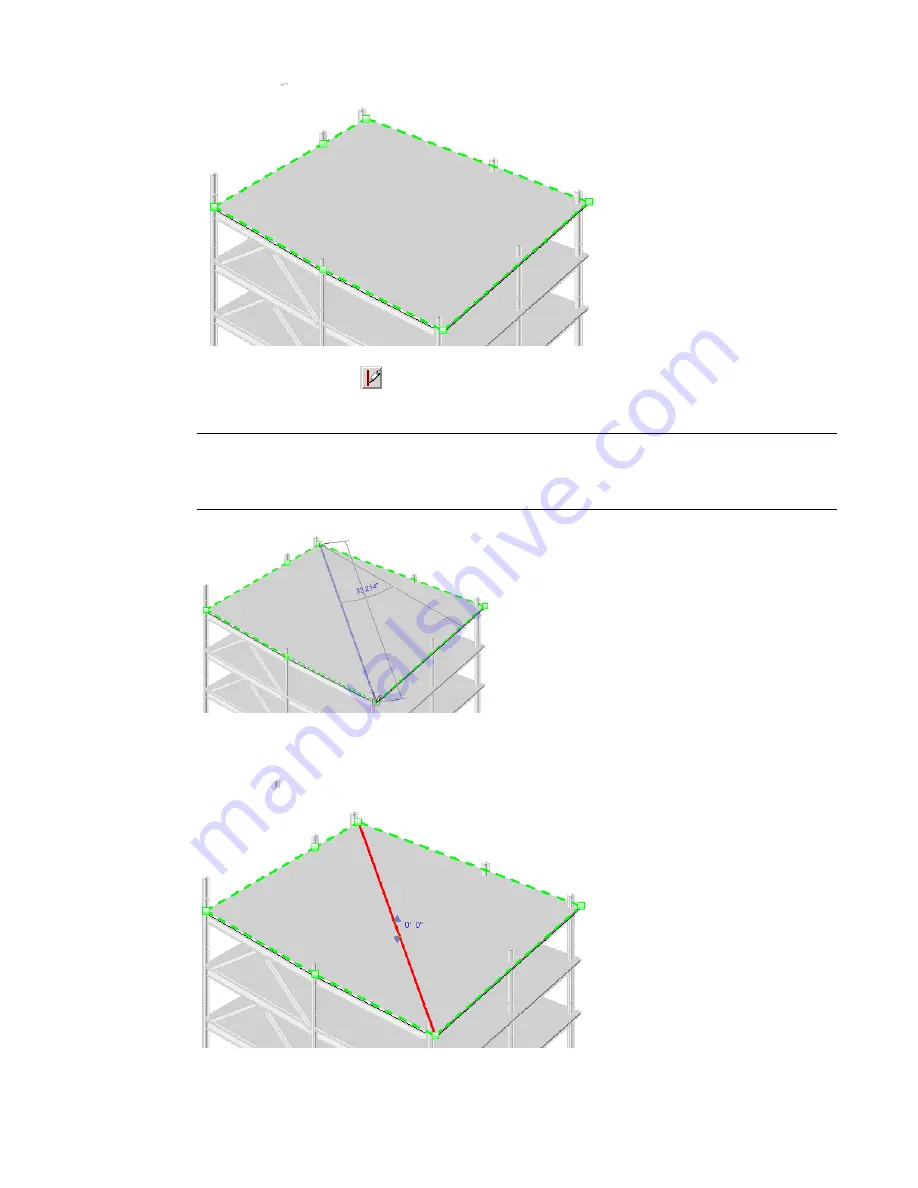
On the Options Bar, click
(Draw Split Lines tool).
3
Select a vertex, edge, face or point anywhere on the slab to start the split line.
NOTE
Startpoints and endpoints can be added anywhere on the face of the slab. If your cursor is over a
vertex or edge, the editor will snap to 3D vertices and edges and present standard snap controls with temporary
dimensions along the edges. If no vertex or edge is snapped to, then on selection, the line end will be
projected to the closest point on the surface. No temporary dimensions will be created on the face.
4
Select another vertex, edge, face or point anywhere on the slab to end the split line.
A new edge will be added to the face of the slab.
Using the Draw Split Lines Tool | 885
Содержание 24000-000000-9860 - Revit Architecture - PC
Страница 1: ...Revit Architecture 2009 User s Guide April 2008 240A1 050000 PM02A ...
Страница 4: ......
Страница 56: ...18 ...
Страница 116: ...78 Chapter 3 Revit Essentials ...
Страница 172: ...134 Chapter 4 ProjectViews ...
Страница 178: ...Schedule with Grid Lines Schedule with Grid Lines and an Outline 140 Chapter 4 ProjectViews ...
Страница 352: ...Defining the first scale vector Defining the second scale vector 314 Chapter 7 Editing Elements ...
Страница 554: ...516 ...
Страница 739: ...Curtain wall Curtain Grid Curtain Walls Curtain Grids and Mullions 701 ...
Страница 898: ...Pile caps with multiple piles Rectangular and triangular pile caps 860 Chapter 12 Working with Structural Components ...
Страница 1004: ...966 ...
Страница 1136: ...1098 ...
Страница 1226: ...1188 ...
Страница 1250: ...1212 ...
Страница 1276: ...1238 Chapter 20 Design Options ...
Страница 1310: ...1272 ...
Страница 1366: ...1328 ...
Страница 1406: ...1368 ...


