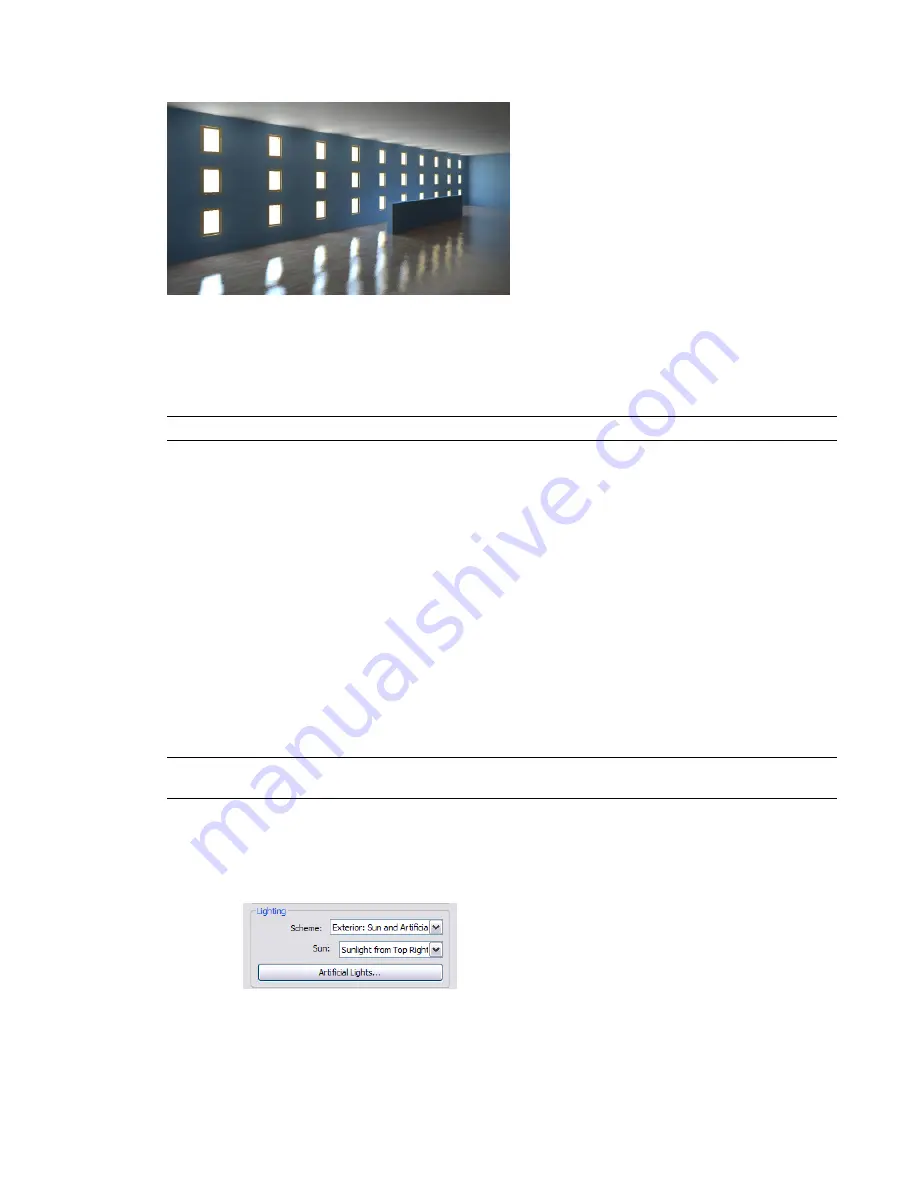
Rendered image with daylight portals
Daylight portals are useful only for interior views that include sunlight. That is, on the Rendering dialog,
under Lighting, the selected Scheme must be Interior: Sun only, or Interior: Sun + Artificial. (See
Controlling
Lighting in a Rendered Image
on page 1166.)
By default, daylight portals are turned off. If a rendered image shows sunlight reflecting off surfaces, and
the sunlight is speckled or splotchy, you may be able to improve the image by turning on daylight portals.
NOTE
The use of daylight portals can significantly increase render time.
To turn on daylight portals for an interior view that includes sunlight, use the Render Quality Settings dialog.
See
Defining a Custom Render Quality
on page 1163 and
Render Quality Settings
on page 1163.
Controlling the Size of the Rendered Image
Before rendering a 3D view, you can use the following techniques to control its print size (in pixels) and file
size (in bytes). The width and height of the rendered image display on the Rendering dialog under Output.
■
Render part of the 3D view
: Use a render region, a crop region, or a section box. See
Defining the View
Area to Render
on page 1161.
■
Zoom in or out
: When creating a rendered image for screen output, you can zoom in or out to make the
rendered image larger or smaller. See
Zoom Tool
on page 191.
■
Change the output resolution
: When creating a rendered image for printing, you can specify the image
resolution in DPI (dots per inch). See
Defining Render Settings
on page 1159.
NOTE
Higher resolution and larger image size increase render time. See
Render Performance and Image Size/Quality
on page 1175.
Controlling Lighting in a Rendered Image
1
In the
Rendering dialog
, under Lighting, for Scheme, select the desired setting.
2
If you selected a lighting scheme that uses sunlight, for Sun, select the desired sun position.
1166 | Chapter 17 Rendering
Содержание 24000-000000-9860 - Revit Architecture - PC
Страница 1: ...Revit Architecture 2009 User s Guide April 2008 240A1 050000 PM02A ...
Страница 4: ......
Страница 56: ...18 ...
Страница 116: ...78 Chapter 3 Revit Essentials ...
Страница 172: ...134 Chapter 4 ProjectViews ...
Страница 178: ...Schedule with Grid Lines Schedule with Grid Lines and an Outline 140 Chapter 4 ProjectViews ...
Страница 352: ...Defining the first scale vector Defining the second scale vector 314 Chapter 7 Editing Elements ...
Страница 554: ...516 ...
Страница 739: ...Curtain wall Curtain Grid Curtain Walls Curtain Grids and Mullions 701 ...
Страница 898: ...Pile caps with multiple piles Rectangular and triangular pile caps 860 Chapter 12 Working with Structural Components ...
Страница 1004: ...966 ...
Страница 1136: ...1098 ...
Страница 1226: ...1188 ...
Страница 1250: ...1212 ...
Страница 1276: ...1238 Chapter 20 Design Options ...
Страница 1310: ...1272 ...
Страница 1366: ...1328 ...
Страница 1406: ...1368 ...


