NOTE
Modifications to temporary dimension witness lines are not saved.
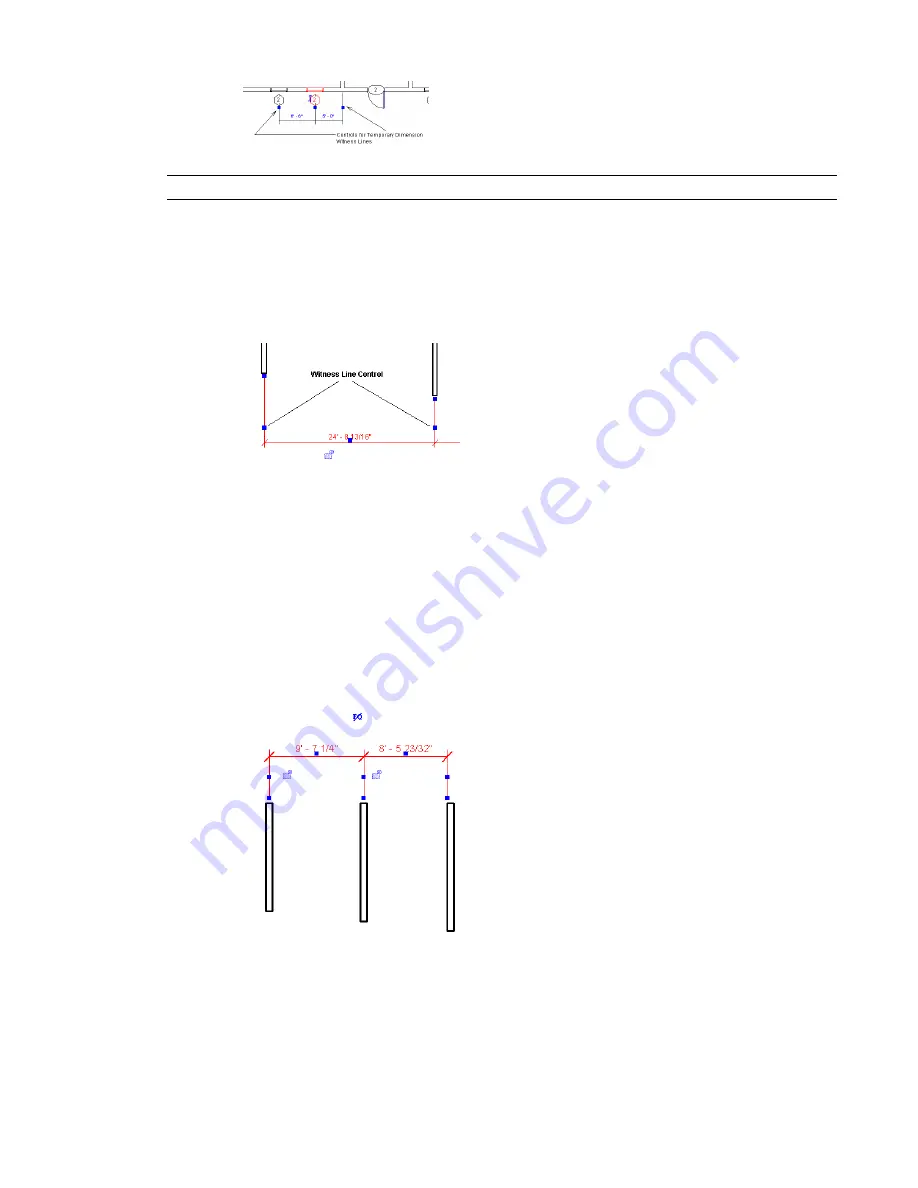
Moving the Witness Line for Permanent Dimensions
1
Select a permanent dimension.
2
Right-click the blue square control in the middle of the witness line, and select Move Witness
Line from the context menu.
3
Drag the witness line to the element to reference.
Controlling Witness Line Gaps for Permanent Dimensions
By selecting a linear dimension, you can control its distance from the element it is referencing and the
reference point for the dimension.
1
Create a linear dimension between 2 or more elements (for example, between 2 walls). See
Aligned Dimensions
on page 215.
2
Select a dimension line.
Blue controls appear on the witness lines.
3
Place the cursor on one of the blue square controls at the end of the witness line and drag to
resize the gap between the witness line and the element. If desired, select other controls to resize
the dimension gap. Parallel dimension lines snap to the same gaps.
234 | Chapter 5 Using Dimensions and Constraints
Содержание 24000-000000-9860 - Revit Architecture - PC
Страница 1: ...Revit Architecture 2009 User s Guide April 2008 240A1 050000 PM02A ...
Страница 4: ......
Страница 56: ...18 ...
Страница 116: ...78 Chapter 3 Revit Essentials ...
Страница 172: ...134 Chapter 4 ProjectViews ...
Страница 178: ...Schedule with Grid Lines Schedule with Grid Lines and an Outline 140 Chapter 4 ProjectViews ...
Страница 352: ...Defining the first scale vector Defining the second scale vector 314 Chapter 7 Editing Elements ...
Страница 554: ...516 ...
Страница 739: ...Curtain wall Curtain Grid Curtain Walls Curtain Grids and Mullions 701 ...
Страница 898: ...Pile caps with multiple piles Rectangular and triangular pile caps 860 Chapter 12 Working with Structural Components ...
Страница 1004: ...966 ...
Страница 1136: ...1098 ...
Страница 1226: ...1188 ...
Страница 1250: ...1212 ...
Страница 1276: ...1238 Chapter 20 Design Options ...
Страница 1310: ...1272 ...
Страница 1366: ...1328 ...
Страница 1406: ...1368 ...


