4
Drag the shape handle, or use the Move command to move the pattern lines. See
Moving
Elements
on page 300.
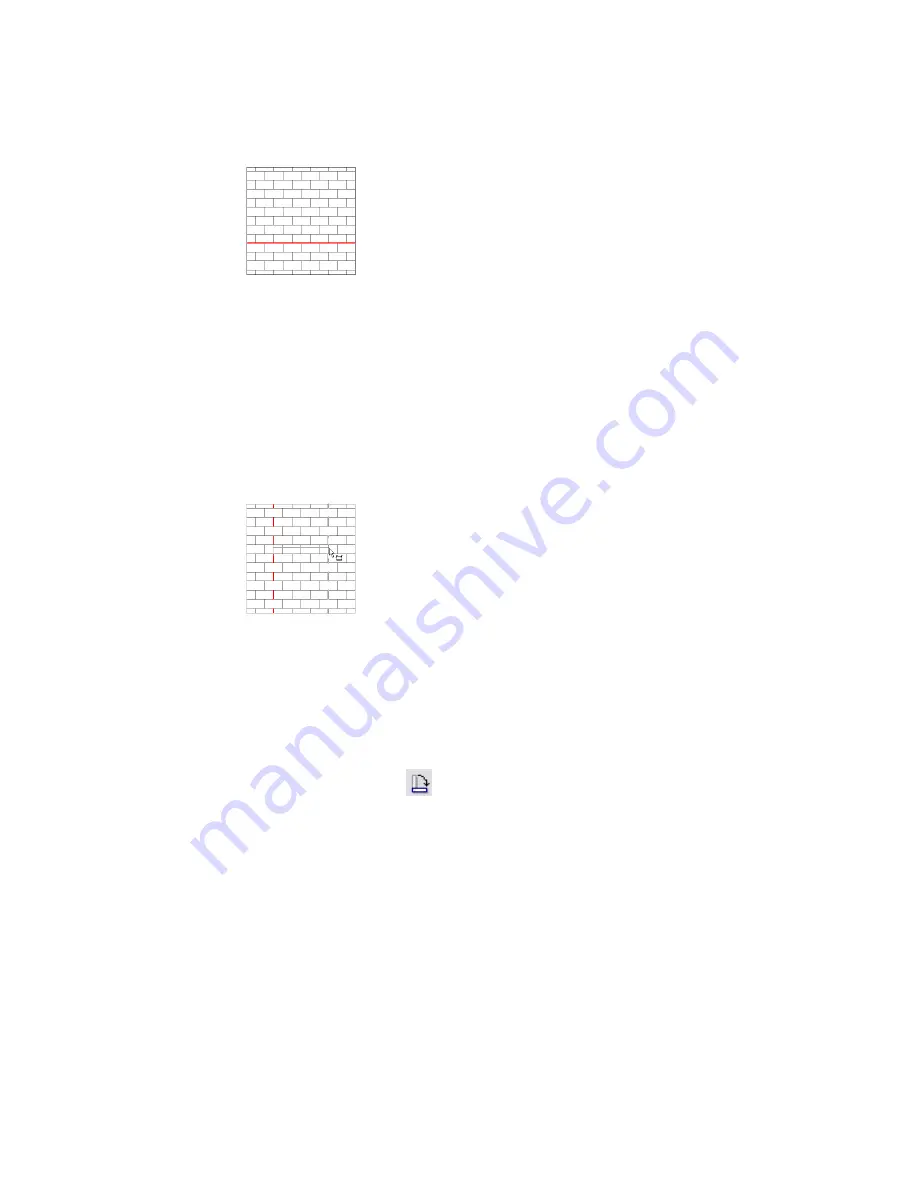
Pattern lines after dragging shape handle. Note the differences in the pattern lines at
the top and bottom of the wall.
Creating Dimensions to Model Pattern Lines
1
On the Drafting tab of the Design Bar, click Dimension.
2
Place the cursor on the model pattern: the cursor snaps to the pattern line, which is a reference
point. You can move the cursor toward another pattern line and press
TAB
to select a different
reference point.
3
Place the dimension.
Surface pattern lines used as references for a linear dimension
Rotating a Model Pattern
1
Place the cursor on the model pattern, and press
TAB
to highlight a shape handle. The Status
Bar indicates if you have selected a shape handle.
2
Click to select the handle.
3
On the Edit toolbar, click
.
4
Rotate the pattern. See
Rotating Elements
on page 308.
454 | Chapter 9 Customizing Project Settings
Содержание 24000-000000-9860 - Revit Architecture - PC
Страница 1: ...Revit Architecture 2009 User s Guide April 2008 240A1 050000 PM02A ...
Страница 4: ......
Страница 56: ...18 ...
Страница 116: ...78 Chapter 3 Revit Essentials ...
Страница 172: ...134 Chapter 4 ProjectViews ...
Страница 178: ...Schedule with Grid Lines Schedule with Grid Lines and an Outline 140 Chapter 4 ProjectViews ...
Страница 352: ...Defining the first scale vector Defining the second scale vector 314 Chapter 7 Editing Elements ...
Страница 554: ...516 ...
Страница 739: ...Curtain wall Curtain Grid Curtain Walls Curtain Grids and Mullions 701 ...
Страница 898: ...Pile caps with multiple piles Rectangular and triangular pile caps 860 Chapter 12 Working with Structural Components ...
Страница 1004: ...966 ...
Страница 1136: ...1098 ...
Страница 1226: ...1188 ...
Страница 1250: ...1212 ...
Страница 1276: ...1238 Chapter 20 Design Options ...
Страница 1310: ...1272 ...
Страница 1366: ...1328 ...
Страница 1406: ...1368 ...


