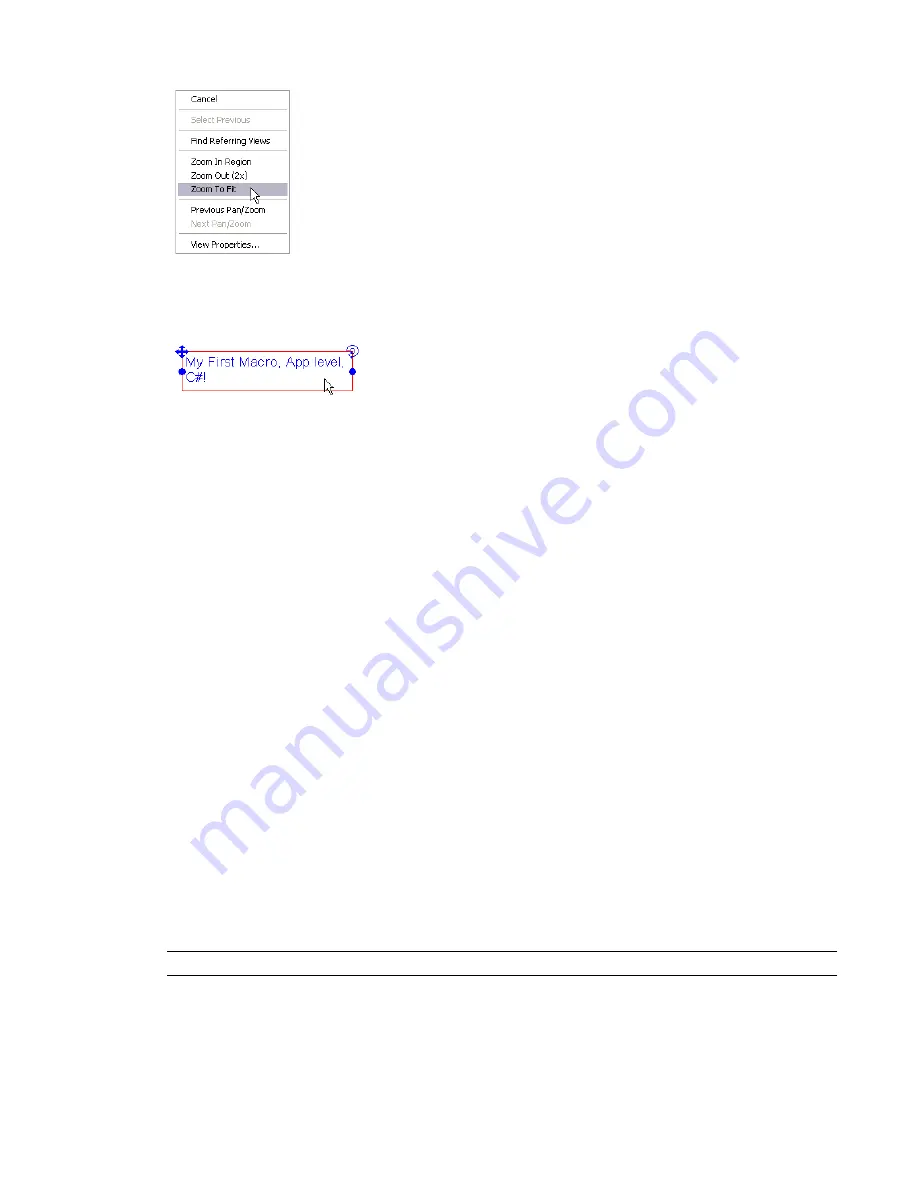
Then look for the Text Note and zoom-in on it, to verify that the macro worked. In the case of the view we
used, the Text Note appeared far to the right of the model. Your location may be different. When we zoomed
in and selected the Text Note, it looked like this:
Although you can experiment with the XYZ coordinates in the macro code (including negative numbers
like -300 for the X origin), the real point of this example is to notice that the macro really did add the text
note.
To remove the Text Note, you can select and delete it, or choose Edit
➤
Undo Macro (Ctrl+Z) from the
Revit toolbar menu.
Example:Application-level Macro in VB.NET
Next let's return to the Macro Manager and add a similar example, this time in VB.NET.
In Macro Manager, select AppVisualBasic, and click New.
Give your macro a name, such as
MyFirstMacroAppVB
.
In the IDE, use the following code for the method:
Public Sub MyFirstMacroAppVB()
Dim baseVec As Autodesk.Revit.Geometry.XYZ = Me.Create.NewXYZ(1.0, 0.0, 0.0)
Dim upVec As Autodesk.Revit.Geometry.XYZ = Me.Create.NewXYZ(0.0, 0.0, 1.0)
Dim origin As Autodesk.Revit.Geometry.XYZ = Me.Create.NewXYZ(0.0, 0.0, 0.0)
Dim align As Autodesk.Revit.Enums.TextAlignFlags =
Autodesk.Revit.Enums.TextAlignFlags.TEF_ALIGN_LEFT Or
Autodesk.Revit.Enums.TextAlignFlags.TEF_ALIGN_TOP
Dim strText As String = "My First Macro, App Level, VB.NET!"
Dim lineWidth As Double = 4.0 / 12.0
Dim pView As Autodesk.Revit.Elements.View = Me.ActiveDocument.ActiveView
Me.ActiveDocument.Create.NewTextNote(pView, origin, baseVec, upVec, lineWidth, align,
strText)
End Sub
In this VB.NET example, we used the
Me
keyword pointer (instead of the
this
keyword pointer). Also we
used a different
strText
value for the Text Note.
TIP
Be sure to build your project in the Revit VSTA IDE before trying to run it from Macro Manager.
For this example, when you build the project in the Revit VSTA IDE, notice that you are building the
AppVisualBasic
project. Your Application-level VB.NET macro's code resides in ThisApplication.vb. You can
use the IDE's Project Explorer to see its location on disk. To run your newly built macro, select it in Macro
1350 | Chapter 24 Creating Macros with Revit VSTA
Содержание 24000-000000-9860 - Revit Architecture - PC
Страница 1: ...Revit Architecture 2009 User s Guide April 2008 240A1 050000 PM02A ...
Страница 4: ......
Страница 56: ...18 ...
Страница 116: ...78 Chapter 3 Revit Essentials ...
Страница 172: ...134 Chapter 4 ProjectViews ...
Страница 178: ...Schedule with Grid Lines Schedule with Grid Lines and an Outline 140 Chapter 4 ProjectViews ...
Страница 352: ...Defining the first scale vector Defining the second scale vector 314 Chapter 7 Editing Elements ...
Страница 554: ...516 ...
Страница 739: ...Curtain wall Curtain Grid Curtain Walls Curtain Grids and Mullions 701 ...
Страница 898: ...Pile caps with multiple piles Rectangular and triangular pile caps 860 Chapter 12 Working with Structural Components ...
Страница 1004: ...966 ...
Страница 1136: ...1098 ...
Страница 1226: ...1188 ...
Страница 1250: ...1212 ...
Страница 1276: ...1238 Chapter 20 Design Options ...
Страница 1310: ...1272 ...
Страница 1366: ...1328 ...
Страница 1406: ...1368 ...


