Notice the commands that display at the bottom right of the dialog under Modify Vertical
Structure.
NOTE
The vertically compound wall commands are available in the section preview only. Use them
to modify the wall type only, not an actual wall instance.
Sample Height
The sample height is the height of the wall in the preview pane only. You can specify any value for the
sample height, but it should be high enough to allow you to create the desired wall structure. The sample
height does not affect the height of any walls of that type in the project.
Modify Command
To change a vertically compound wall, in the Edit Assembly dialog, click Modify. (See
Accessing Vertically
Compound Wall Commands
on page 568.) Then highlight and select either outer boundaries of the sample
wall or borders between regions in the preview pane. Watch for tool tips and status bar messages that indicate
what you are highlighting.
After you select a boundary, you can change thickness, set layer extension, or constrain a region's distance
from the top or bottom of the wall.
Changing Thickness
If you select an outer vertical boundary of the sample wall, a temporary dimension displays. If you change
the value of the temporary dimension, the thickness of the layer or region immediately adjacent to the
boundary changes.
If you select a vertical border between regions, 2 temporary dimensions appear which control the thickness
of the regions to the left and right of the border.
Allowing Layer Extension
If you select the horizontal outer boundary at the top or bottom of a layer, you can specify whether that
layer can be extended.
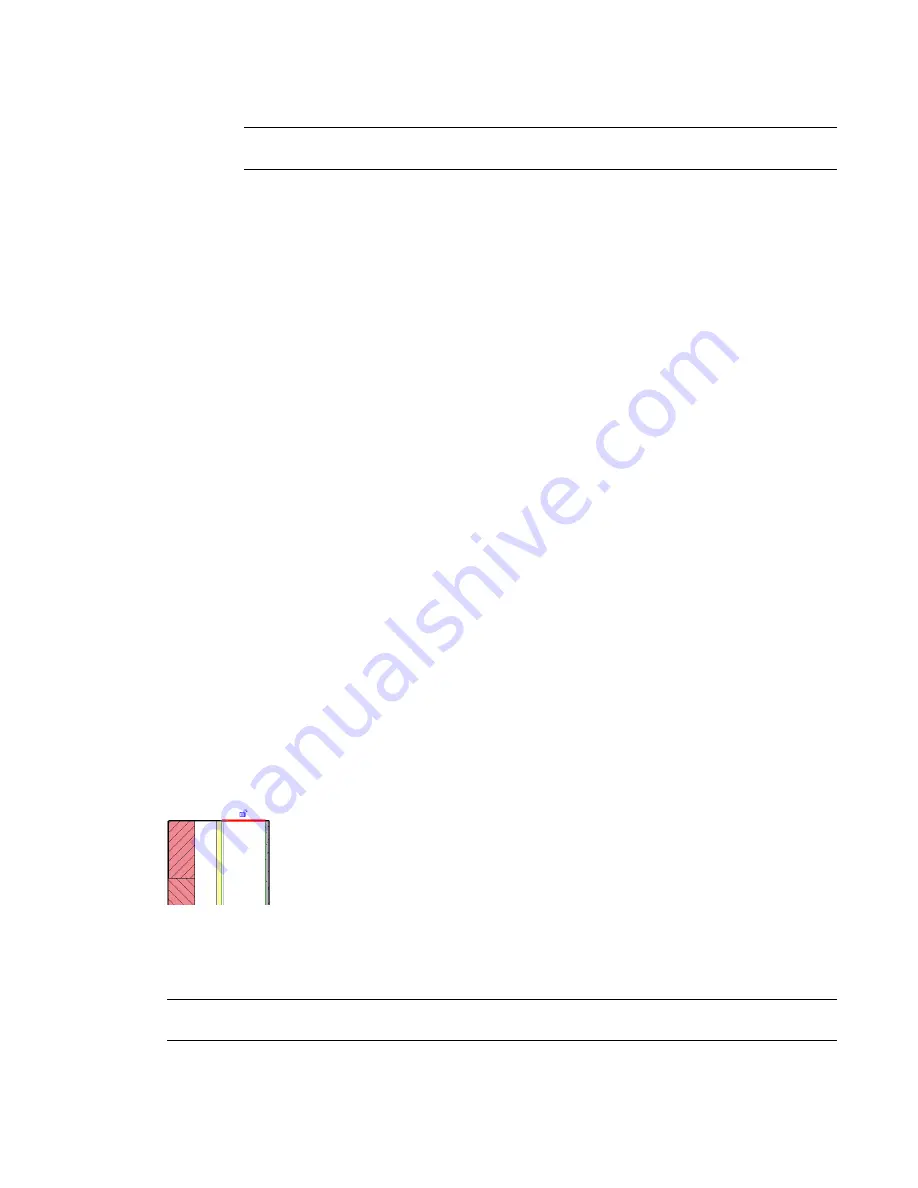
Select a horizontal boundary at the top of the wall, and a padlock displays. A locked padlock indicates that
the selected layer cannot be extended. Click the padlock to unlock it, and the layer can be extended.
Unlocked layer indicating extendability
When you unlock layers for extension, 2 instance properties of the wall become enabled: Top Extension
Distance (for layers at the top of the wall) or Base Extension Distance (for layers at the bottom of the wall).
You can enter values for these properties in a selected wall’s Element Properties dialog, or you can drag the
unlocked wall layers in a view.
NOTE
Unlocked layers must be adjacent. For example, you cannot have one layer locked and its adjacent layers
unlocked.
Vertically Compound Walls | 569
Содержание 24000-000000-9860 - Revit Architecture - PC
Страница 1: ...Revit Architecture 2009 User s Guide April 2008 240A1 050000 PM02A ...
Страница 4: ......
Страница 56: ...18 ...
Страница 116: ...78 Chapter 3 Revit Essentials ...
Страница 172: ...134 Chapter 4 ProjectViews ...
Страница 178: ...Schedule with Grid Lines Schedule with Grid Lines and an Outline 140 Chapter 4 ProjectViews ...
Страница 352: ...Defining the first scale vector Defining the second scale vector 314 Chapter 7 Editing Elements ...
Страница 554: ...516 ...
Страница 739: ...Curtain wall Curtain Grid Curtain Walls Curtain Grids and Mullions 701 ...
Страница 898: ...Pile caps with multiple piles Rectangular and triangular pile caps 860 Chapter 12 Working with Structural Components ...
Страница 1004: ...966 ...
Страница 1136: ...1098 ...
Страница 1226: ...1188 ...
Страница 1250: ...1212 ...
Страница 1276: ...1238 Chapter 20 Design Options ...
Страница 1310: ...1272 ...
Страница 1366: ...1328 ...
Страница 1406: ...1368 ...


