5
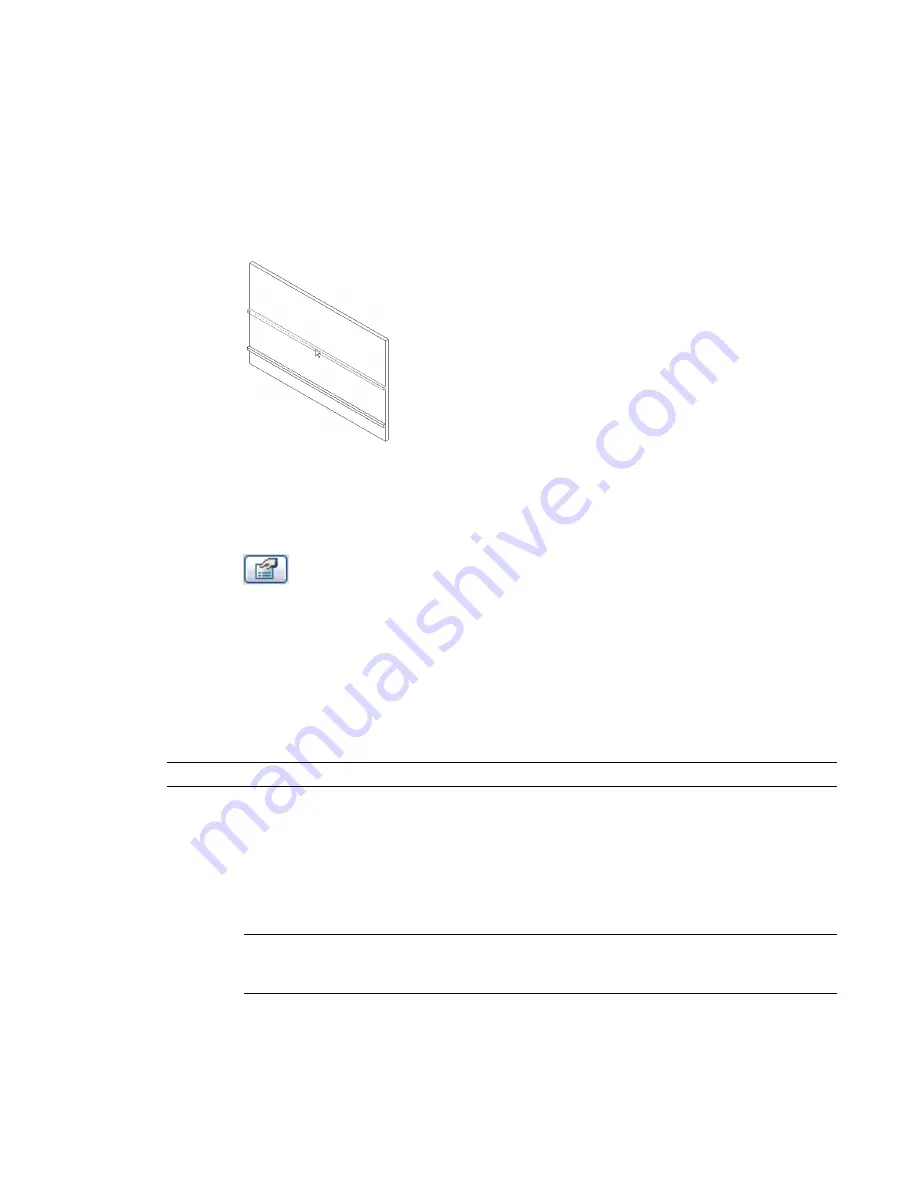
Place the cursor over the wall to highlight the wall sweep location. Click to place the wall sweep.
6
Add the wall sweep to adjacent walls, if needed.
Revit Architecture preselects the wall sweep location on each adjacent wall.
If you are in a 3D view, you can add a wall sweep to all exterior walls by using the ViewCube
to rotate the view. For more information, see
ViewCube
on page 169.
7
To start a wall sweep in a different location, on the Options Bar, click Start Next. Move the
cursor to the desired location on the wall, and click to place the wall sweep.
8
To finish placing wall sweeps, click in the view away from the wall.
Changing the Wall Sweep Profile
1
Select a wall sweep in a 3D or elevation view, or activate the Wall Sweep command, and click
(Element Properties).
2
Click Edit/New.
3
For Profile, select the desired profile type.
4
Click OK.
Returning Wall Sweeps Back to the Wall
After placing a wall sweep, you can return its ends back toward the wall.
NOTE
This procedure is also available for wall reveals.
1
In a 3D or elevation view, select the wall sweep segment. Be sure it is not already joined to
another segment.
2
On the Options Bar, click Change Sweep Returns.
The Straight Cut and Return options appear on the Options Bar. The Straight Cut is a perfectly
squared off edge. This option is not available if the sweep end is already in this state.
3
Select Return and type an angle value in the text box next to it (for example 45).
NOTE
A positive return angle moves the sweep end toward the wall. A negative value moves the
sweep end away from the wall. For reveals, a positive return value moves the reveal end away from
the wall, and a negative value moves the end toward the wall.
4
Highlight the wall sweep end.
594 | Chapter 11 Working with Architectural Components
Содержание 24000-000000-9860 - Revit Architecture - PC
Страница 1: ...Revit Architecture 2009 User s Guide April 2008 240A1 050000 PM02A ...
Страница 4: ......
Страница 56: ...18 ...
Страница 116: ...78 Chapter 3 Revit Essentials ...
Страница 172: ...134 Chapter 4 ProjectViews ...
Страница 178: ...Schedule with Grid Lines Schedule with Grid Lines and an Outline 140 Chapter 4 ProjectViews ...
Страница 352: ...Defining the first scale vector Defining the second scale vector 314 Chapter 7 Editing Elements ...
Страница 554: ...516 ...
Страница 739: ...Curtain wall Curtain Grid Curtain Walls Curtain Grids and Mullions 701 ...
Страница 898: ...Pile caps with multiple piles Rectangular and triangular pile caps 860 Chapter 12 Working with Structural Components ...
Страница 1004: ...966 ...
Страница 1136: ...1098 ...
Страница 1226: ...1188 ...
Страница 1250: ...1212 ...
Страница 1276: ...1238 Chapter 20 Design Options ...
Страница 1310: ...1272 ...
Страница 1366: ...1328 ...
Страница 1406: ...1368 ...


