TIP
As you move and edit the rectangle, datum planes appear to indicate the original shape and size
of the wall when you entered sketch mode. If the sketched lines snap to the datum planes, the
endpoints of the lines automatically align to the planes, unless you explicitly unlock them. If you
unlock the sketched lines, you can modify them independently of the datum planes. If you exit sketch
mode with the sketched lines still aligned, then as you move a datum handle, the sketched lines move
with it.
4
When you are finished, click Finish Sketch.
Revit Architecture returns you to the last active view.
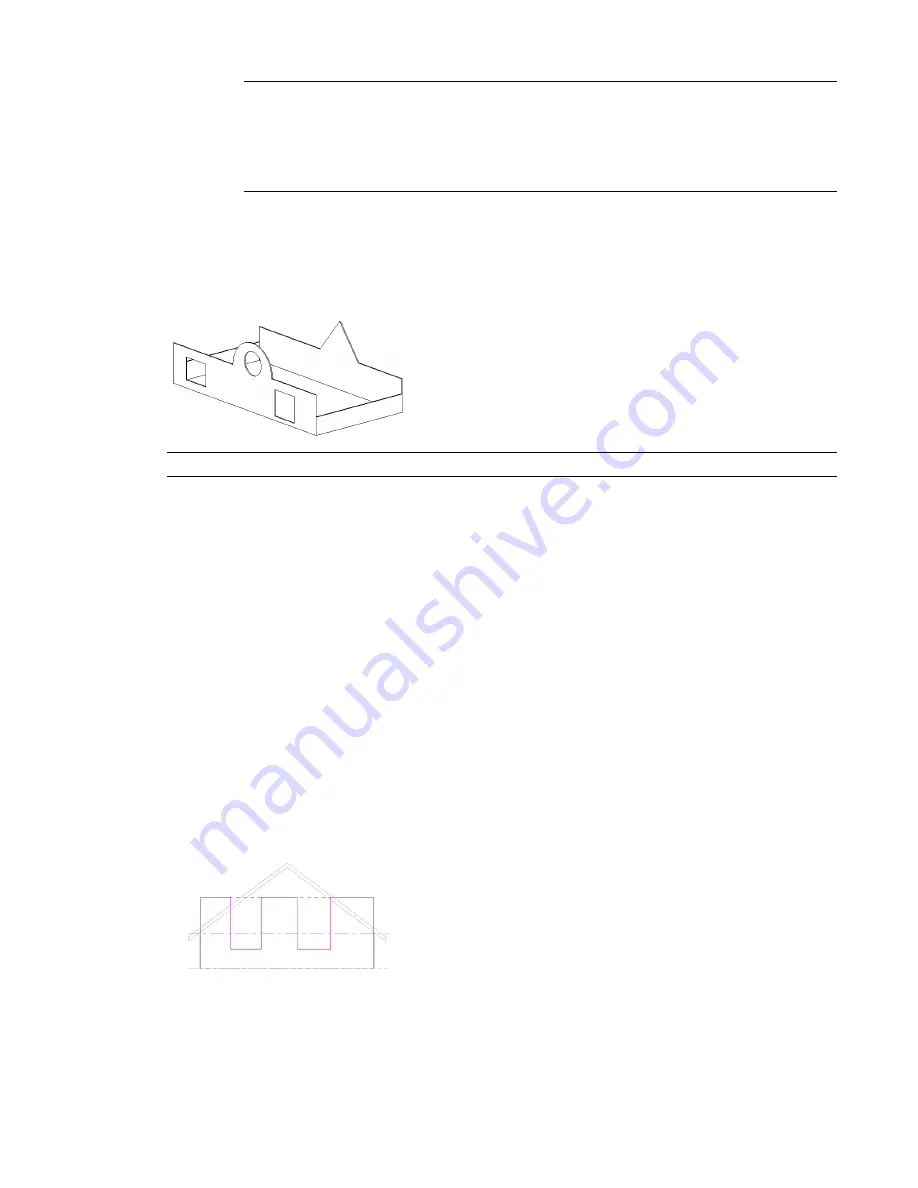
After modifying walls shapes, your design might look something like this:
Design with non-rectangular walls and cut openings
NOTE
If you want to revert an edited wall to its original shape, select the wall in a view and click Remove Sketch.
Guidelines for Defining Wall Shapes or Openings
When defining wall shapes and openings, consider the following guidelines:
■
If you are defining a shape on a wall that is not horizontal or vertical in a plan view, you should draw a
section parallel to the wall before going into the elevation sketch mode. When you go into sketch mode,
the Go To View dialog appears. Revit Architecture suggests the section view as the optimal view for
editing the sketch. Click Open View to open that view.
■
You cannot edit the elevation profile of an arc wall.
■
While you edit the elevation profile of a wall attached to another element, the wall temporarily reverts
to its shape and height prior to attaching it. For example, if you edit the profile of a wall attached to a
roof, the wall assumes its unconnected height prior to attaching to the roof. As a result, you may find
the wall is not at the right height to complete the elevation profile edits. To change the height, while in
sketch mode, click the Properties button on the Design Bar. Change the Unconnected Height of the wall.
As you edit the elevation profile, keep in mind that after you finish the sketch, the wall top or bottom
attaches only where horizontal lines are coincident with the reference planes in the sketch.
Sample edited profile in sketch mode (note top sketch lines that are coincident with
reference planes)
592 | Chapter 11 Working with Architectural Components
Содержание 24000-000000-9860 - Revit Architecture - PC
Страница 1: ...Revit Architecture 2009 User s Guide April 2008 240A1 050000 PM02A ...
Страница 4: ......
Страница 56: ...18 ...
Страница 116: ...78 Chapter 3 Revit Essentials ...
Страница 172: ...134 Chapter 4 ProjectViews ...
Страница 178: ...Schedule with Grid Lines Schedule with Grid Lines and an Outline 140 Chapter 4 ProjectViews ...
Страница 352: ...Defining the first scale vector Defining the second scale vector 314 Chapter 7 Editing Elements ...
Страница 554: ...516 ...
Страница 739: ...Curtain wall Curtain Grid Curtain Walls Curtain Grids and Mullions 701 ...
Страница 898: ...Pile caps with multiple piles Rectangular and triangular pile caps 860 Chapter 12 Working with Structural Components ...
Страница 1004: ...966 ...
Страница 1136: ...1098 ...
Страница 1226: ...1188 ...
Страница 1250: ...1212 ...
Страница 1276: ...1238 Chapter 20 Design Options ...
Страница 1310: ...1272 ...
Страница 1366: ...1328 ...
Страница 1406: ...1368 ...


